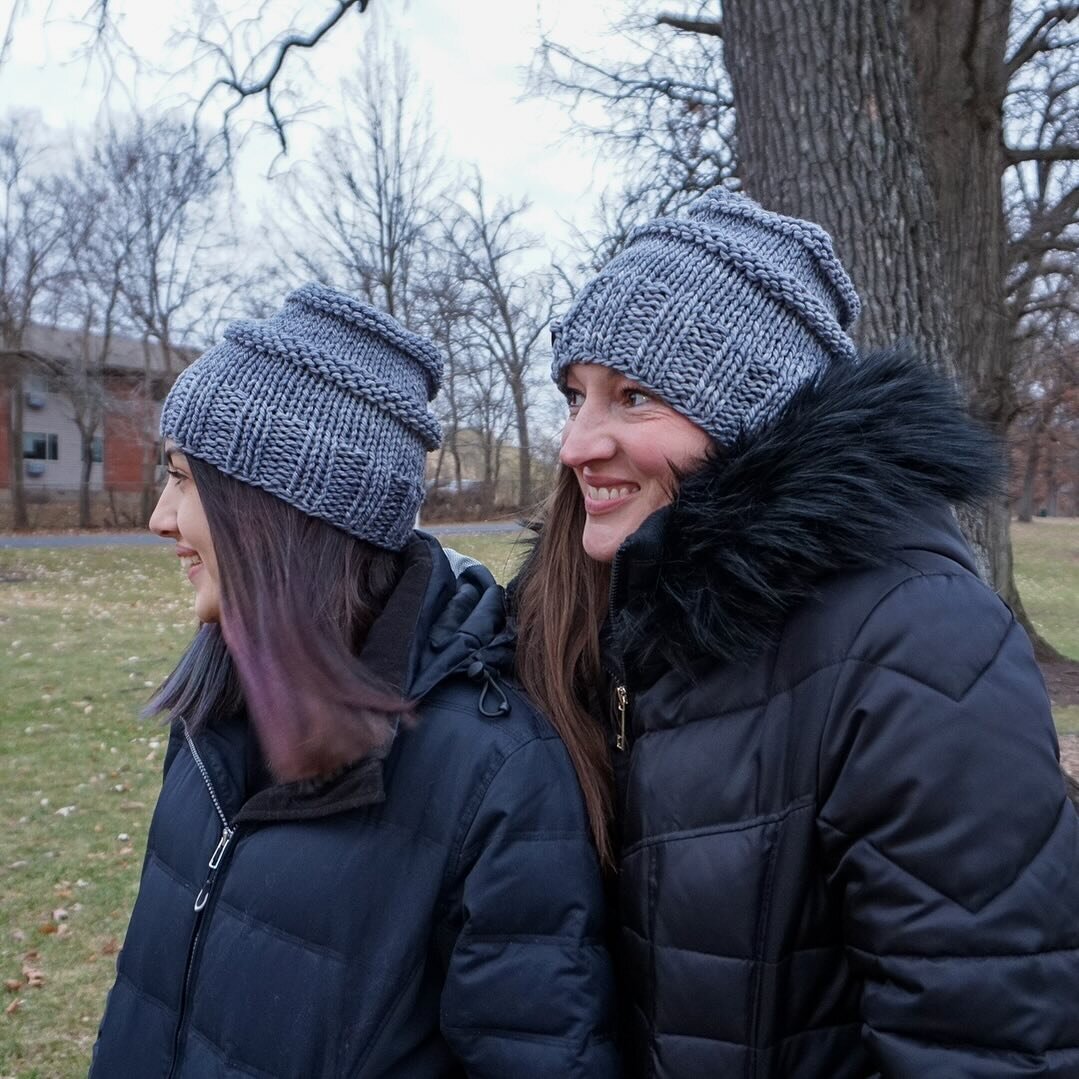
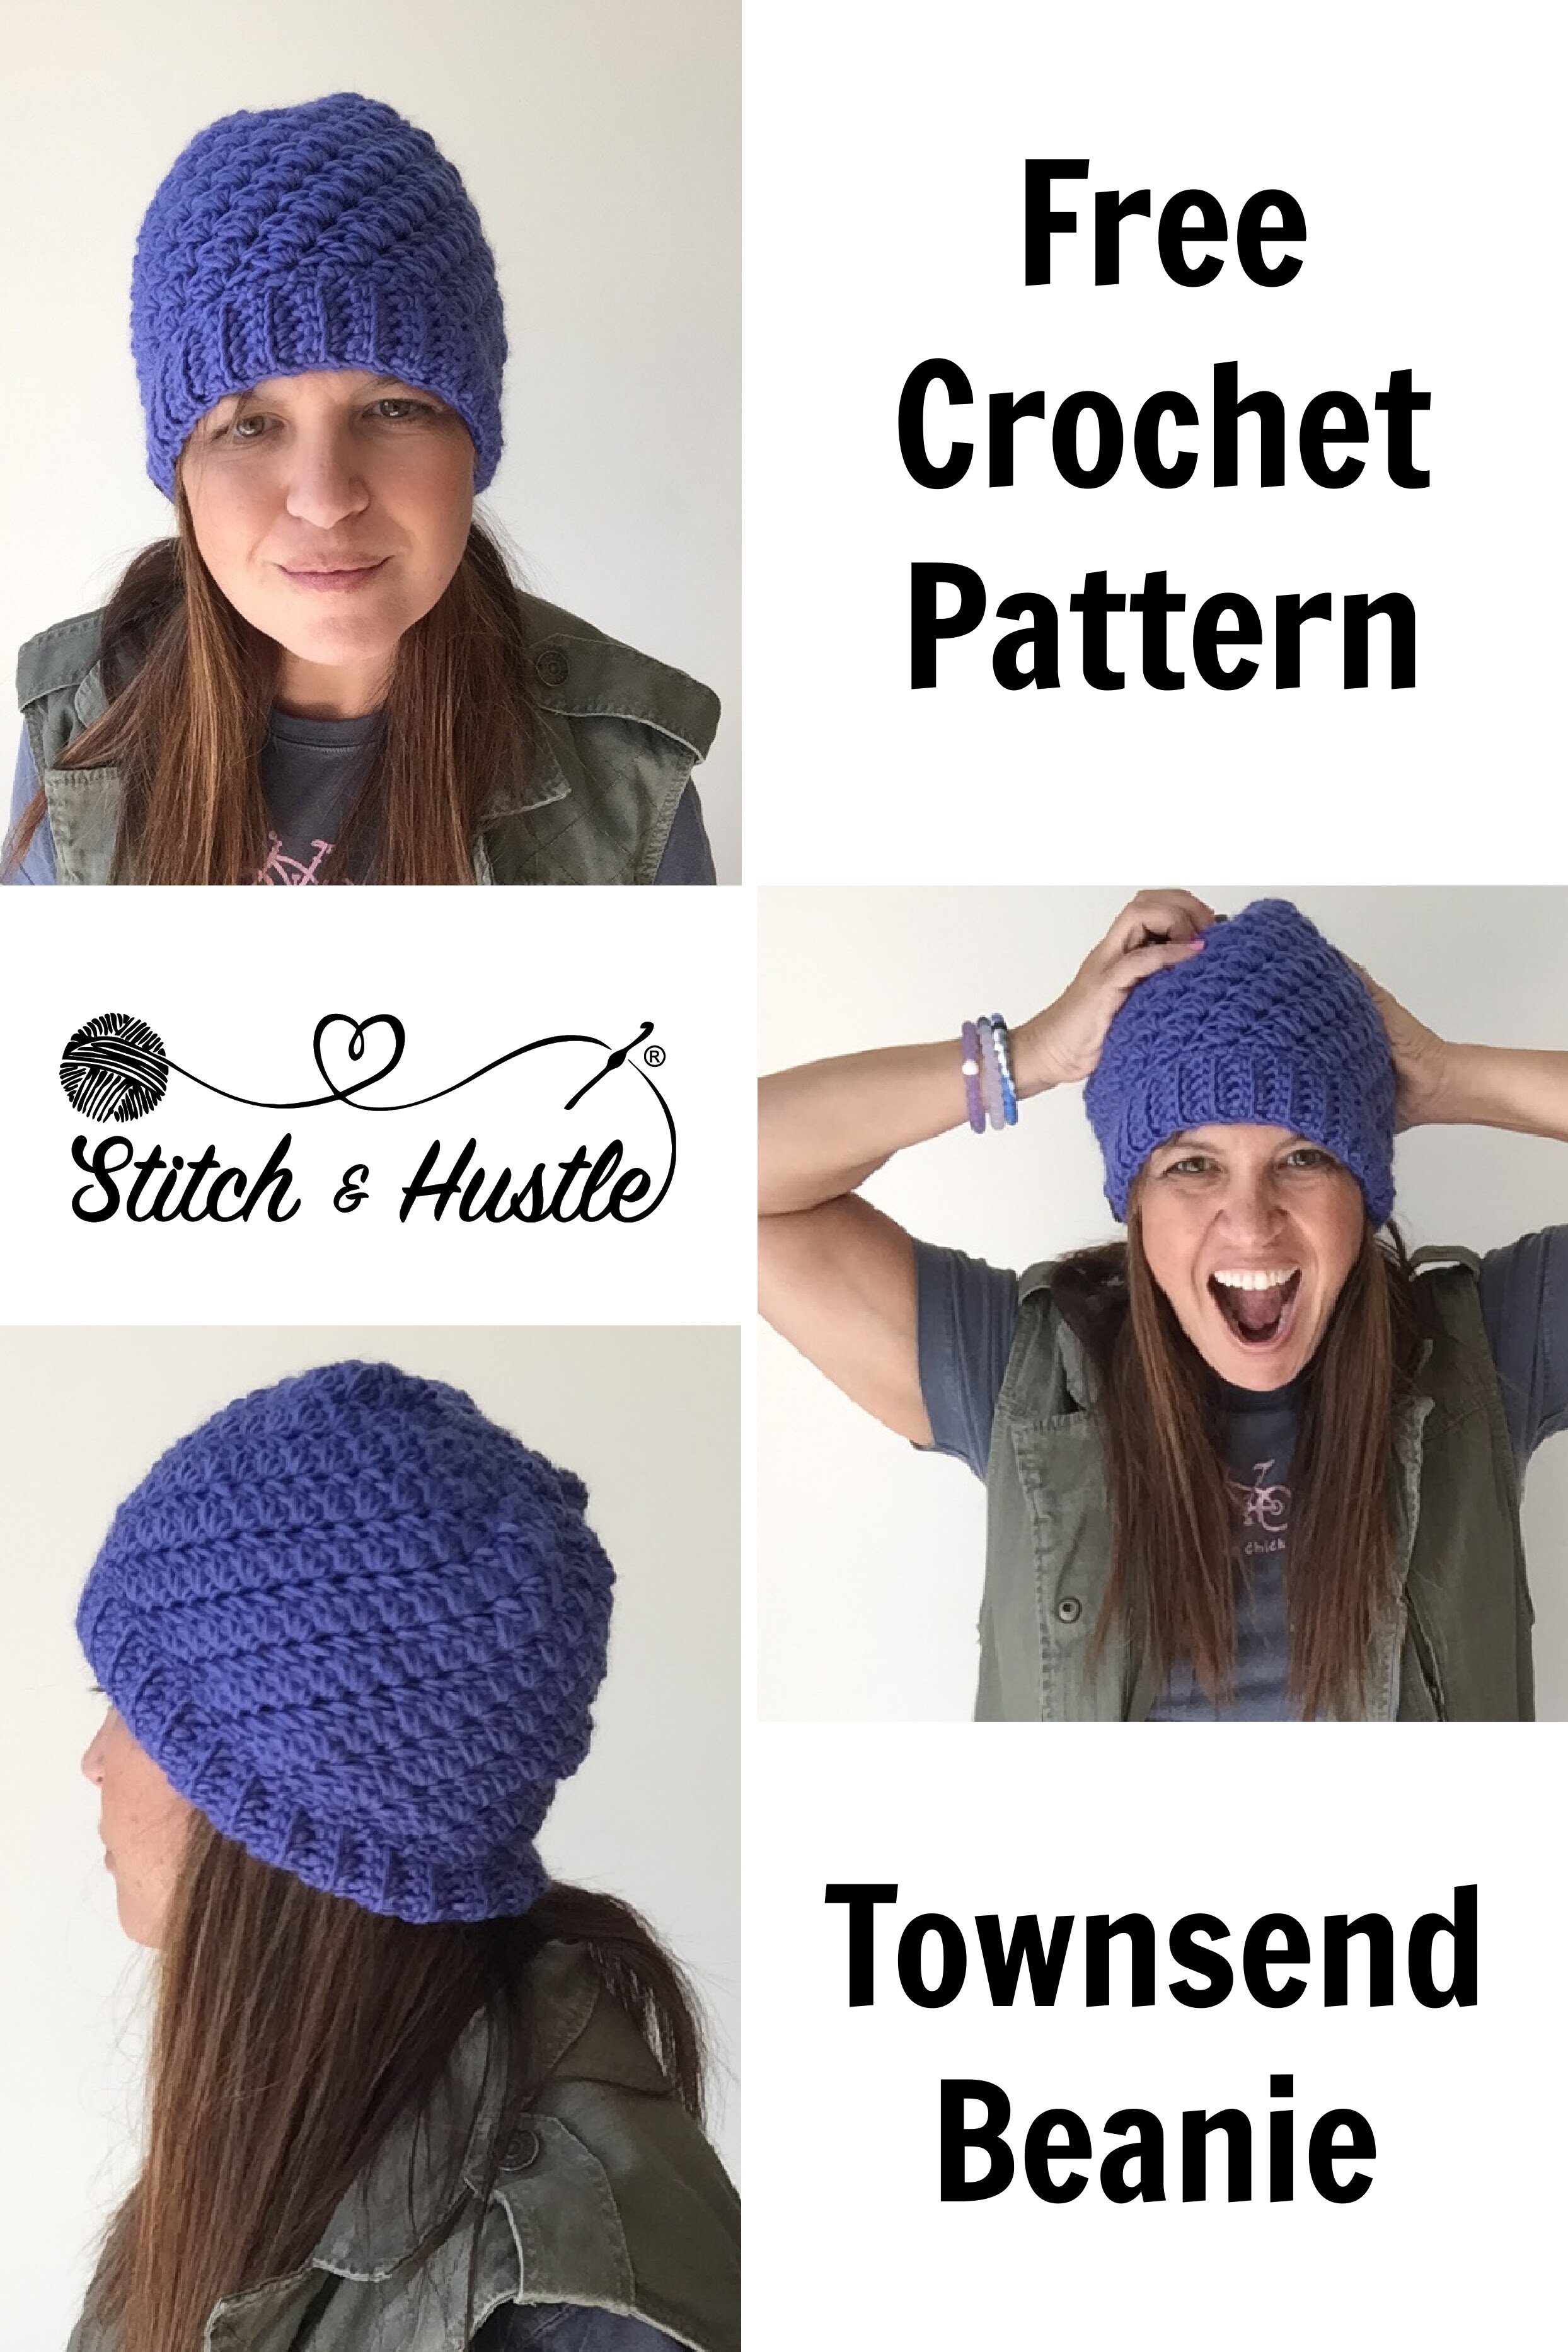
Townsend Beanie Free Crochet Pattern
/The Townsend Beanie Free Crochet Pattern is one of my most popular hat patterns and I am so excited to bring it to you free. At markets and craft events, The Townsend Beanie is always a huge hit and I love how quickly it works up.
The Townsend Beanie Free Crochet Pattern works brim to peak and features my special hat closure technique. You can watch the tutorial here.

The Townsend Beanie Free Crochet Pattern features a sort of swirling stitch pattern giving you both texture and style. You can use your favorite worst weight yarn and I suggest any of these Worsted from We Crochet as great options.
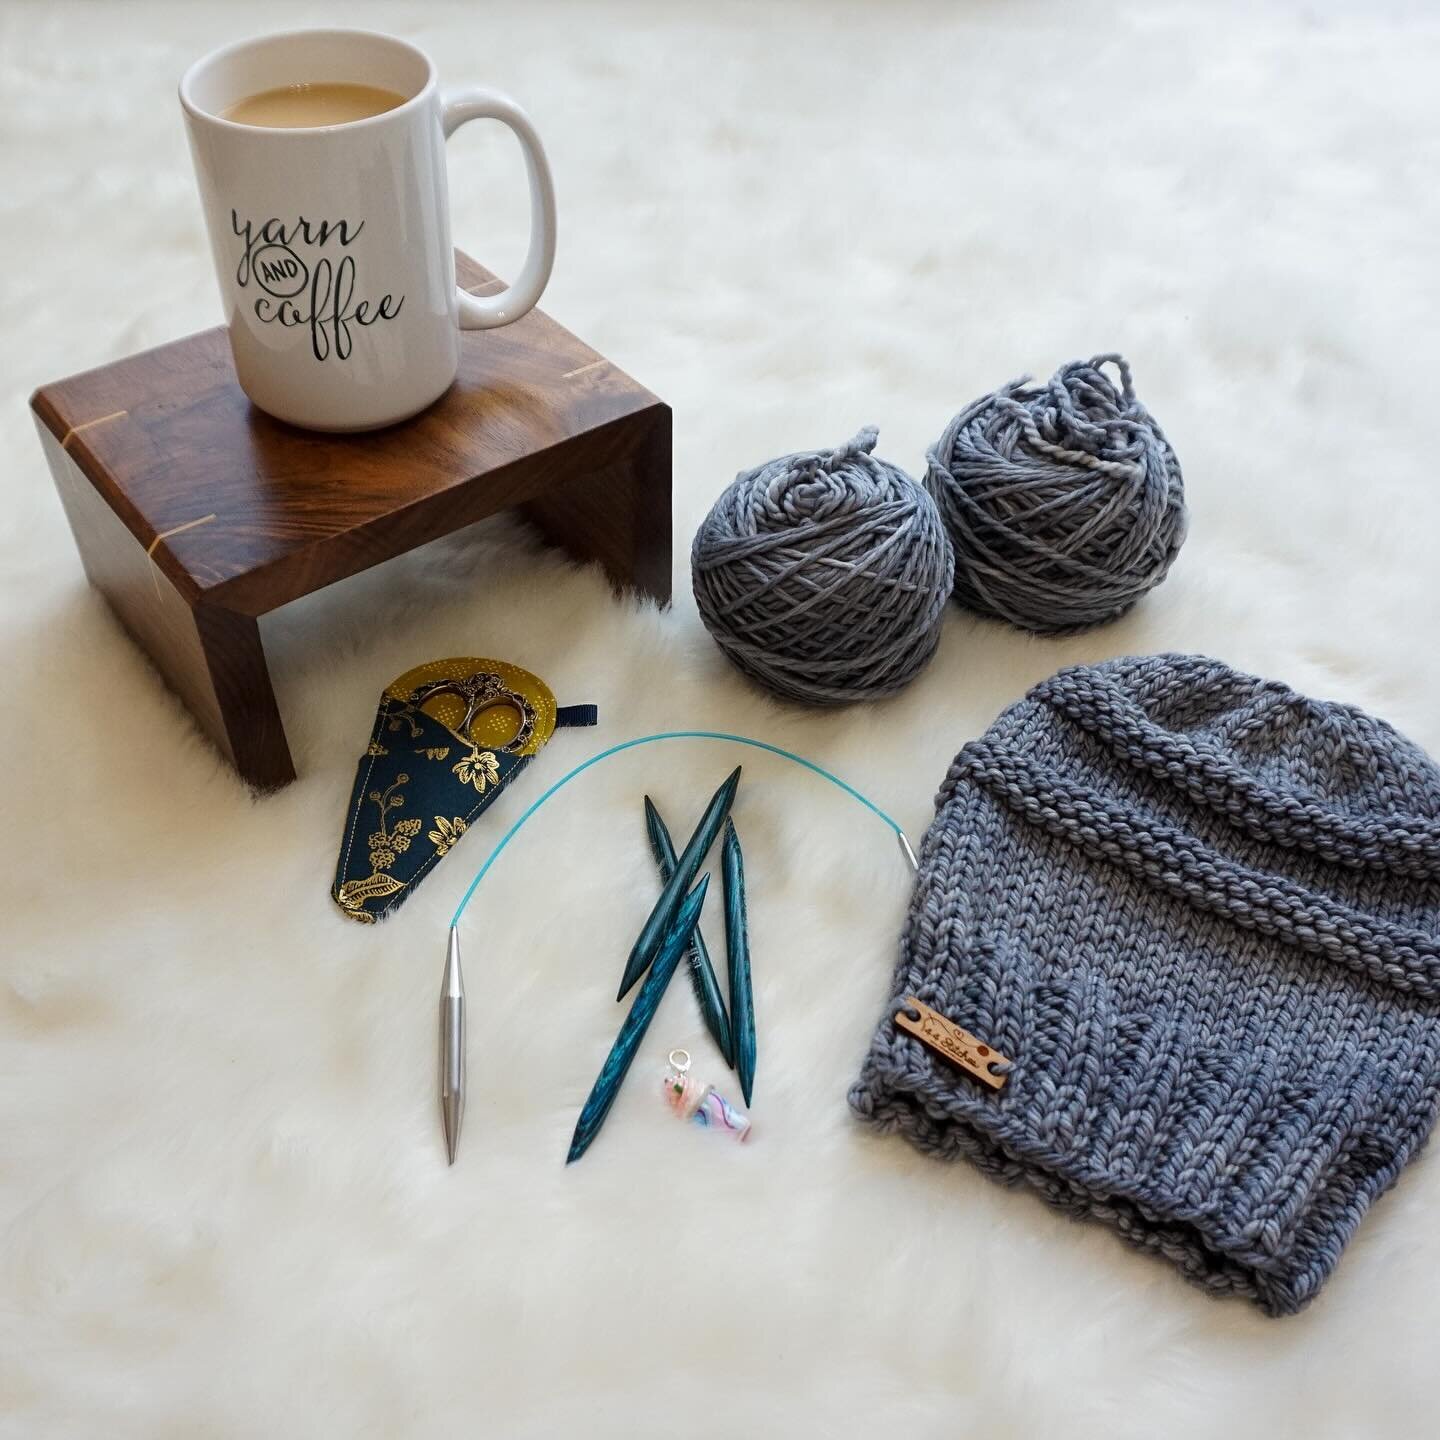
Supply List:
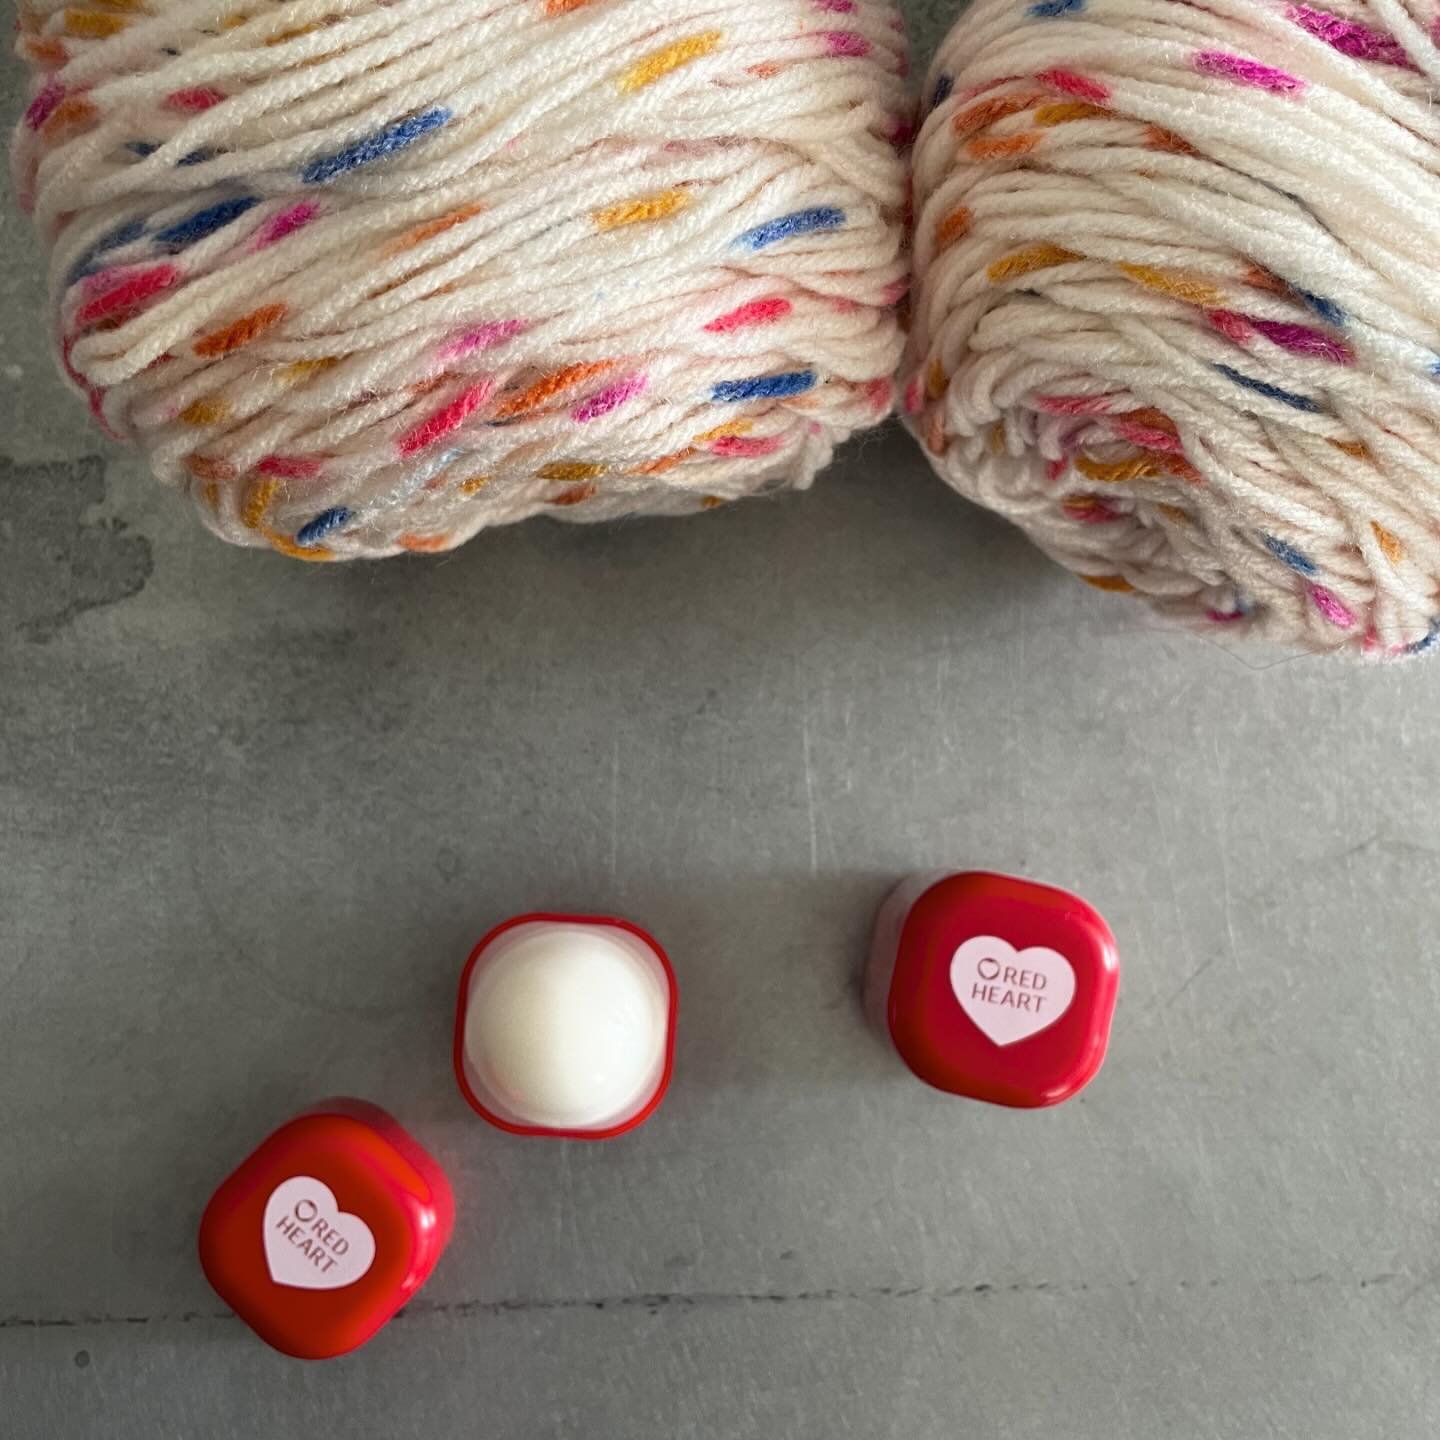
Worsted weight yarn approx 165 yds
(I used We Are Knitters Petite Wool and Worsted from We Crochet for best results)
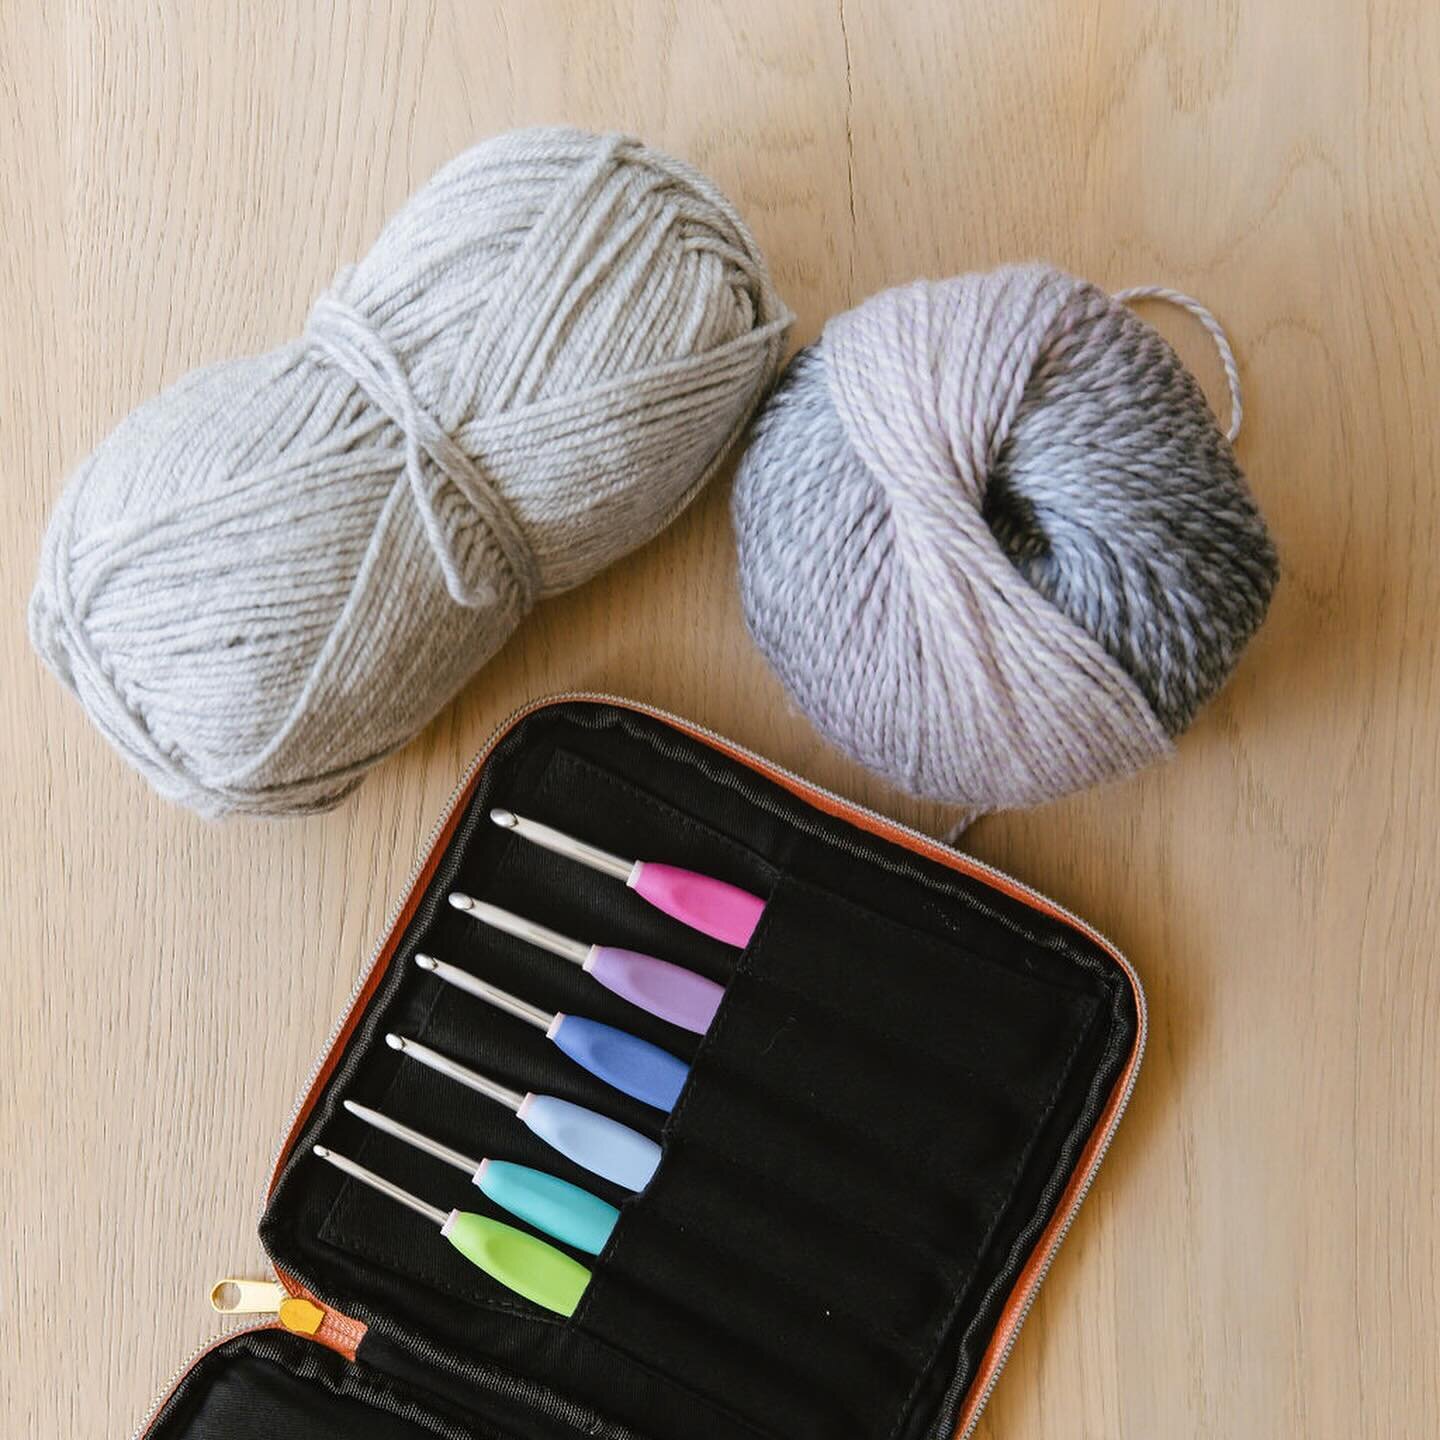
Crochet Hook Size J / 6mm
Stitch Marker
Darning needle to weave ends
Stitches Used / Abbreviations:
fsc- foundation single crochet
ch - Chain
sc - Single Crochet
hdc- Half Double Crochet
dc – Double Crochet
hdc2tog – Half Double Crochet 2 Together
sl st – slip stitch
Hat Size:
Completed measures: 18” band circumference / Height 10” / Fits Average Adult Size Head 21” – 23’
Pattern Notes:
Pattern has joined rows. You will ch 1 & turn for the body of the hat

BAND (in primary color):
Row 1: fsc x10 *** (alternate: ch 10, turn, ch 1, 9x sc across) ***
Row 2 and on: turn, ch 1, 9x sc in back loop only
Rows 3 – 58: Repeat row 2 for average adult size head of 18” (or desired width)
Then, when band is at desired width:
Sl st to top of initial fsc from first row, then 10 sl across to attach the whole band to become a circle
DO NOT CUT YARN // Turn to now work the body

BODY:
Round 1: ch 1, sc all way around band – must be multiple of 3, then sl st to ch 1
Round 2: ch 1, place stitch marker in ch 1 since you will now be working in the round this will help later on; then [hdc,dc] into same sc as ch 1, *skip 2 sc, then [sc, hdc,dc] into third sc *
Repeat * to * all way around to stitch marker
*** do NOT slip stitch together – you will now begin working in the round
Round 3: [sc, hdc,dc] into ch 1 that started R 2 *skip hdc & dc, then [sc, hdc,dc] into sc * Repeat * to * all way around to stitch marker
Rounds 4 - 13: *skip hdc & dc, then [sc, hdc,dc] into sc * / Repeat * to * all way around to stitch marker
*** for more “slouch” you can add rows to the body here before going to next step but you will require more yarn***

Round 14: *skip hdc & dc, then [sc, hdc,dc] into sc *
Repeat * to * all way around to stitch marker , then sl st to top of sc that started row
Round 15: ch 1, sc in hdc, then *sc2tog*
Repeat * to * all way around and sl st to top of ch 1 ***this row should be stitched loosely***
Round 16-17: ch 1, sc loosely all way around, sl st to top of Ch 1 to complete each row
Cut yarn leaving approx. 3” tail Turn hat inside out.
Using tapestry needle, weave lengthy tail throughout the top of the sc row then pull tight like a draw string
Fasten off and weave in ends.