Wind 'Em Up! DIY Yarn Swift for Under $20: My PVC Hack
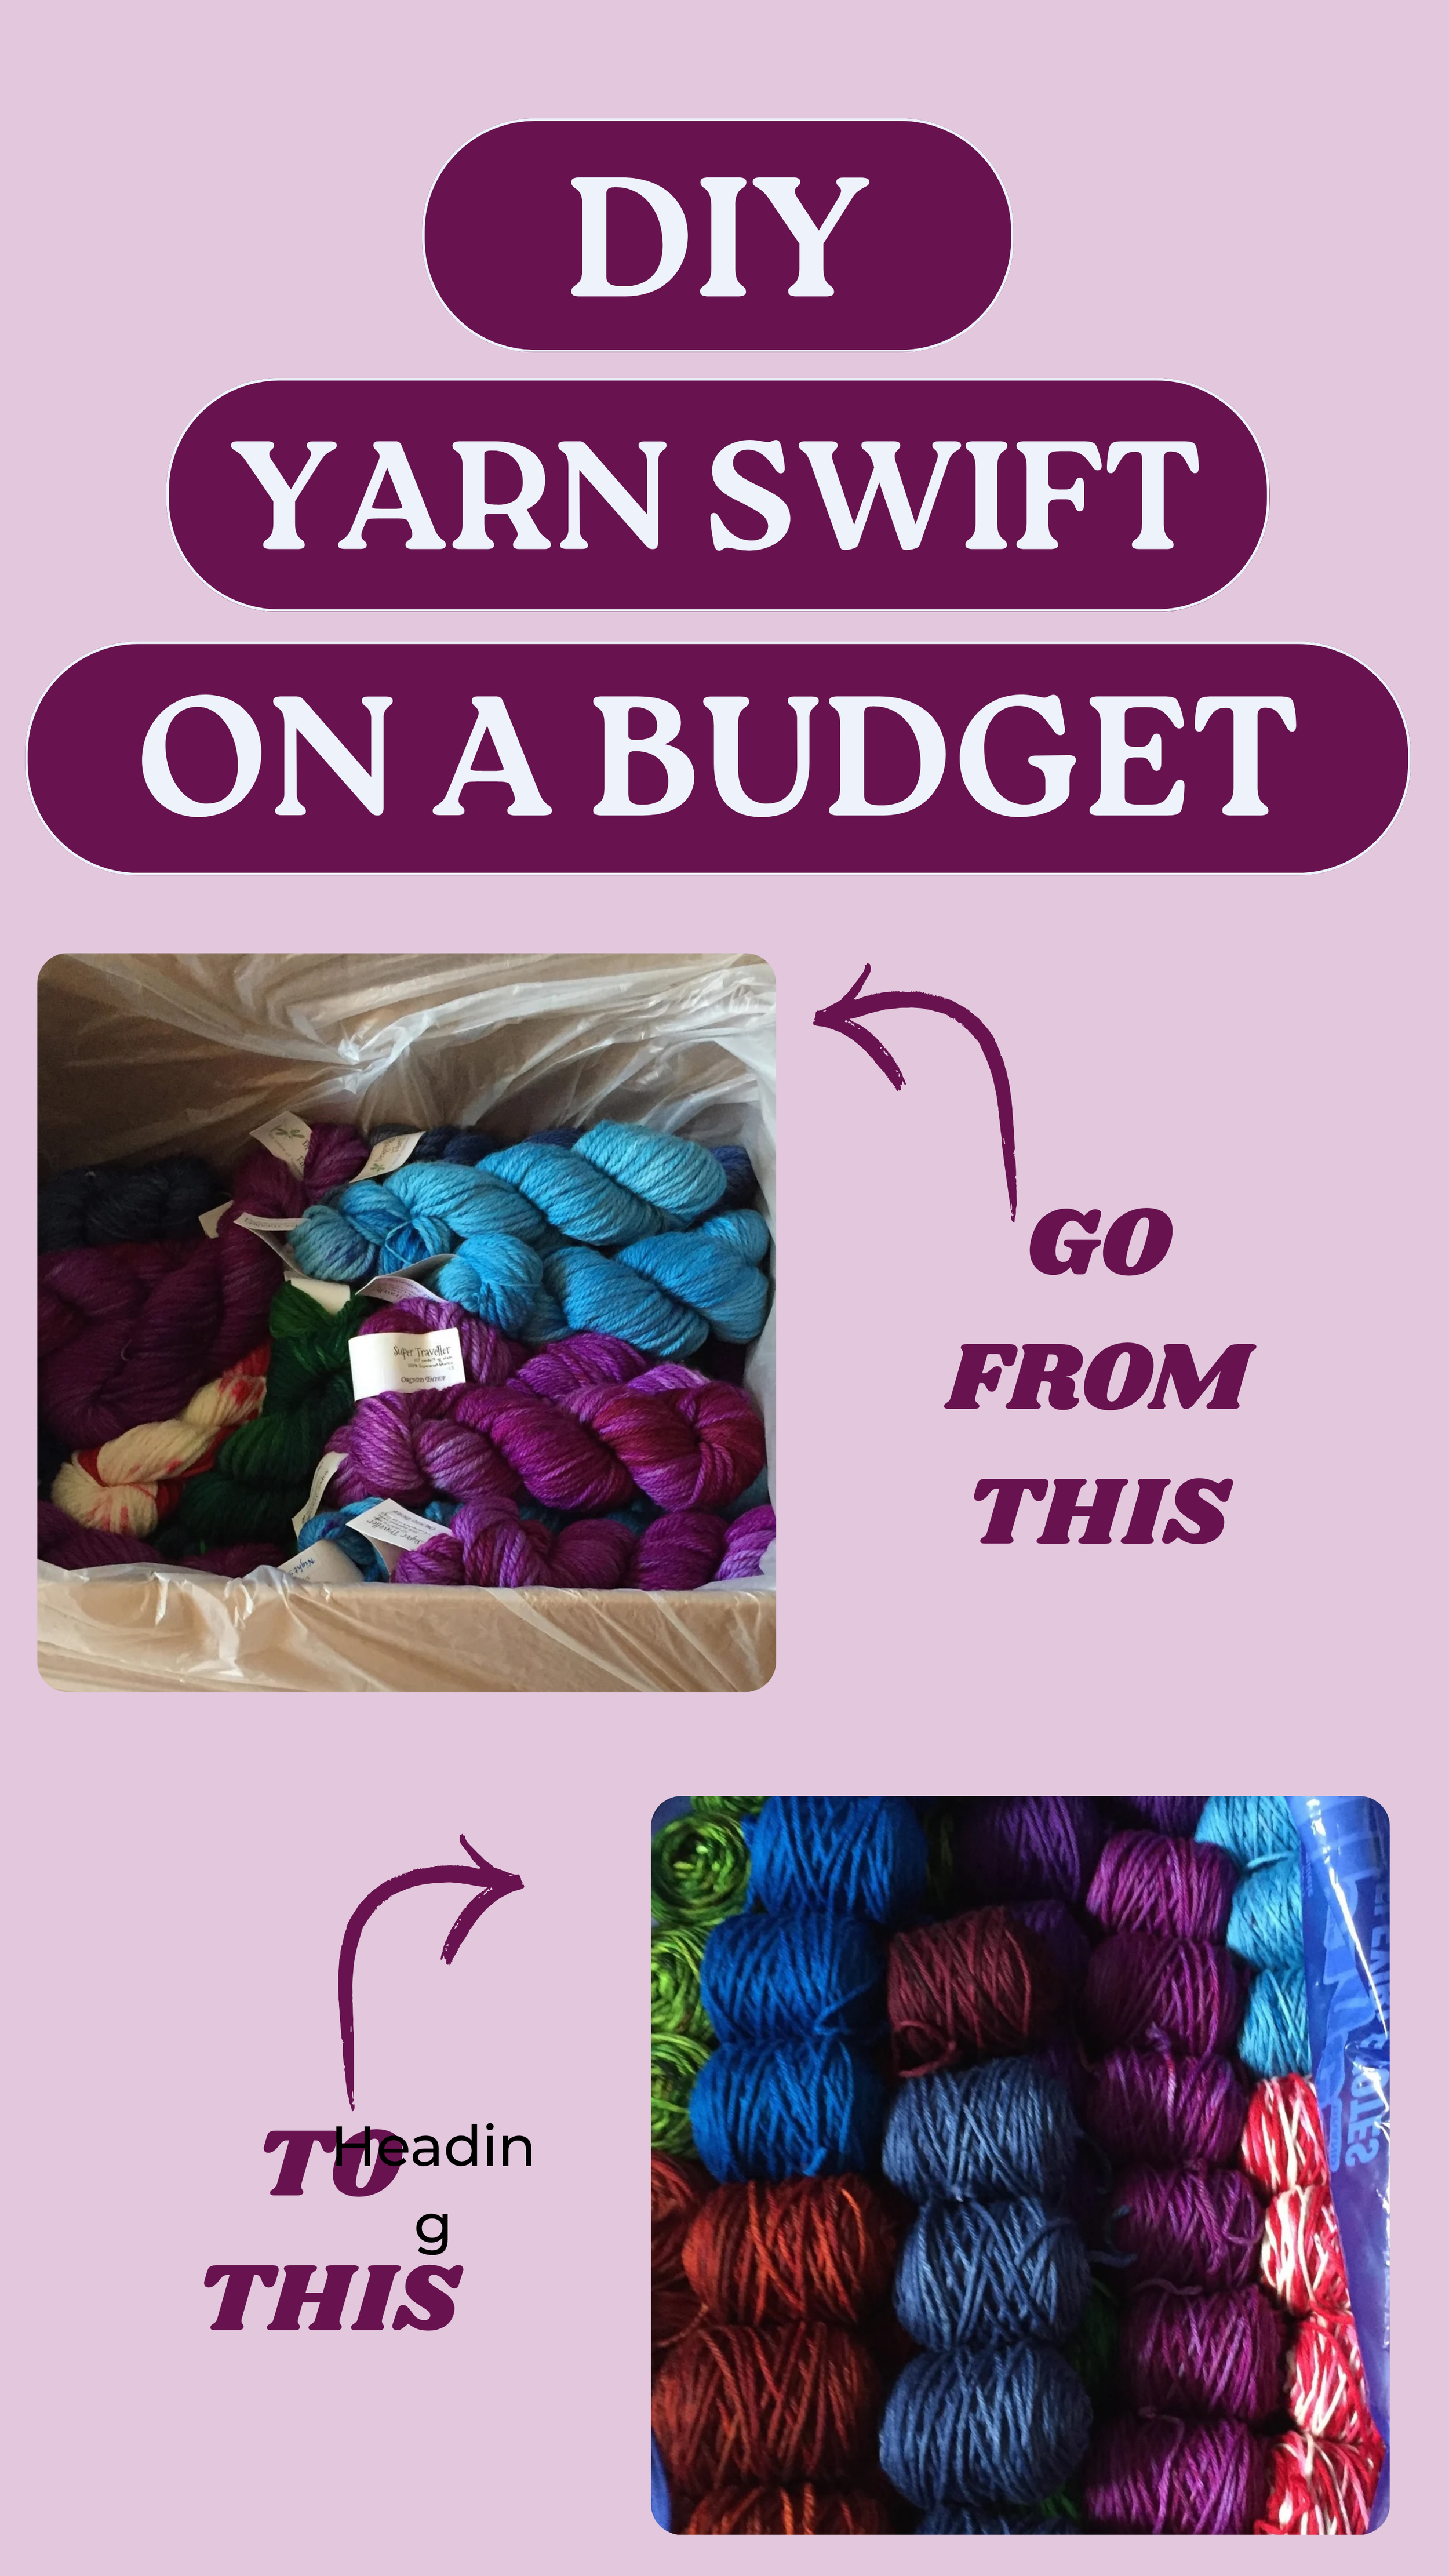
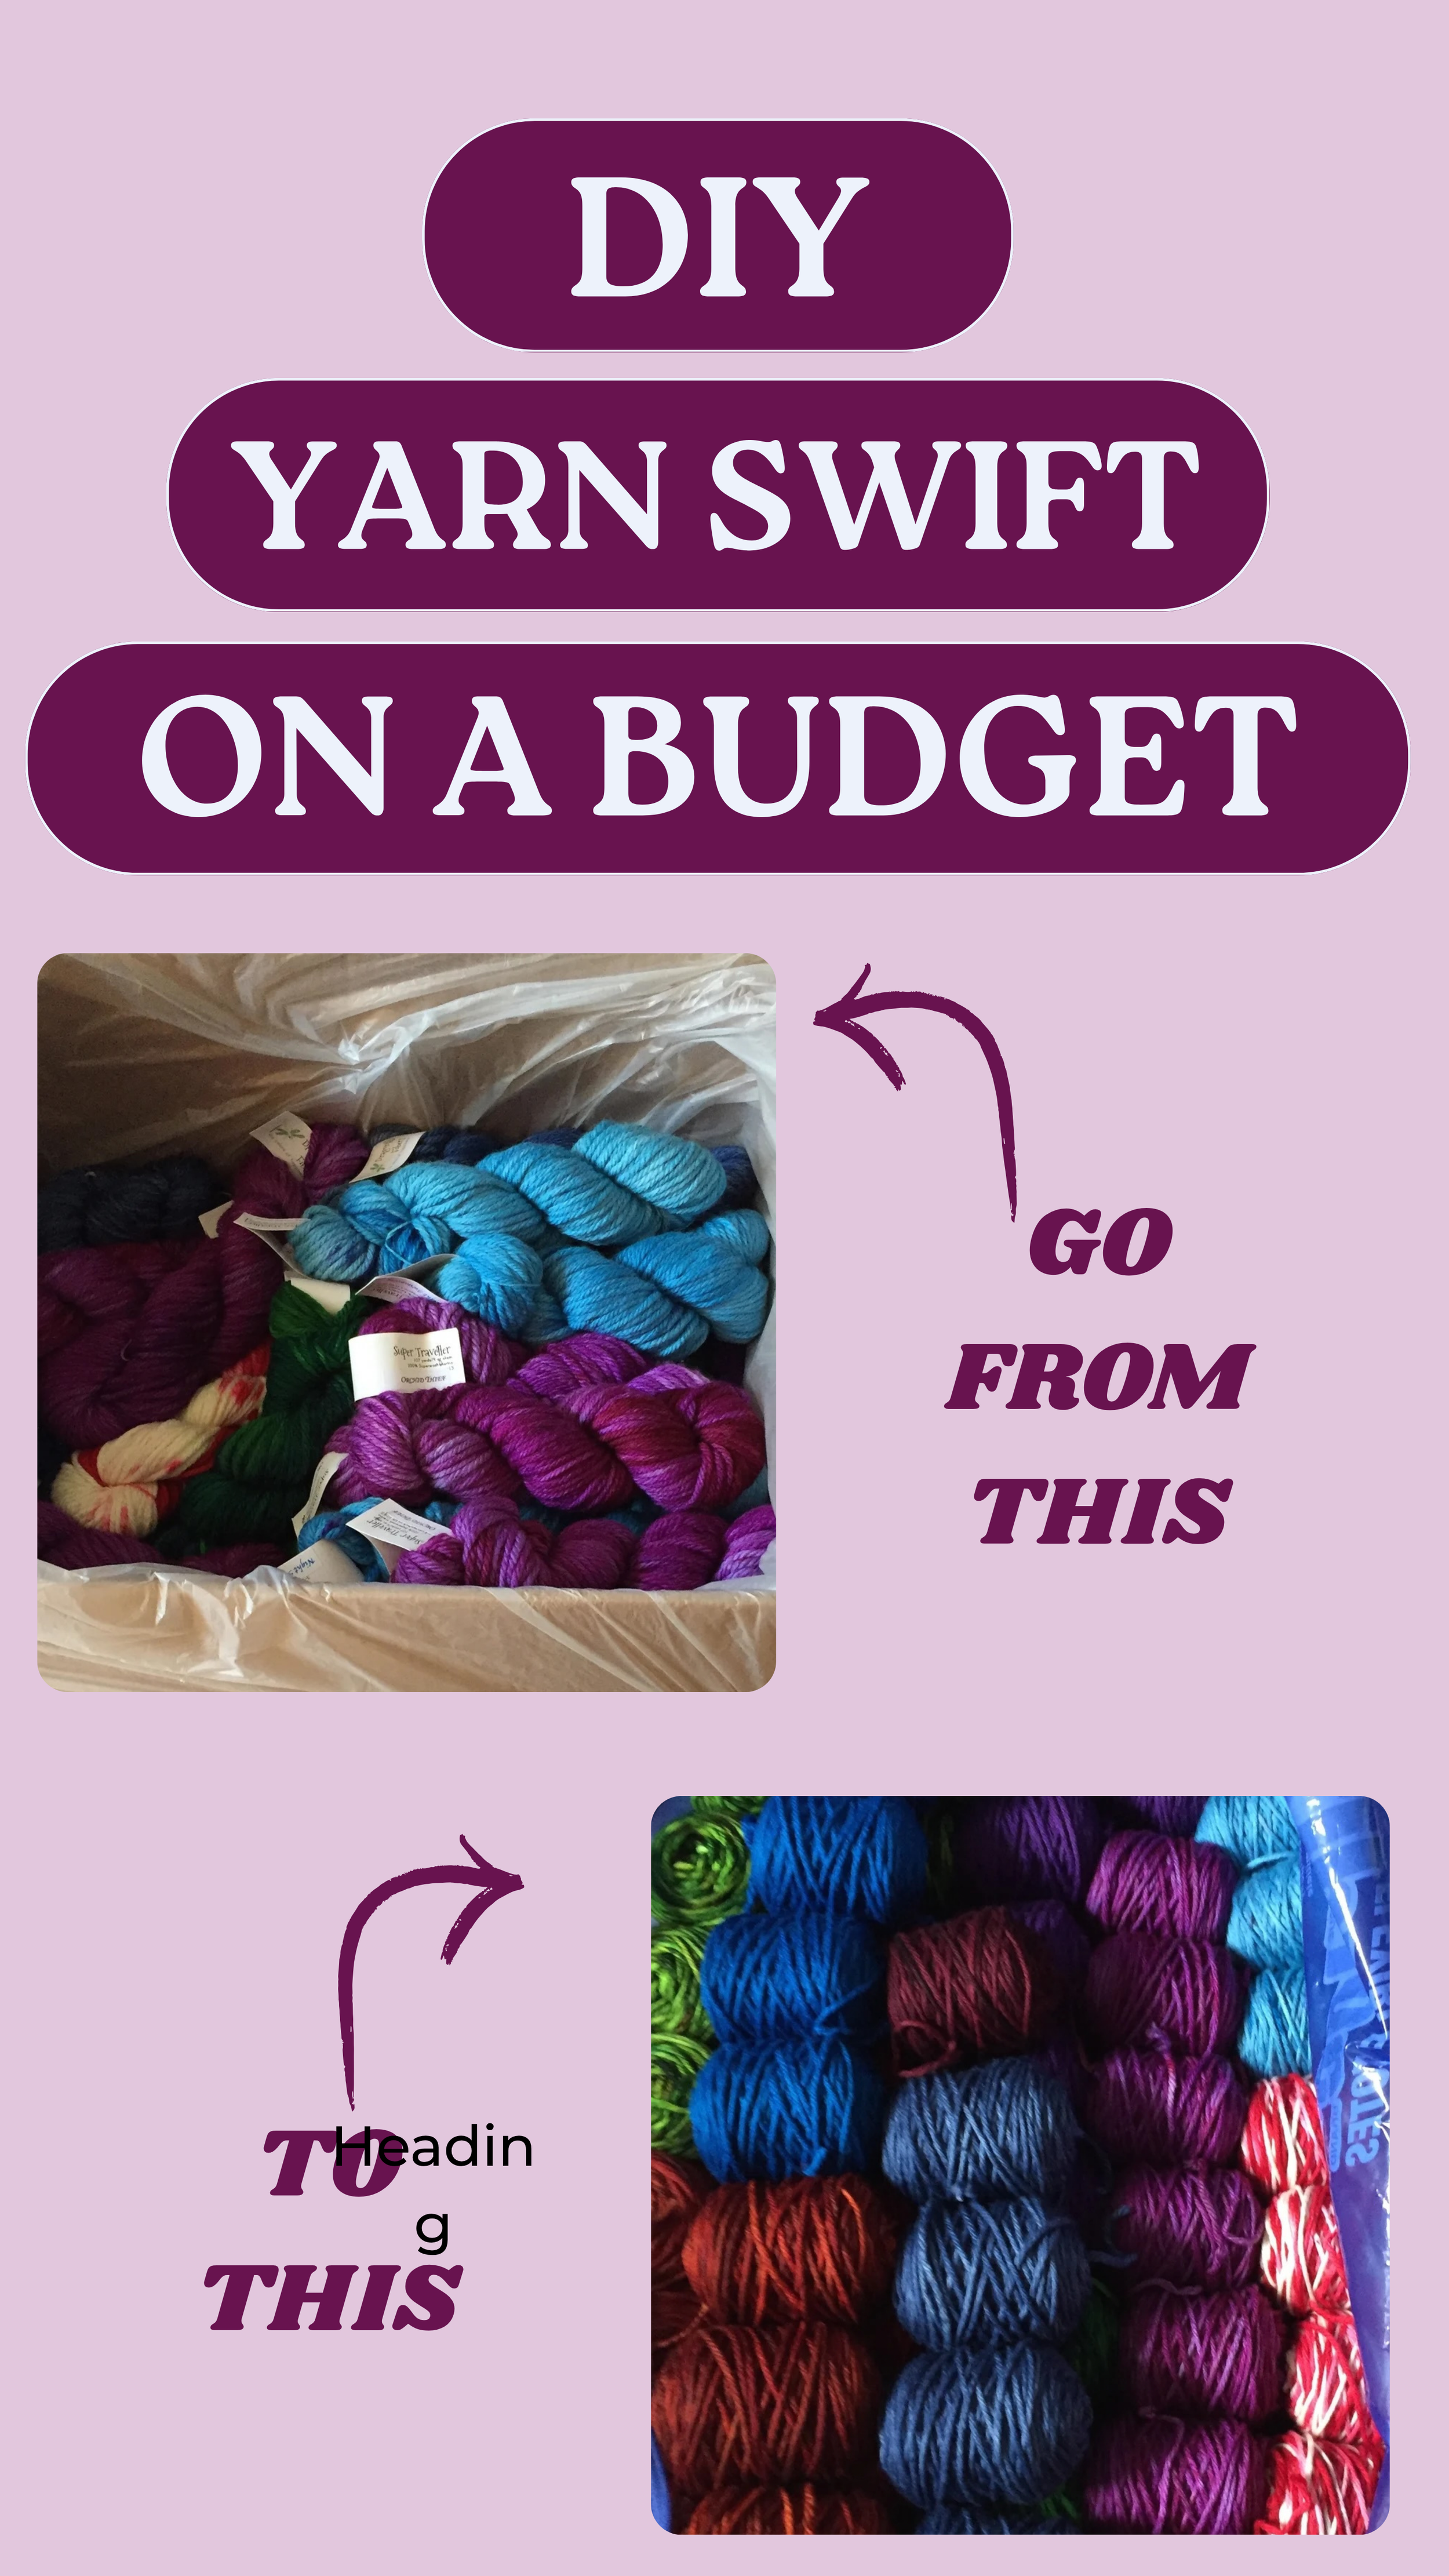
/When I started working with higher-end fibers, I hit a wall fast because hand-dyed hanks don't come or behave like store-bought skeins. They come in hanks that need to be wound into yarn cakes. Without a way to unwind and wind them properly, I ended up with tangled messes or rolling away balls of yarn instead of usable yarn cakes. I learned fast that I needed two tools: a yarn winder and a yarn swift.
I had always loved the look of wooden umbrella style Swifts for yarn but couldn't afford one nor did I have the space for one to be mounted. I mean $60-$150 is pretty steep when you are starting out. It also isn't efficient for me space wise. My studio is small - it’s the tiny bonus half room in our house. A magnificent swift would have to remain a "someday" not a solution to the current need.
As I started to look around I didn't find anything that fit my studio needs. My studio is lined with cubby shelves (more on that later when we talk storage and workspace efficiency) and since I also use these shelves for my booth at the One Of A Kind Show in Chicago, I couldn't permanently mount a swift to them.
So instead of buying one, I built one. And it works so well, even my husband doesn’t mind helping to wind yarn using it it’s so easy!
Why Build a DIY Yarn Swift Instead of Buying One
Cost: ~$20 in easily accessible parts vs. $60–$160 for a wooden swift
Space: No permanent wall mount required - mine tucks away when not in use and stays flat against my cubby when in use
Portability: Works just as well for booth setup and travel as it does at home and comes apart into a small travel pouch
Beginner-friendly: No woodworking skills or power tools needed
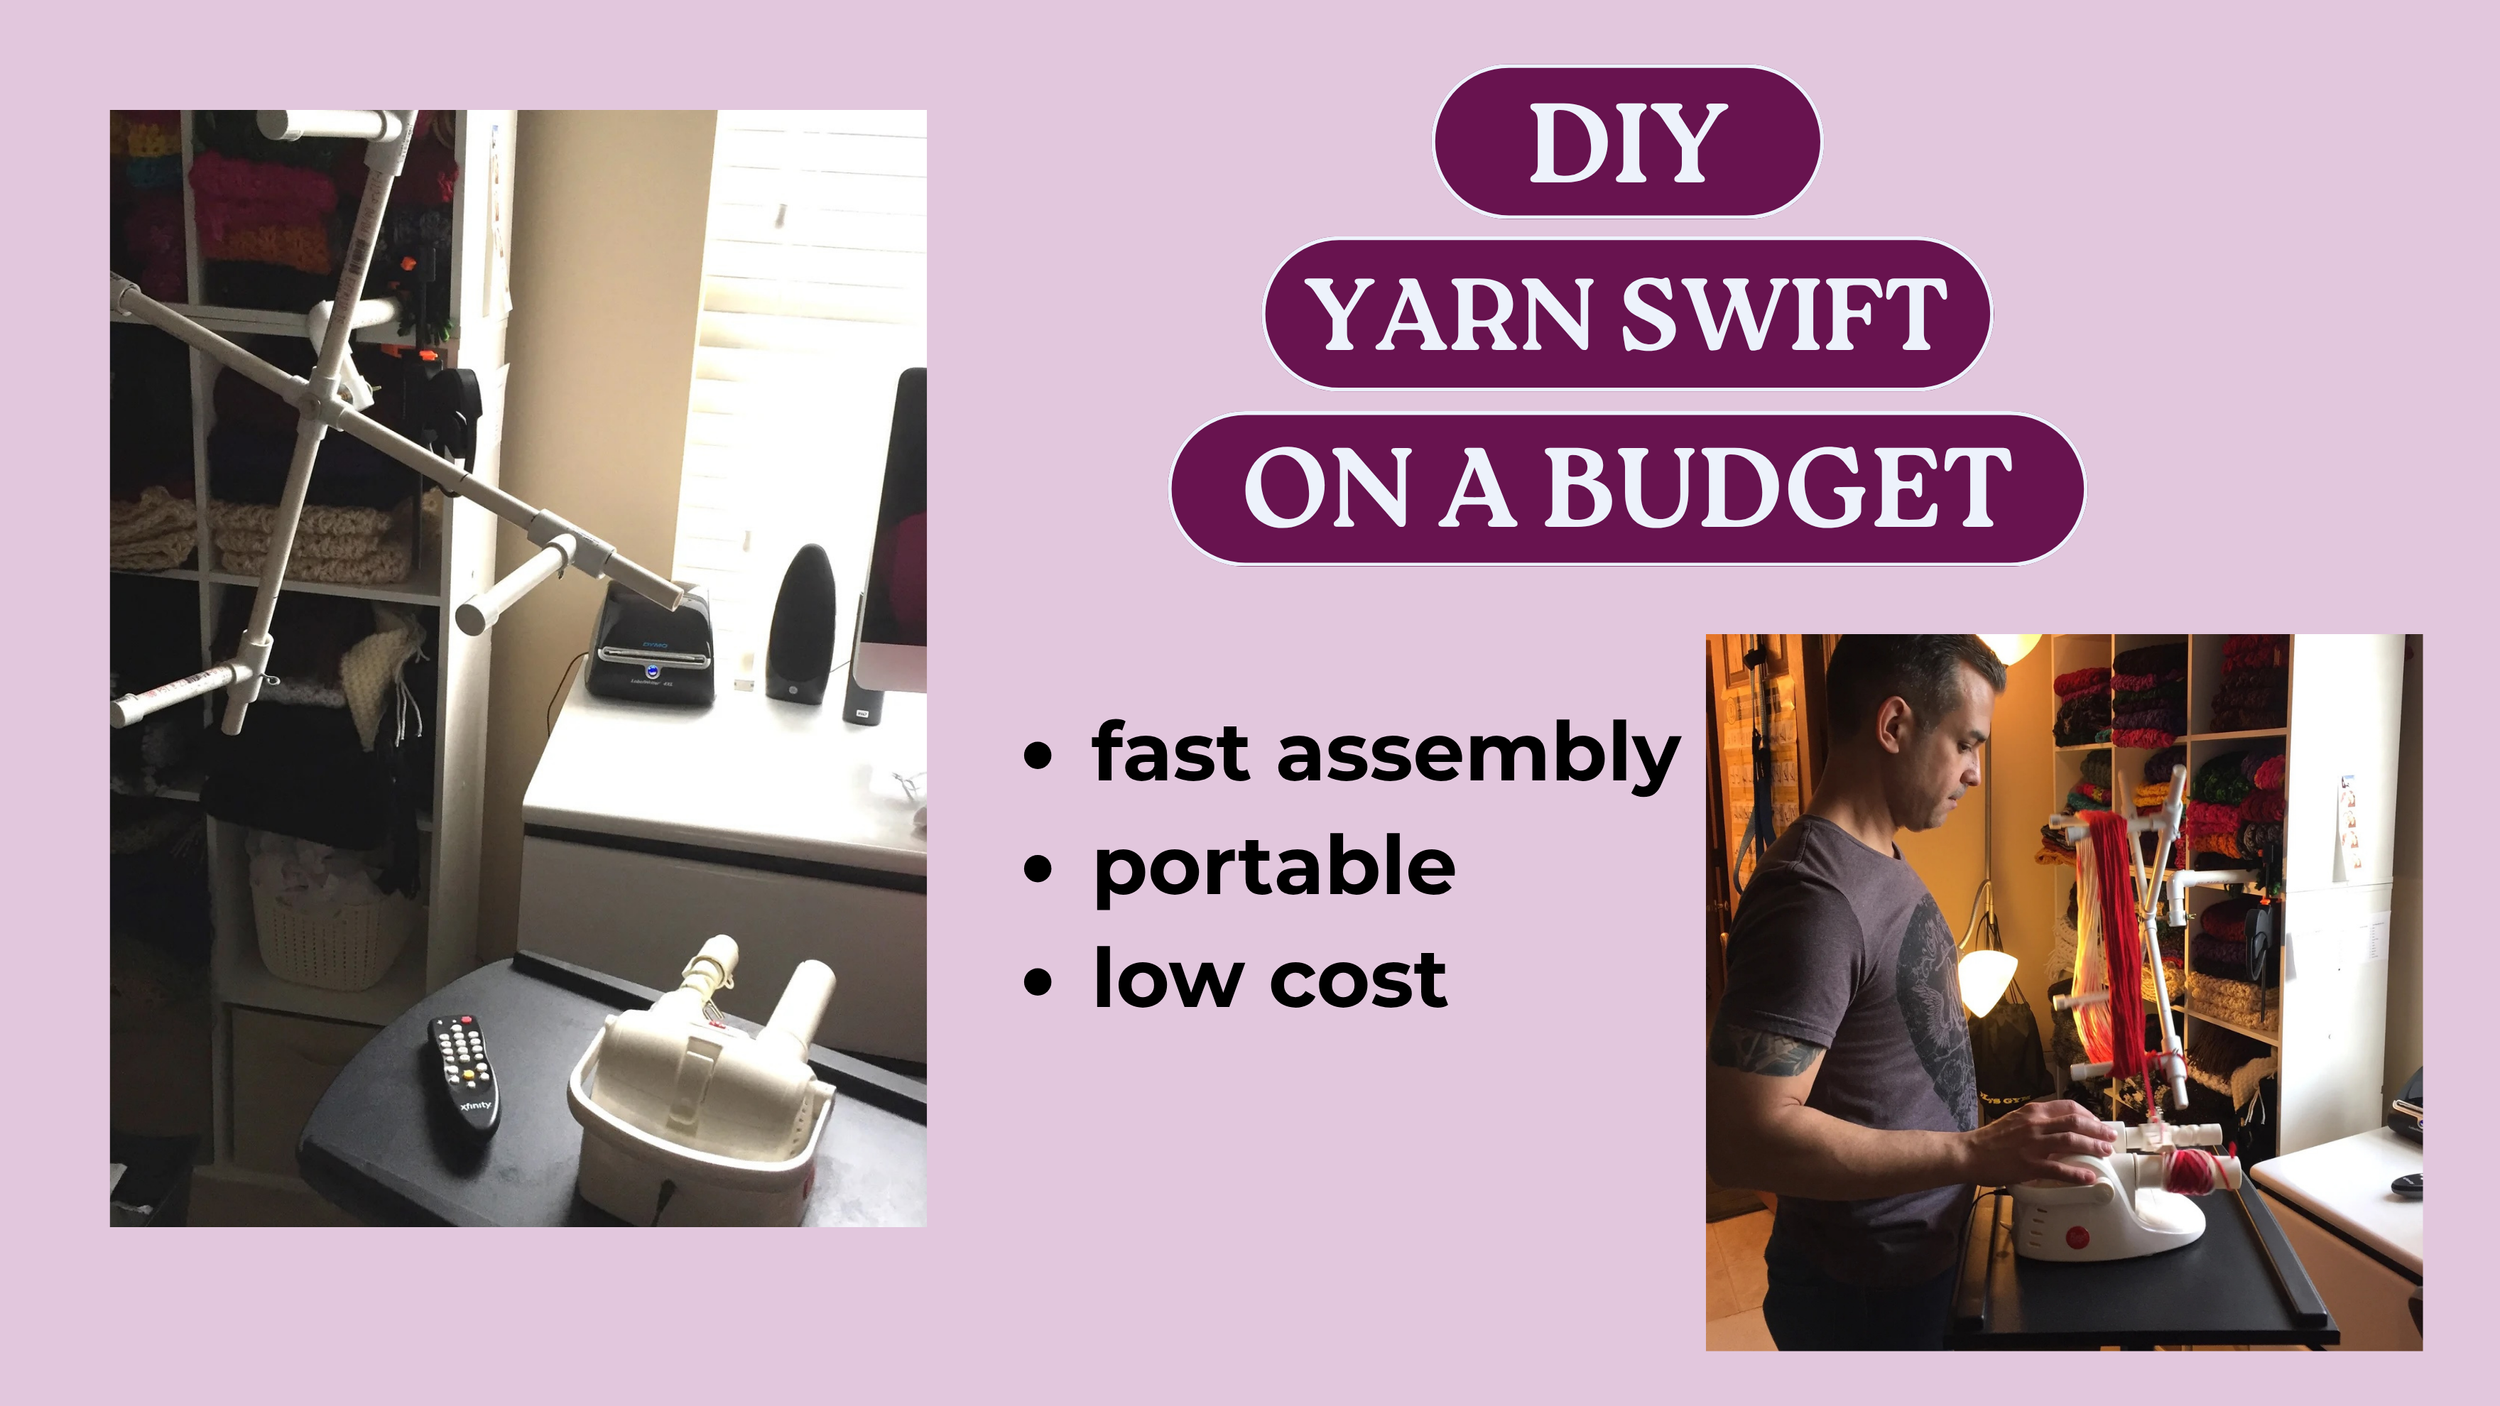
One trip to Home Depot and less than $20 later, I had a fully functional homemade yarn swift. Years later, after my business grew, I upgraded my hand-crank winder to an electric one, but my original $20 DIY swift is still in daily use in my studio.
Below is all you need to know how we built it. You can go to any Plumbing surplus store or Lowes or Home Depot.
Supplies:
Everything on this list came from one trip to Lowes near our house and no special order, no online parts hunt required.
½" PVC Schedule 40 pipe (one 10 ft section and you'll cut this down to size)
½" PVC 4-way cross fitting (1) - this is what creates the "spider" shape at the top
½" PVC tee fittings (2) - for the base joint
½" PVC end caps (4) - one for every arm, sorta optional
½" PVC elbow fittings (4) to help hold the hank in place; so the yarn doesn't slide off the ends and you can make this adjustable for each various hank of yarn
A clamp (spring clamp or C-clamp) to mount the pole to your shelf edge
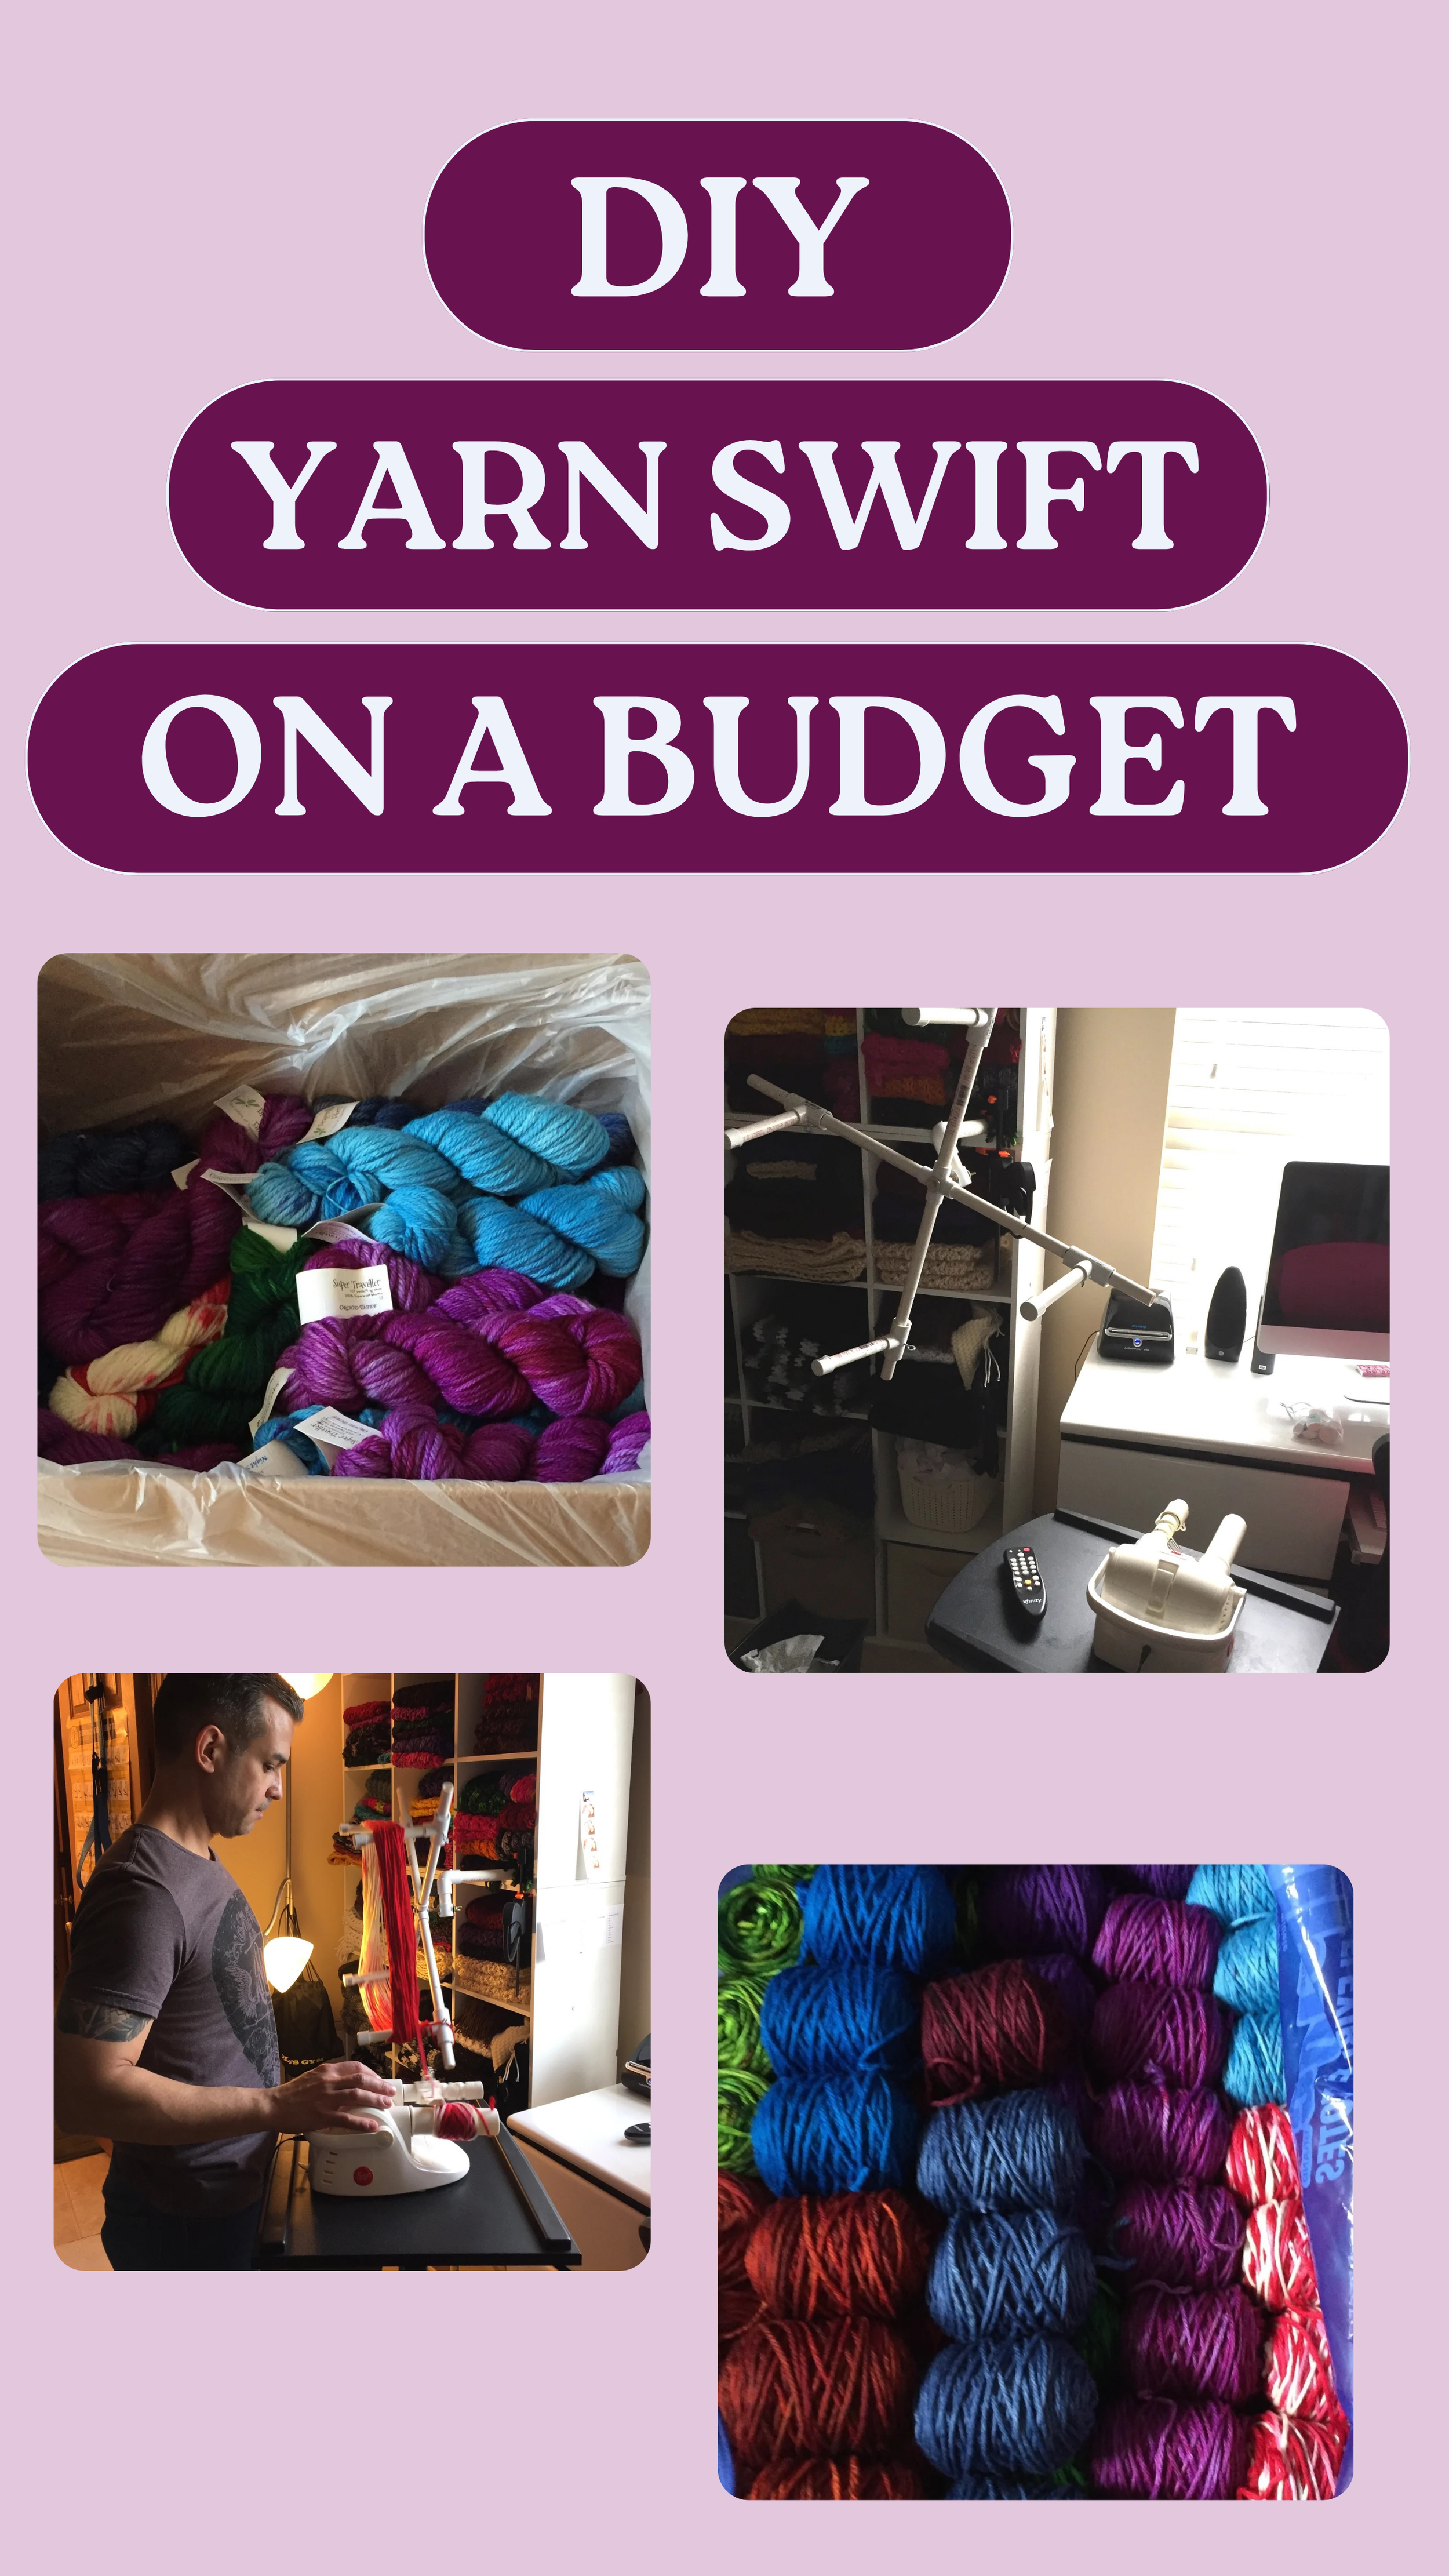
How I Use My DIY Yarn Swift
Once assembled, the swift holds the hank open so it spins freely as you wind and the tension either by hand or with an electric winder gives the motion. It's not fancy, but it holds up to daily studio use and has processed hundreds of hanks of hand-dyed merino without a single tangle.
The best part for my small studio: I tuck it right into my cubby shelving for stability while I wind, and the whole thing sits flush against the unit when I'm done. It's a genuine space saver and no permanent mount required and no wasted wall space.
As you pull yarn from the crank or winder, the swift spins like a little windmill, feeding the yarn off the hank smoothly with zero tangles.
How to Build Your DIY Yarn Swift
Cut your PVC pipe into arms. Decide how many arms you want (I used 4 but you could do 3) and cut your 10 ft section into even lengths using a PVC cutter or hacksaw. Longer arms hold bigger hanks, but keep travel/storage in mind if you plan to break it down like I do.
Assemble the top "spider." Fit your arms into the 4-way cross fitting so they radiate out evenly — dry-fit only, no glue. This is what lets you adjust or resize the swift for different hank sizes down the road.
Cap every arm end. Push an end cap onto each arm. This one step is what keeps your hank holders from slipping off mid-wind if they come loose. Optional but still, don't skip it.
Build the base joint. Use your tee fitting(s) to connect the spider assembly to a vertical center pole. This is the piece that'll clamp to your shelf.
Clamp it in place. Position the pole against your cubby shelf edge and secure it with your clamp. No permanent mounting, no drilling and when you're done winding, unclamp it and tuck it away.
Load your hank and wind. Drape your hank of yarn over the arms, then pull yarn from the crank or winder. The whole swift spins like a little windmill, feeding yarn off smoothly with zero tangles.
Oh and if you want to splurge and get a yarn swift, this one from Knit Picks gets rave reviews but I have not personally used it yet because my PVC home made special works great.