Make It YOUR! Market: Tips & Tricks for Makers at Handmade Markets
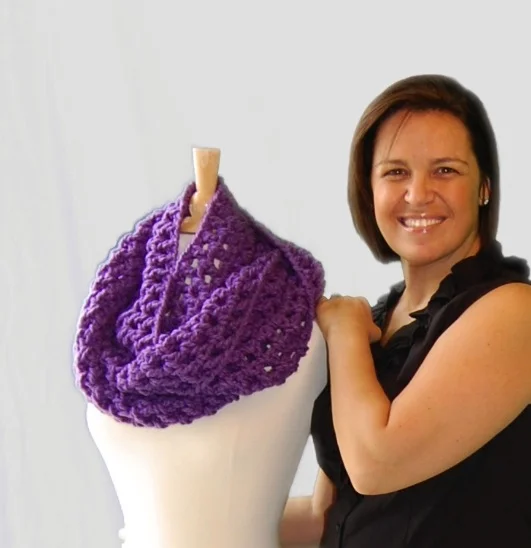
/I am so excited about this post - because one thing we love at Stitch & Hustle is the community and how awesome our community is. I met Terry of Busy Hook Happy Heart when she applied to be one of our pattern testers. Not only did I get a great tester but also a great friend in fiber!
A while back, pre-pandemic, I saw what an awesome remodel Terry did of her Market and Craft Fair set up and knew we had to get her to share more about it. I loved her DIY approach and her commitment to a set up that worked for her. Because that is the beauty of owning our own businesses… we get to do what works best for us then share with others. Gah… I just LOVE our community.
So of course I was THRILLED when Terry said yes.. so without further ado I will turn it over to Terry to share about her awesome market set up and hopefully it will inspire you for your own set up needs and dreams! Take it away Terry…

When I was initially approached about writing a blog post about my market setup, I was both flattered and intimidated. I haven’t been doing shows for very long, and I continue to learn as I go. After giving it some thought, I realized that even though I might not have the most experience, I still may be able to help somebody else, so here I go!
I think that market display is an often overlooked, but very important, aspect of your business.
Yes, your products are the most important part - but if potential customers never enter your booth, your products won’t receive the attention they deserve. Your market display is what represents you, your business and all of the beautiful items you create. Therefore, you will need to stop making products for a minute (eek!) and dedicate some time to creating an inviting display. Yes, I said it. I know that “Makers Gonna Make” - but this IS important too!

I narrowed it down to 4 factors that I considered when designing my market setup. By no means is this an exhaustive list, but this should get the creative juices flowing.
1- Transport
2- Ease of setup/ tear down
3- Functionality
4- Versatility
By no means is this an exhaustive list of things to consider - there will always be MORE things to think about. And you will always have new ideas popping into your mind. But, these are the items that I chose to focus on when designing my new market setup.
Now, let’s get to the good stuff!
I am utilizing tables, two “A Frame” racks and a check out stand for my current setup.
Tables are nice because they are often provided by the venue, and it is one less thing you need to transport. You can easily add height to tables with various items and I highly suggest you do.
You can get creative and find inexpensive accessories to jazz up your table top display.
I decided to use two “A Frame” stands as I felt there was a good amount of versatility with them. Cowls, neckwear and/or hats can be draped across the top and hangers are also an option.
Extra items can also be hung from dowel ends and I have some plans for them too! There are three shelves that get gradually larger from top to bottom. I thought this would provide an interesting, aesthetically pleasing, display that could be used for many different items. They can also be completely disassembled, making them easier to fit into my car. BUT WAIT - THERE’S MORE!
After a quick swap of the shelves and flipping the frame over, these racks can be transformed into rectangle shelves that resemble more of a traditional bookcase. SAY WHAT?!
Can you tell that I am excited about this?

Another piece that I am very excited about this year is my checkout stand.
Even though they are not a necessity, I think that it is a very nice to have. If you are participating in a really busy market with a lot of traffic, it is helpful to have a centralized location to keep all your checkout items. It is also nice to have a flat, clear surface to conduct transactions and wrap up customer’s purchases.
You can also have a shelf or two inside to hide your water (stay hydrated) and snacks (a girl’s gotta have snacks!). When I was thinking of the design for my checkout stand, I wanted it to be hinged so that I could just open it up and it was ready to go. I thought about how I could maximize functionality, and I decided to use pegboards on the sides. Pegboards are super versatile - they can house hooks and baskets and more options that I haven’t even thought of yet! This year, I plan to hang my shopping bags from my pegboards, but I thought ahead (see #4 above) to possible different booth setups and the ability to display additional products was just a bonus.
I am fortunate to have a wood-working Stepfather who was willing to help me create these pieces, as well as a Mother who helped me paint. Even if you don’t have the same resources as me, remember that your display items, if planned properly, can last for you for years to come. It might be worth considering investing the money to have some pieces built, if you plan to do more markets in the future. And remember, not only will a nice display help get potential customers in your booth, it will help you get noticed for those hard-to-get-into juried markets of the future. On the flip side, with a little bit of time and effort, you could build your own items. Or, you could get creative and go searching thrift stores, garage sales, etc.
Do what is going to fit into your budget and fit your needs, just make sure you consider all the options!

The attached pictures were taken during my pop up market. I only had a small area to set up, but I didn’t get to do my mock setup in my driveway as I had planned (thanks snow and ice!) so,I had to make it work!
I set up my checkout stand and one of the “A Frames” to iron out the kinks as far as packing my car and setting them up. I hope to utilize them much better at my upcoming markets. At the time of this writing, I am currently in full market prep mode for my upcoming shows in December, so stay tuned and I will follow up and let you know how it went.
See you again in January!
Thanks for reading - good luck and happy crafting!