
Budget Friendly DIY Hat Displays
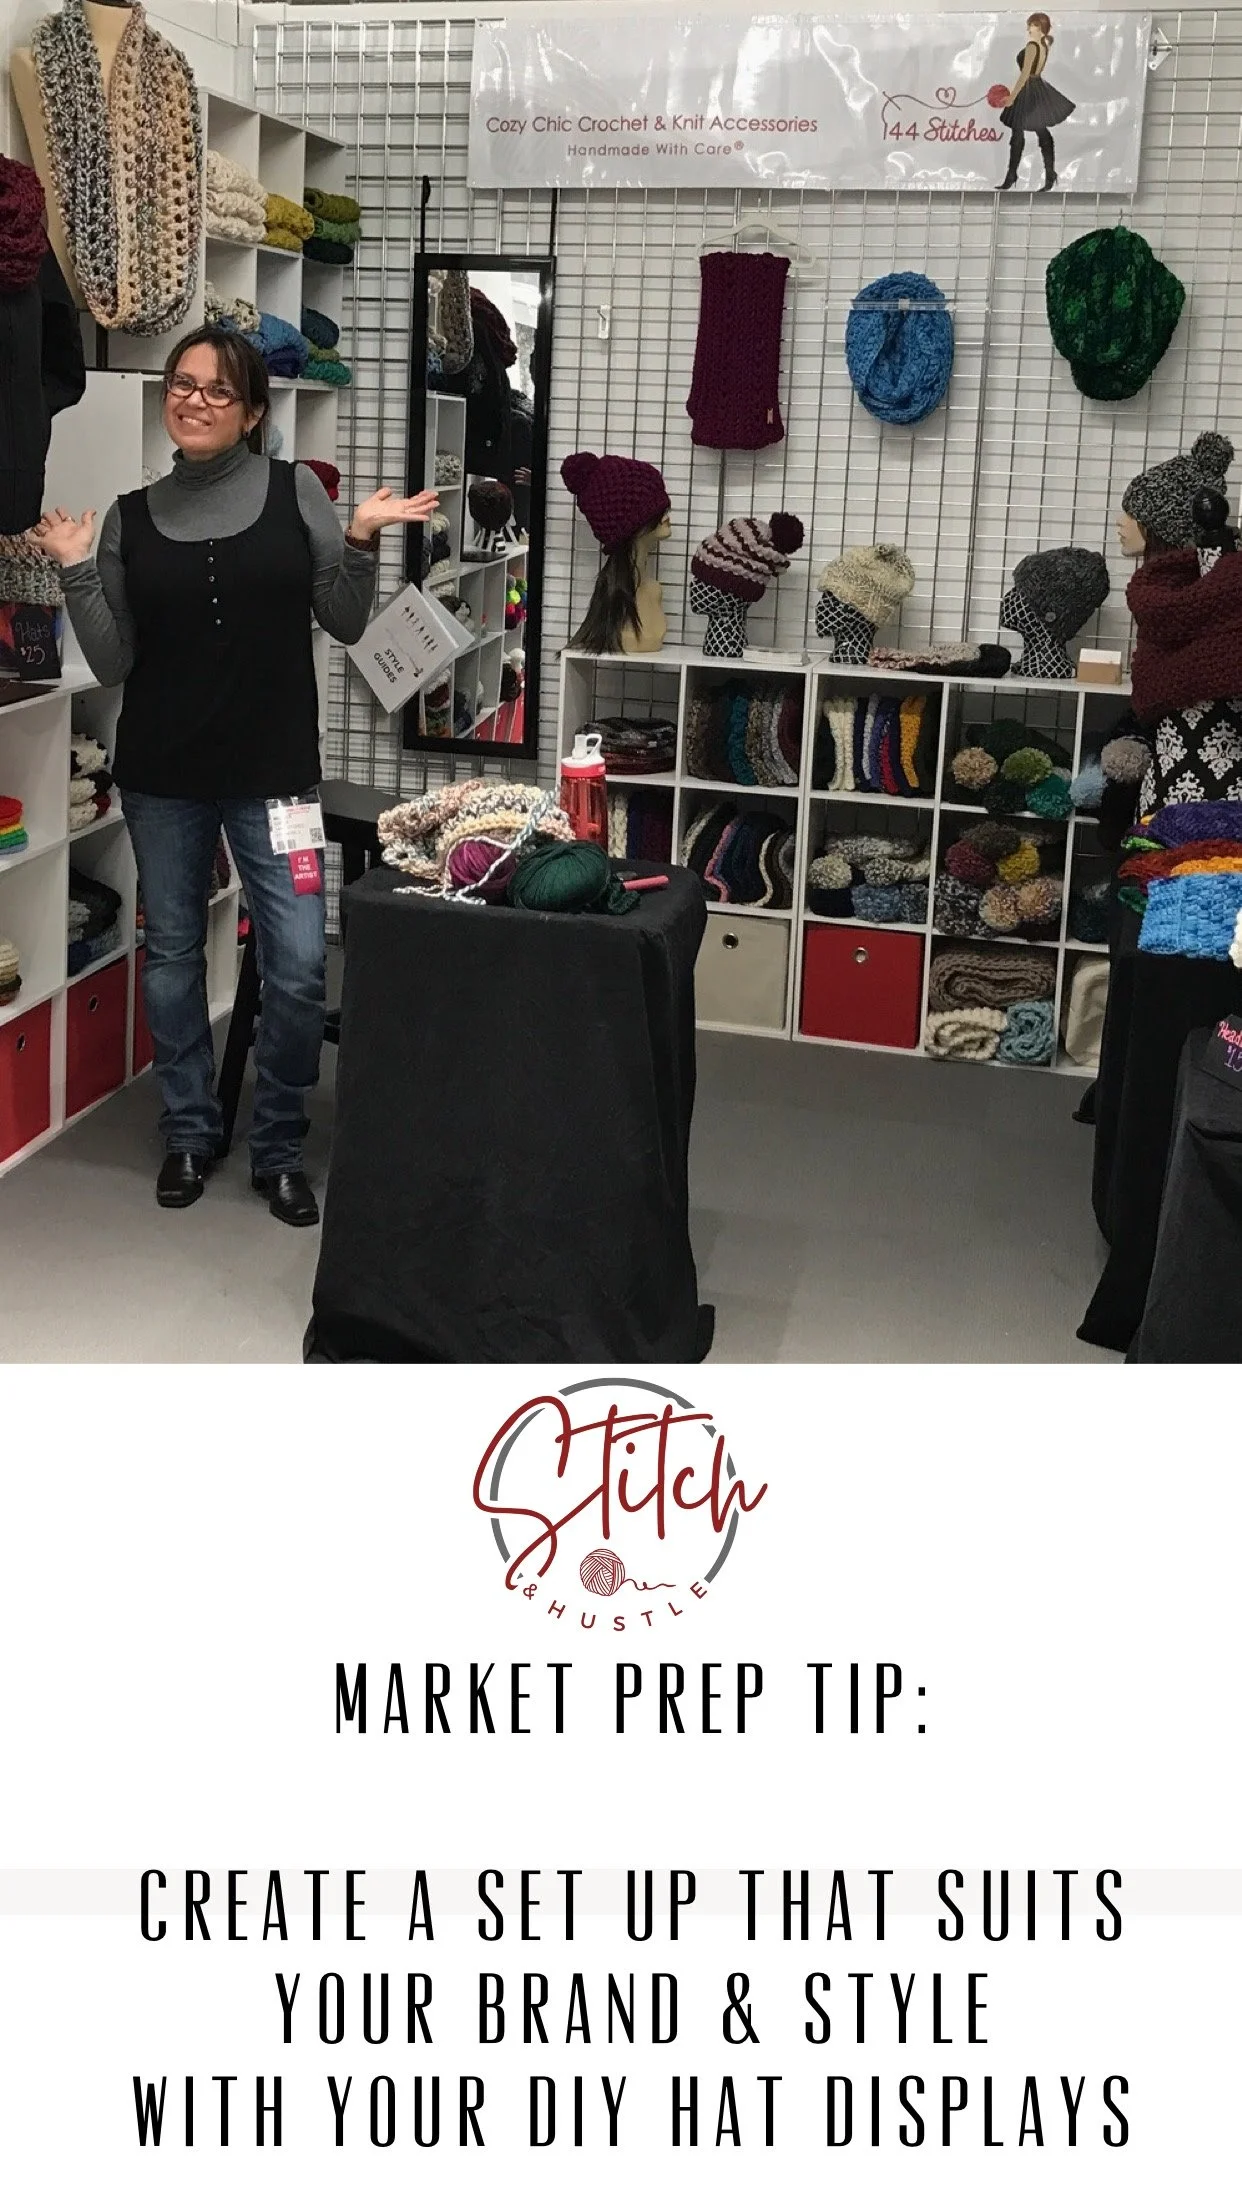
/Show off your creations in style and get ready for market season with a DIY foam head hat display you can make for under $10 each. When I used to do markets, especially the bigger ones, I was always looking for creative, on-brand ways to show off my work without blowing the display budget.
This is the method I landed on: taking plain Styrofoam heads and turning them into custom branded displays.
Why This Display Works
Cost: Under $10 per head, fully customizable
On-brand: Fabric choice lets you match your booth colors and aesthetic instead of settling for plain white foam
Scalable: Works whether you need 2 heads or 12 so you can grow and add more as needed
Beginner-friendly: No sewing, no power tools - just fabric, glue, and a foam brush
What You'll Need for DIY Hat Displays
(per head, unless noted)
1 Styrofoam head - I got some foam displays on Amazon for $7 each. They do not sell the exact ones I used but they have lots to choose from. Now they come in these convenient bundles.
Fabric scraps - strips and squares in a variety of sizes, enough to fully cover one head
Fabric Mod Podge — one jar covers well over a dozen heads
Foam sponge brushes for applying the Mod Podge
Scissors, for trimming fabric as you go
Choosing Your Fabric
The key is picking something on-brand and attractive that won't distract from the hats themselves. I stuck to black and white fabrics to match my brand, sourced from a few different clearance finds. Since this project only needs small amounts of fabric per head, it's a great way to use up the "leftovers" bin — and a great excuse to team up with a quilter friend who might have scraps to spare.
One rule I stuck to: don't mix fabrics on a single head. Picking one fabric per head, rather than combining multiple prints on the same piece, creates a cleaner, more cohesive look.
Some places to seek fabric:
Fabric.com is now an amazon store but a great source and has lots of options on clearance all the time
Walmart has fabric both in store and online.
Etsy is also a great source for fabric or you can shop local sewing shops.

Now let’s talk about the glue! I spent a bit more than I needed to as I was learning and experimenting what would work best. Let my expense be a budget saver for you. I landed on the Fabric Mod Podge as the best bet and treated the project like a fabric decoupage. I got it on sale and with a coupon for less than $3 and used less than half the jar for a dozen heads. I had foam sponge brushes from another craft project in the studio, but if you need to buy them I suggest this pack.

I pulled out a folding table from the garage because I know I am a messy crafter. I like to spread out and have fun and not worry too much about all the tidy spaces. That is just my way.
How to Assemble It
Set up your workspace. This gets messy make sure you have a workspace you don't mind covering in Mod Podge.
Cut your fabric. There's no exact size or shape needed. Cut a mix of strips and squares - this is decoupage, so it's meant to be imperfect rather than draped precisely.
Cover the crown first. Cut a medium rectangle to cover the top of the head, and apply it with a layer of Mod Podge.
Build outward with smaller pieces. Add smaller strips and squares as you go, letting the shape of each piece guide where it lands. Keep scissors handy to trim as needed.
Let it dry. Give the Mod Podge time to fully cure before handling or stacking your heads.
The one thing I did intentionally was not mix fabric per head. Since I had selected a few fabrics from the discount bin I made sure not to mix them as I glued them on. I think this created a cleaner look.
What It Actually Costs for DIY Hat Displays
Here's the real breakdown from my own batch of 12 heads:
Glue: $3
Fabric (clearance/discount mix): $16
Foam heads: $7 each × 12 = $84
Total: $103 for 12 heads → $8.58 per head
Even at full price on every material, you're looking at a fully custom, branded display for under $10 a head.

There you have it. It doesn’t take too much time. I did a dozen foam heads the night before my big show load in and set up. Now, I do not suggest you do it THAT last minute but like I said, it won’t take too much time. But leave yourself some time to have fun with it too. I sure did.





Market season may be different this year but prep is still essential! Get yourself ready for Market Season and Market Prep In Style With These DIY Hat Displays. Stay on brand and create a stylish display for under $10!