Montgomery Street Shawl Free Knitting Patteern
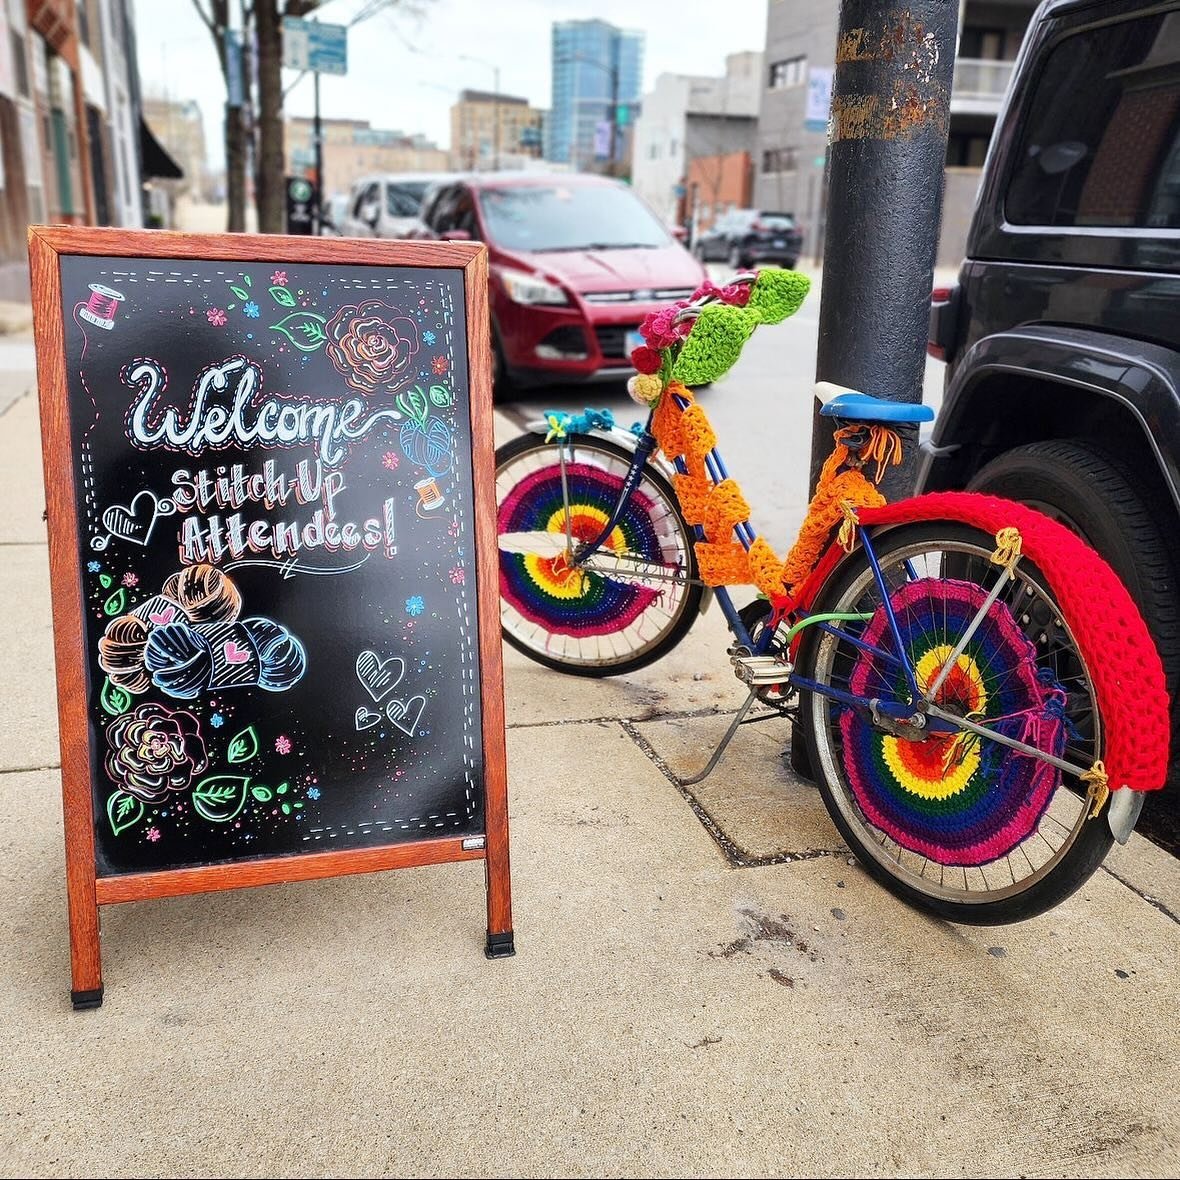
/When we were planning Stitch Up Chicago 2020 and deciding what to make the workshop projects, I knew I wanted to take this opportunity to create a knit version of my popular Montgomery Street Crochet Shawl. It was even more awesome since both Kristy Glass and Stephanie of Asylum Fibers were going to be there because what a better place to debut this version of Montgomery Street! It was a huge hit and this is a great beginner friendly shawl for any level knitter to enjoy! Like the crochet version, you can make this is big or as small as you want to suit your style. I know people who have made several in various sizes and colors and just love this both simple and stylish pattern.

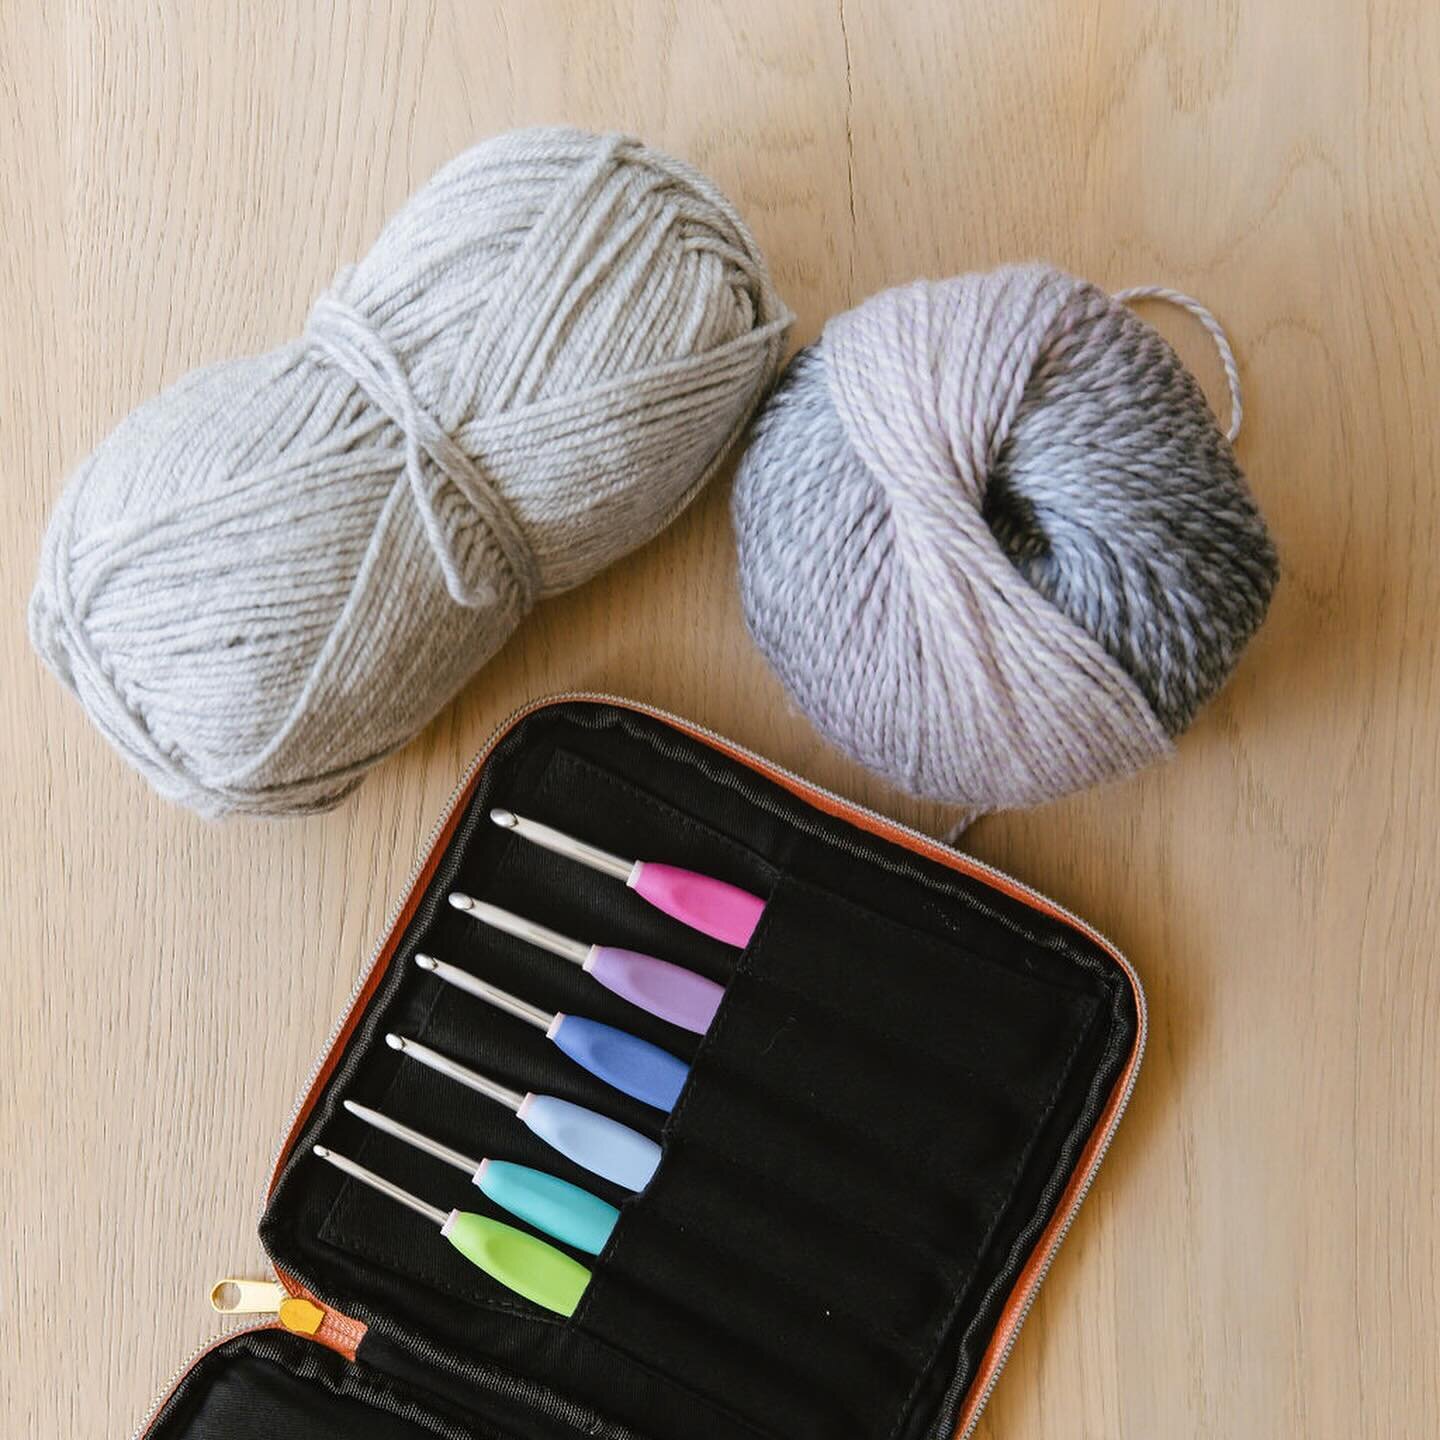
Materials
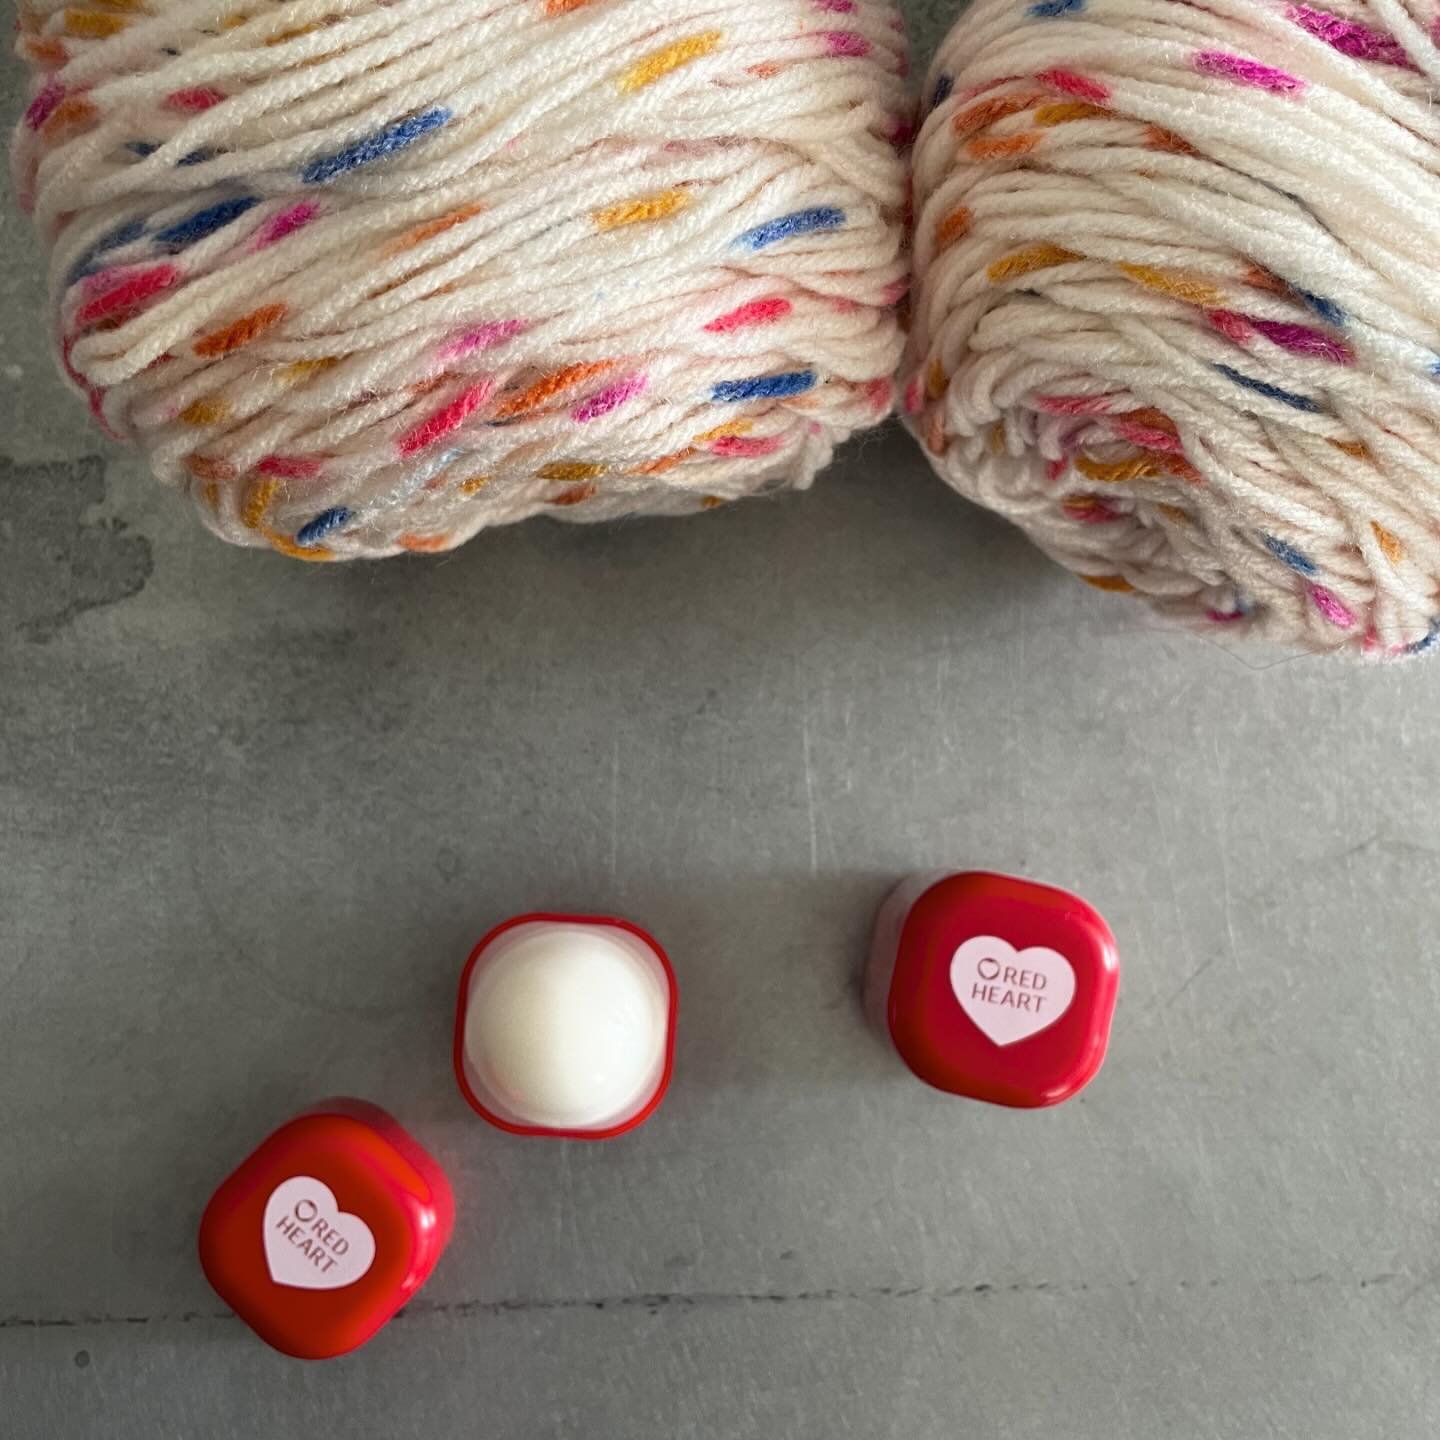
Asylum Fibers Merino DK / Approx. 220 yards - color shown Red Hot
Knitting Needles Size US 7 / 4.5 mm
2 Stitch Markers
Tapestry needle to weave ends
Tape Measure
Stitches Used / Abbreviations:
co– cast on
k – knit
p - purl
yo – yarn over
sm – slip marker
bo – bind off
st(s) – stitch(es)

PATTERN NOTES:
This is written for a bandana / shawlette as shown.
You can add as many rows as you want before the finish picot trim row but will need more yarn.
Finished measurements: 38” x 22” x 22” / 12” long at spine
GAUGE: 4” sq = 17 sts x 24 rows in garter stitch
*** Gauge is not particularly important for this pattern.
It matters more to have a fabric that you will like. It is meant to be stitched loosely.

SET UP:
CO 5
Row 1 (RS): K2, yo, place marker, k1, place marker, yo, k2.
Row 2 (WS): K2, p to last 2 sts, sm as you go, k2.
CONTINUE IN GARTER: (inc 4 sts per RS row)
Row 1 (RS): K2, yo, k to marker; yo, sm, k1, sm, yo, k to last 2 sts, yo, k2
Row 2 (WS): Knit to marker, sm, p1, sm , k to end
Rows 3 – 86: Repeat Garter Rows 1,2 alternating 179 sts
PICOT TRIM ROW:
Step 1: Using Cable Cast on - Cast on 2 stitches
Step 2: Knit 2 stitches
Step 3: Pass the first stitch over the second stitch, leaving a single stitch on your right needle
Step 4: Knit 1
Step 5: Pass the first stitch over the second stitch, leaving a single stitch on your right needle
Repeat Steps 4 & 5 two more times
Step 6: Slip remaining stitch back to your left needle
Repeat all steps to the end.
Pull tail through last loop.
Weave in ends.