Budget Friendly DIY Hat Displays

Budget Friendly DIY Hat Displays

Market season may be different this year but prep is still essential! Get yourself ready for Market Season and Market Prep In Style With These DIY Hat Displays. Stay on brand and create a stylish display for under $10!

Read More

My Weekend Project: A Little Woodworking Fun Working On Show Displays

Me & The Husby Getting Our Woodshop On

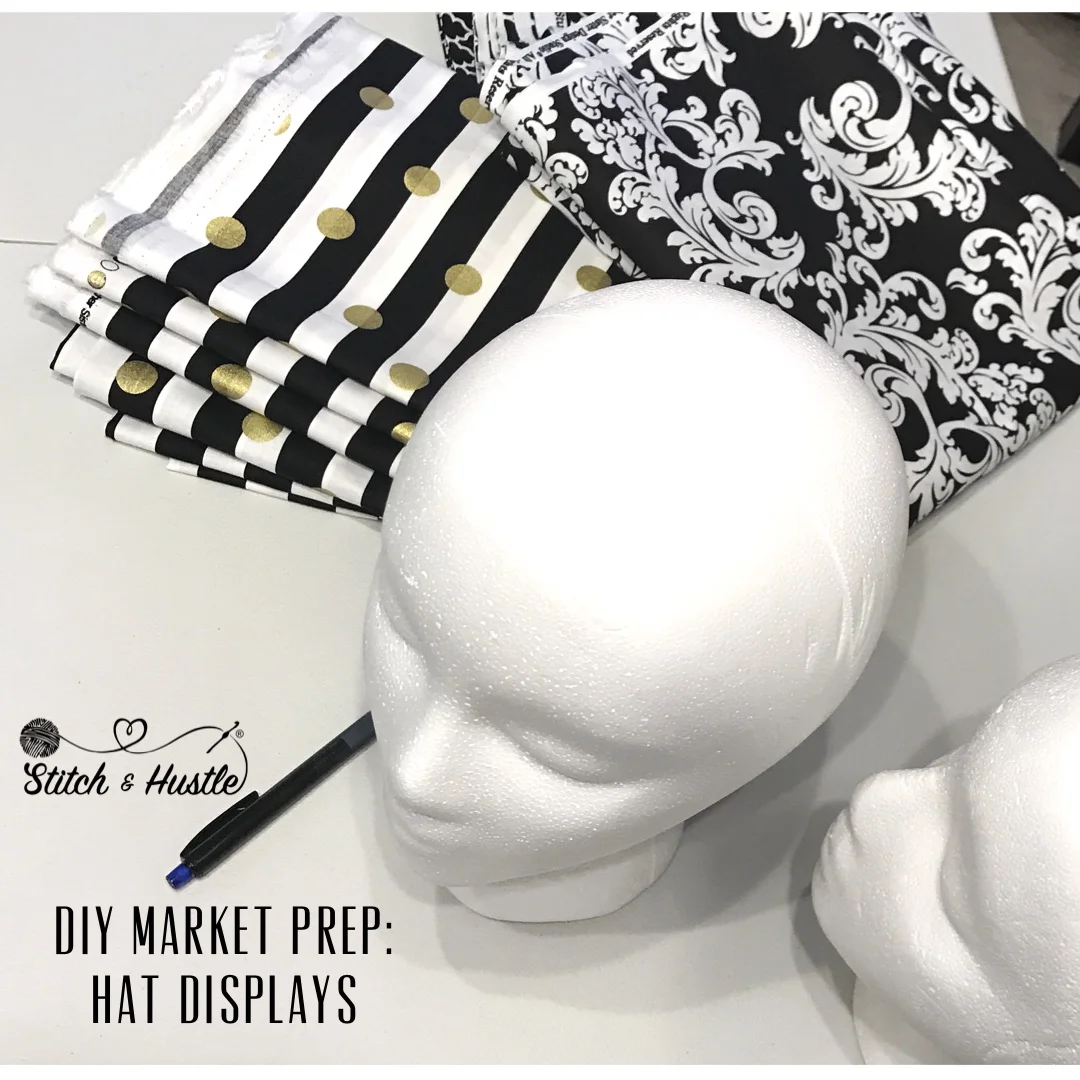
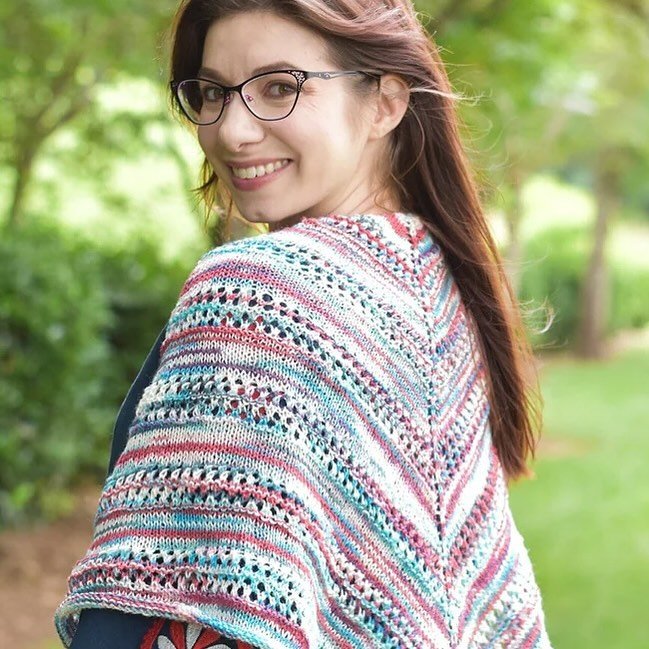
I am always looking for interesting ways to display my creations. But unless you catch a store closing sale, dress forms and mannequins are not cheap and building a display can get expensive. Fast. I also don't want the display to take away from or distract from the crochet creation I want to show off. And now that I am doing more in person appearances, such as at The One Of A Kind Show in Chicago, I also want displays that work within my booth while people have a room to walk around and shop. Meeting all the display criteria is not easy.

And, Like I said… it can get expensive fast.

So after spending a little time on Pinterest (and getting lost in the land of pretty pictures and fabulous ideas), I realized why not just build what I want? For raw materials cost of under $50 and a fun day in the garage / workshop with my fabulous husband I could get exactly what I wanted. I present to you my DIY Easter weekend in pictures and note I am EXTREMELY proud of the finished projects at the end:

FIRST UP: The Head Display

We started with a scrap piece of wood from another project. We cut it to the size we wanted and then let the sanding begin.

TIP: Measure the hole in the base of the Styrofoam heads to buy the right size rod. Also, buying one long rod and cutting it allows flexibility in placement or you can know the measurements you want and they will cut it in the store for you. Some places charge to cut though.

Almost done assembling the head display stand after we drilled holes for the rods.

NEXT UP: The Hanging Stand

TIP: We took a plastic hanger and traced it onto the wood for the standing frame. Use thicker wood – 1.5″ – 2″ so it will be sturdy and hold the weight of your piece. Sand the heck out of that hanger. Remember, your garments will hang here for display and you don’t want them to get snagged in the fabric. We use a tread screw at the base so that this stand can easily be taken apart for transport.

And here comes the big finish...

New displays are ready and one perfect Weekend with the husby in the can.