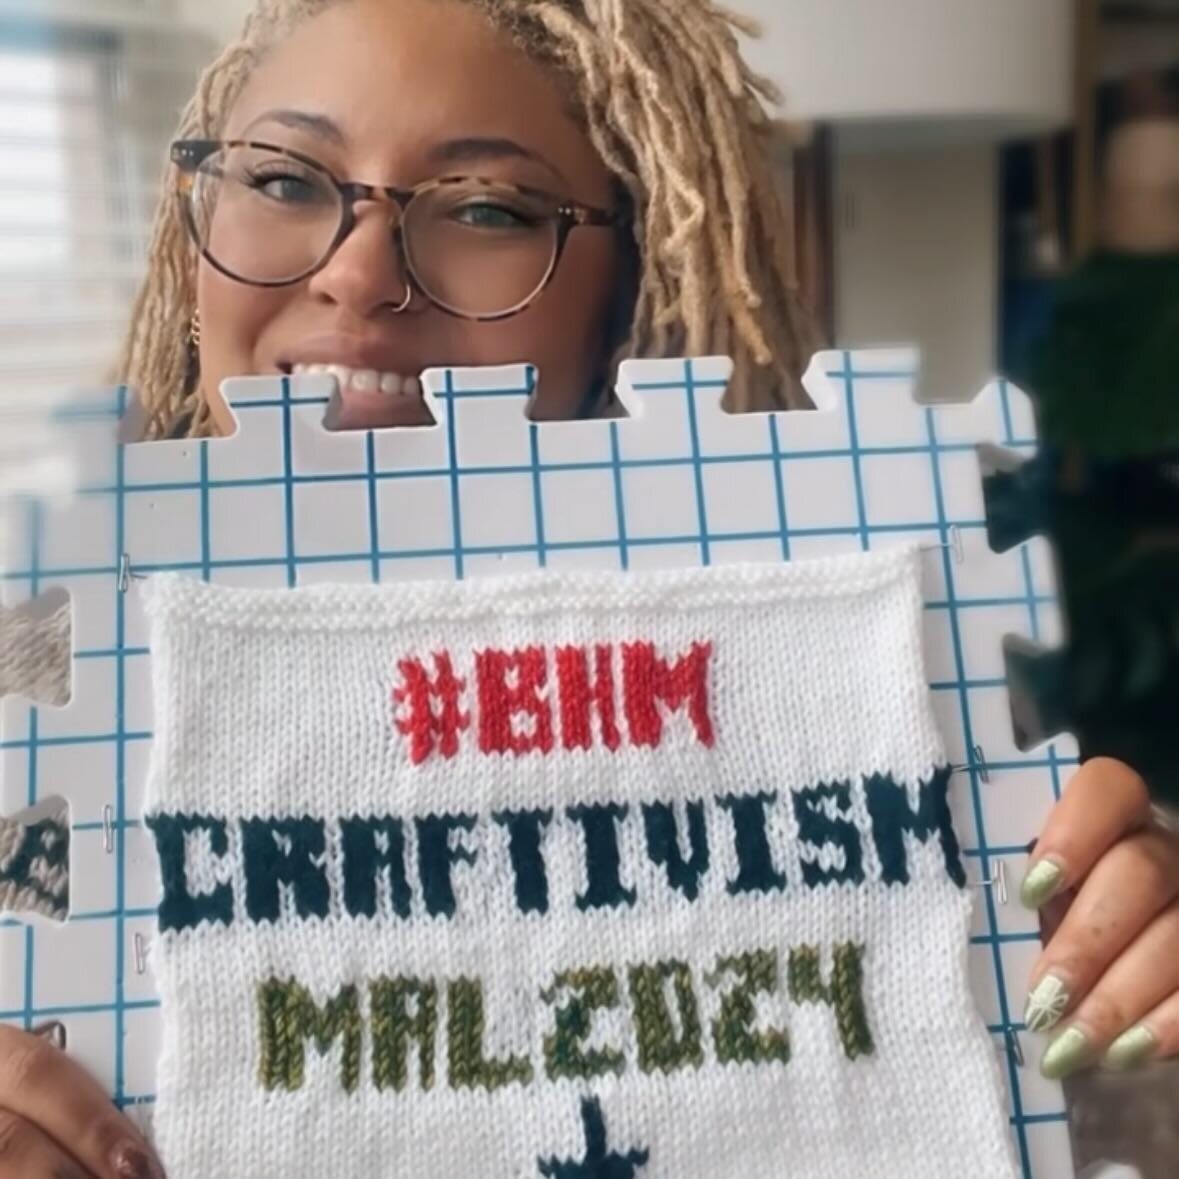
Mama Knows And That Ain't No Lie!

Ok... I have to force myself not to use all caps for this entire post because I am so excited I want to yell and jump and dance and make sure everyone knows it. I MEAN THIS WAS SO MUCH FUN! for real... I have had the time of my life collaborating with Sarah and Mama Knows Luxury. She knows fun too by the way!

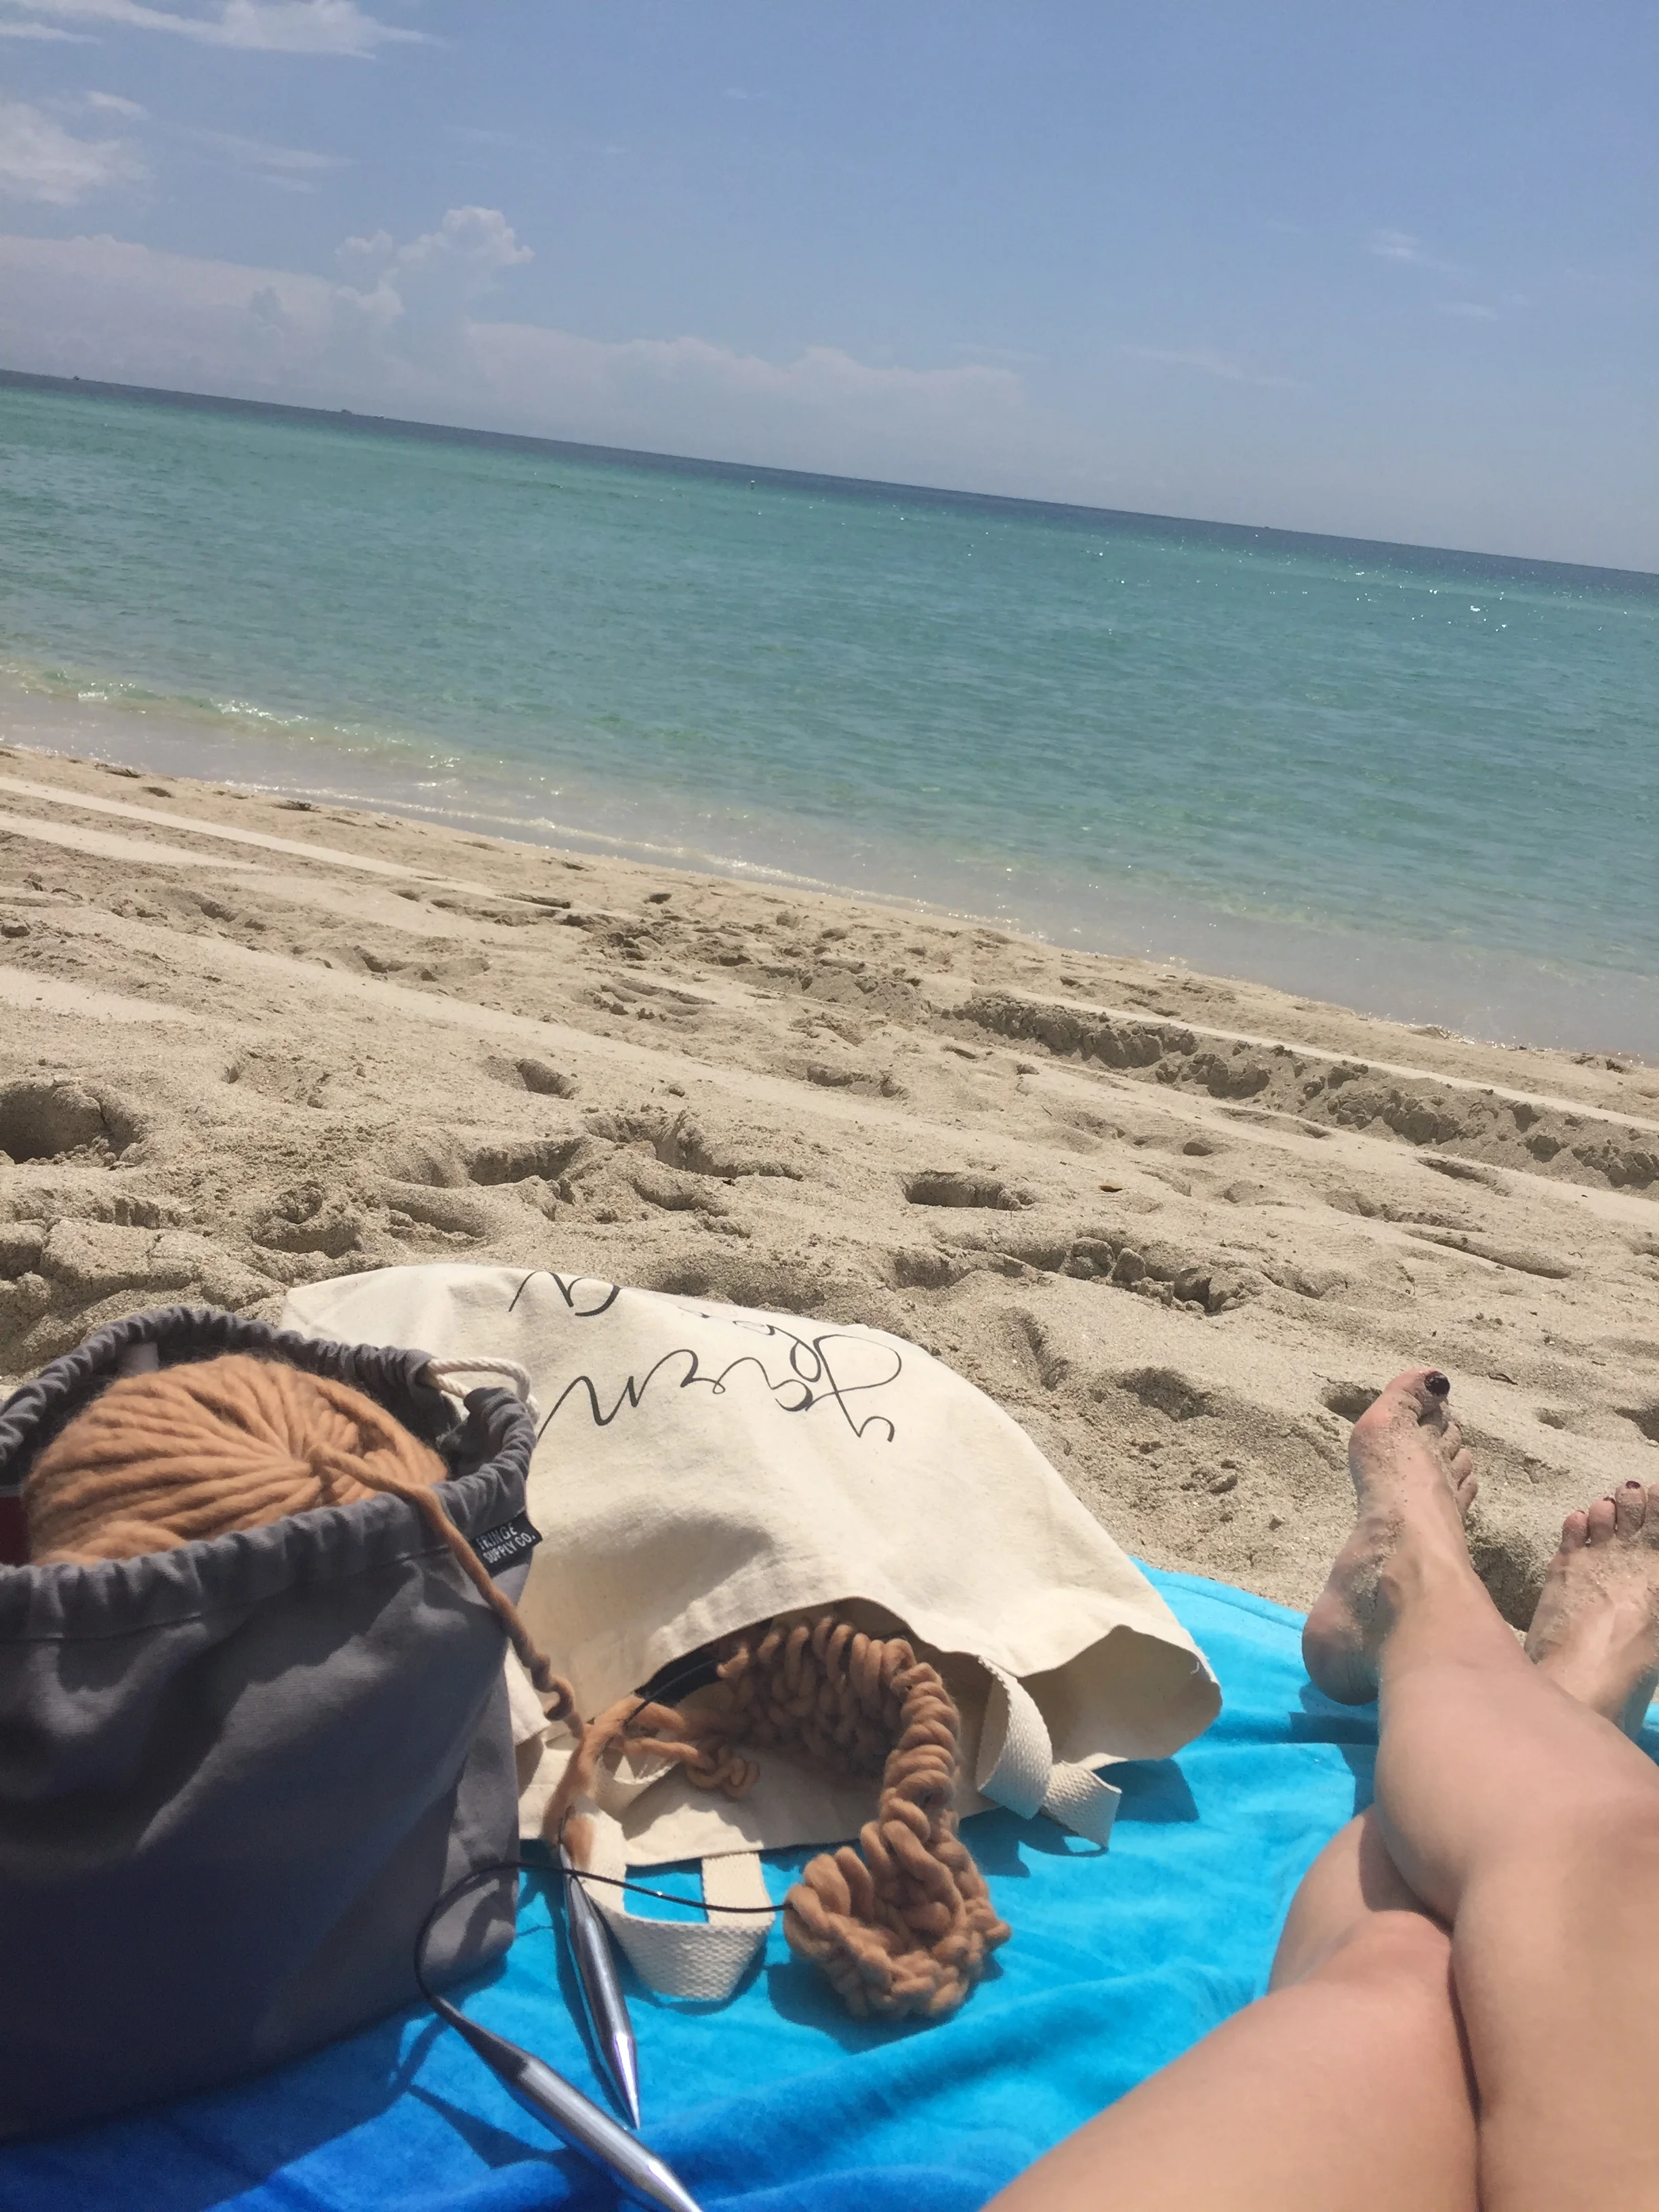
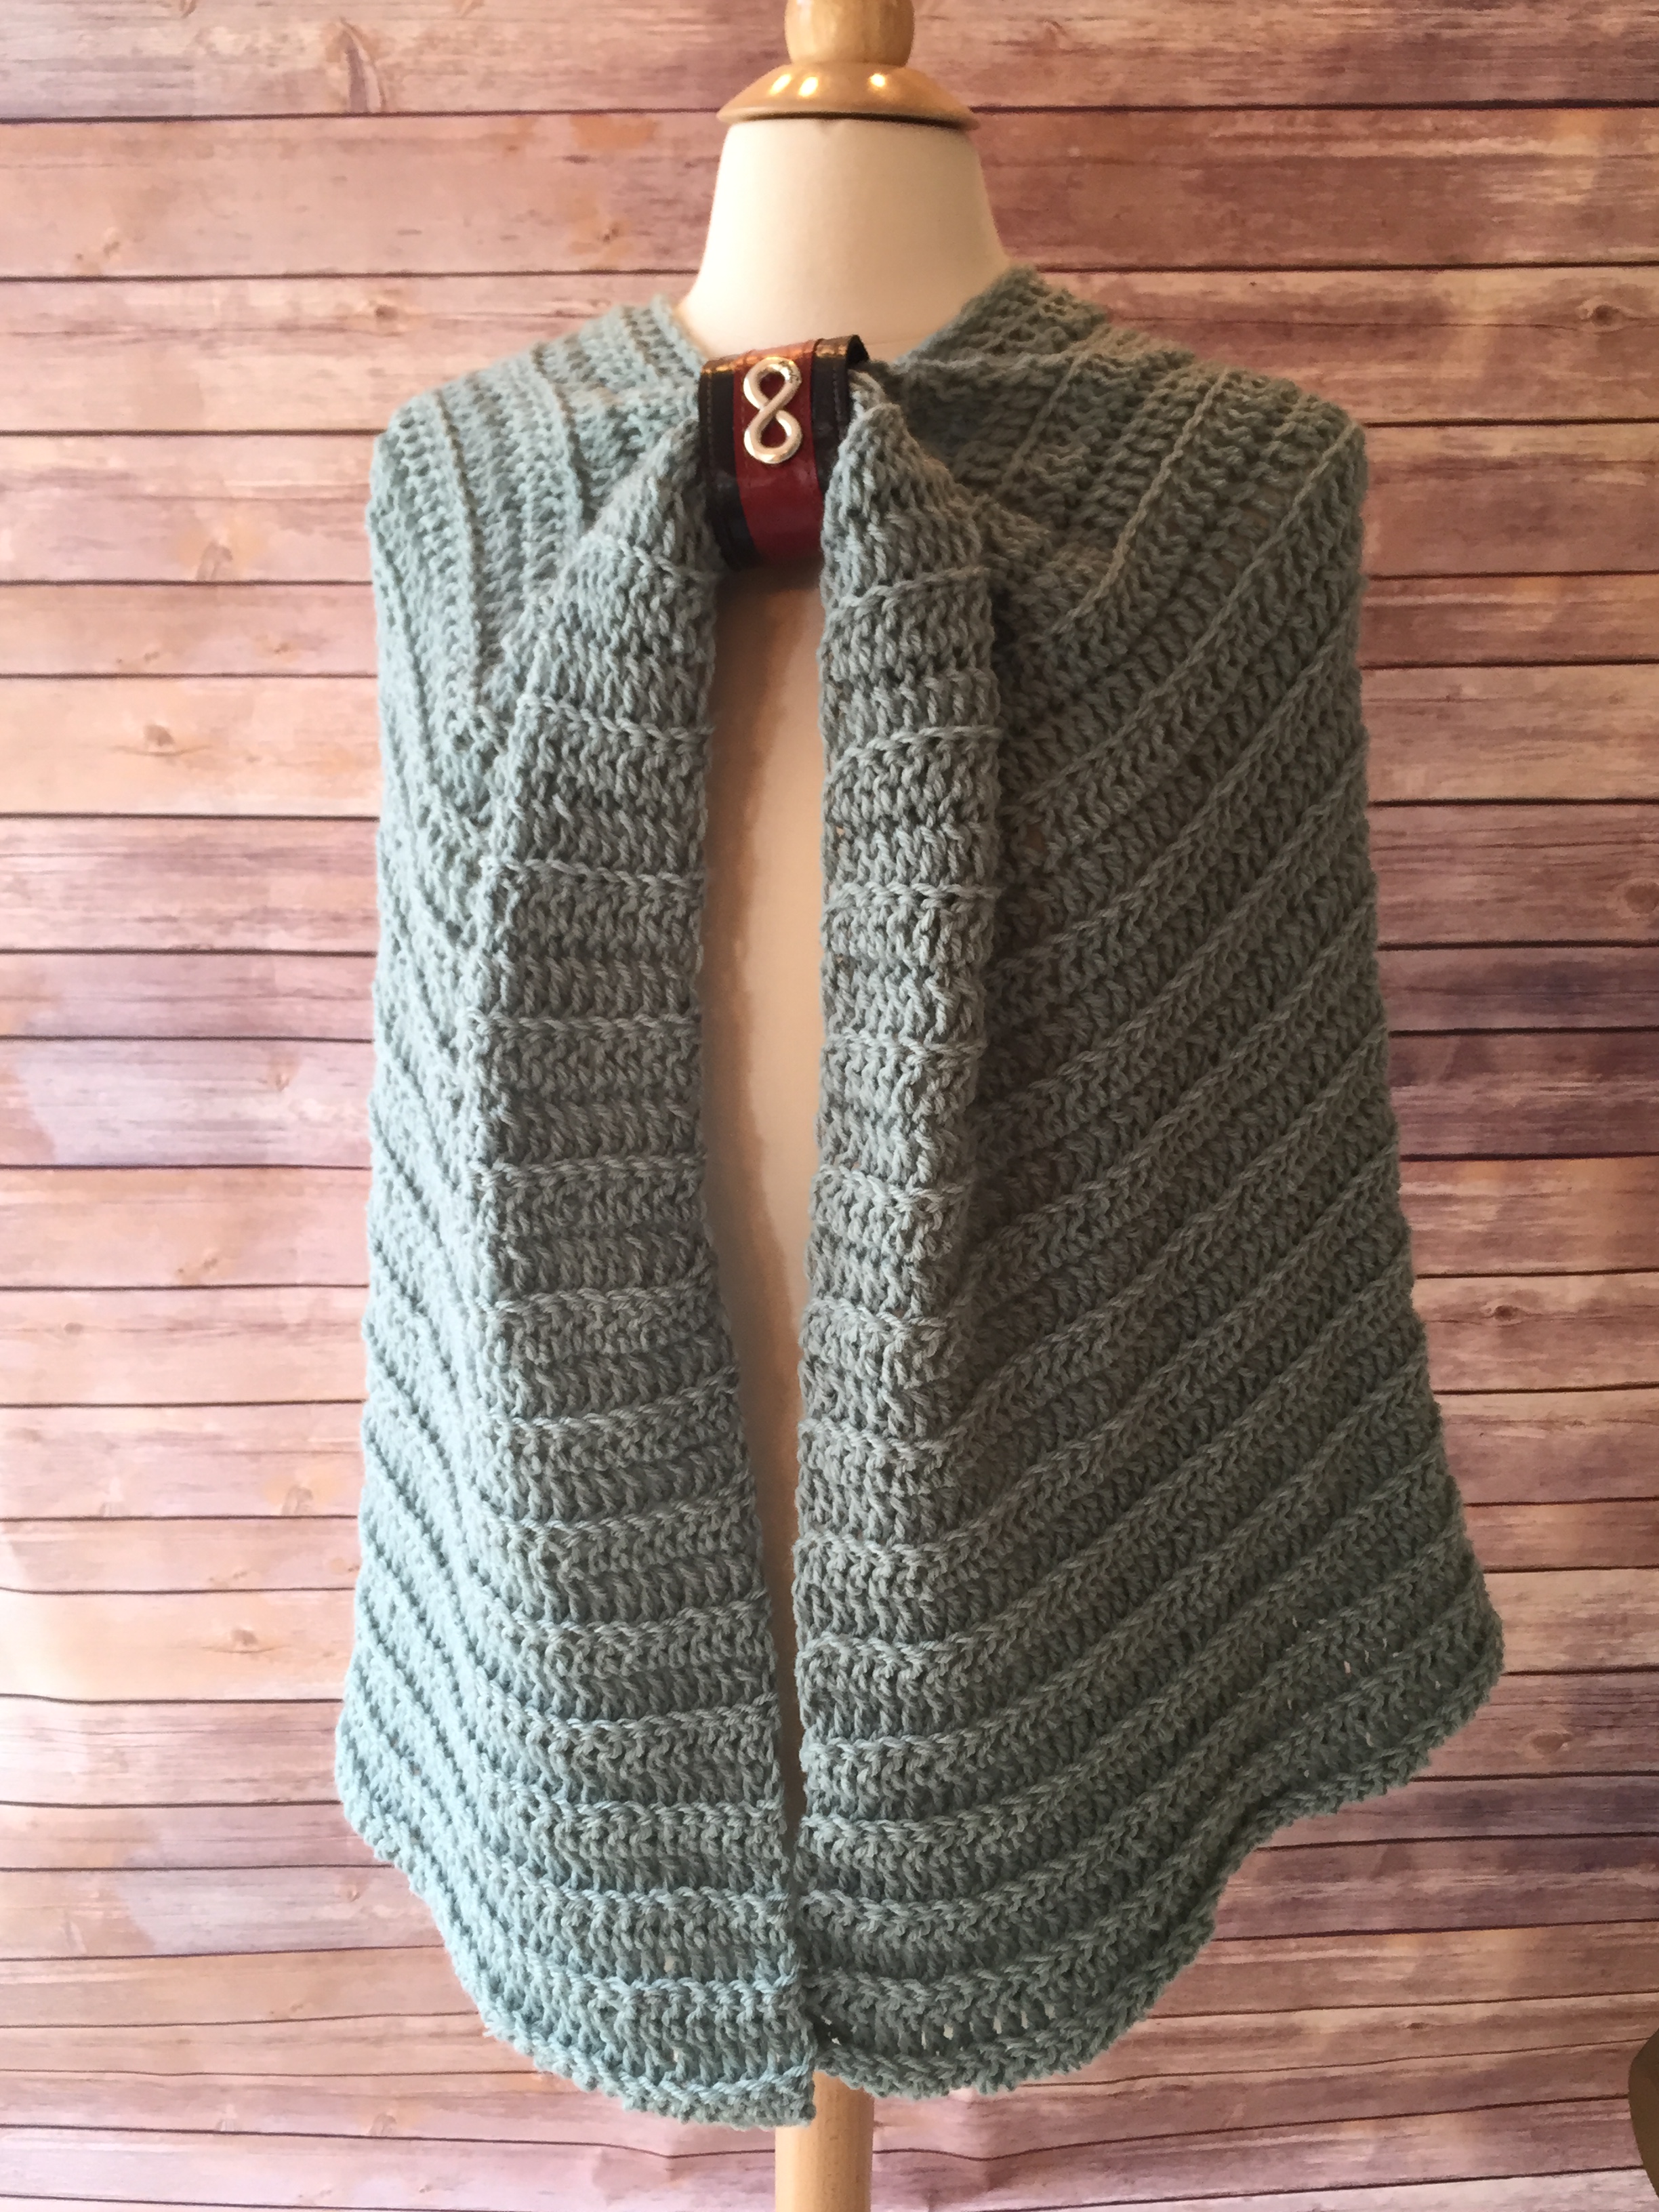
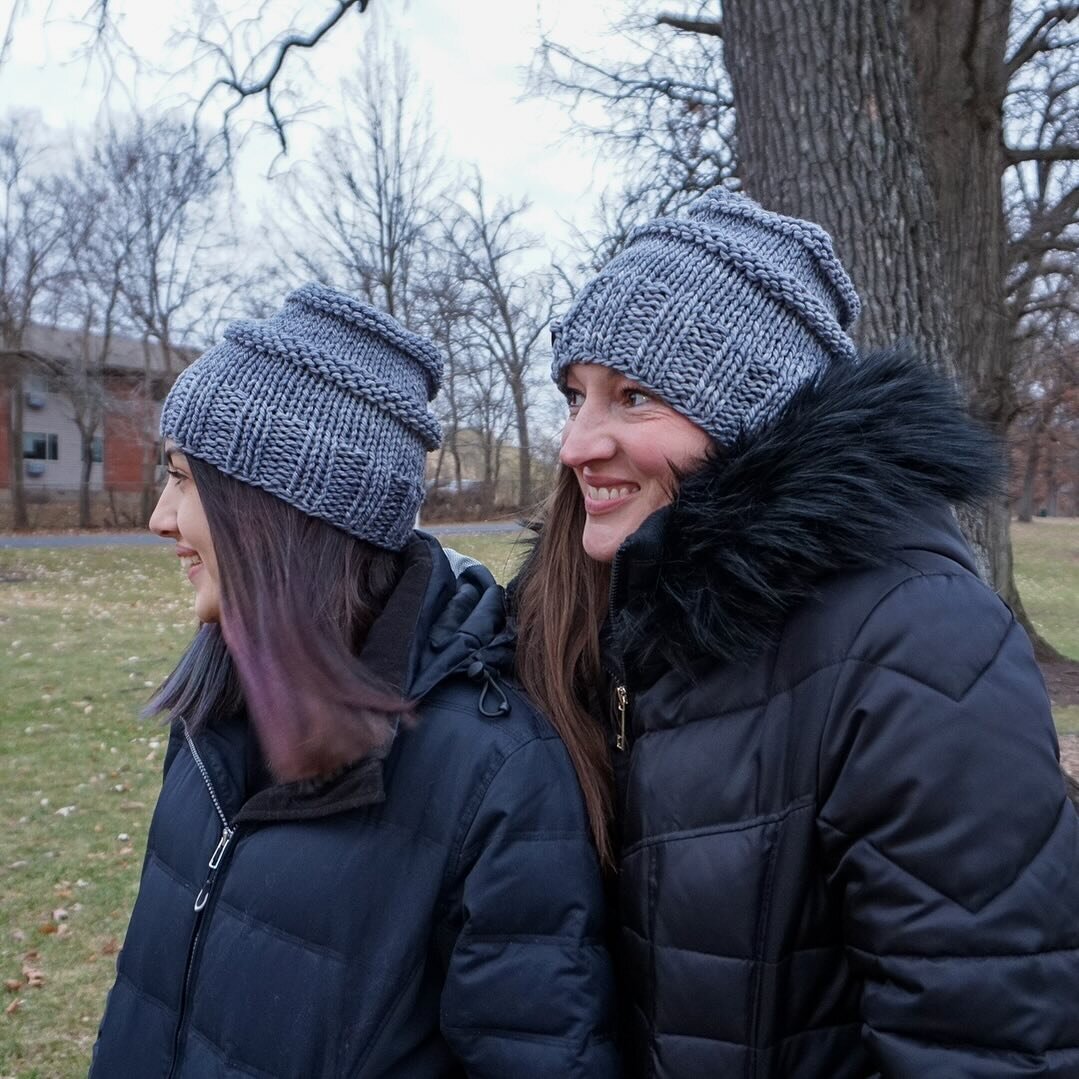
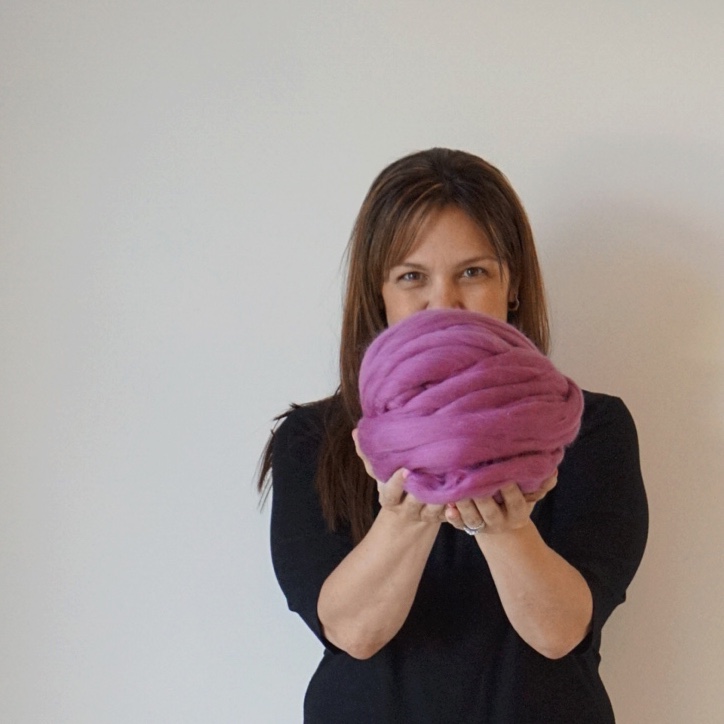
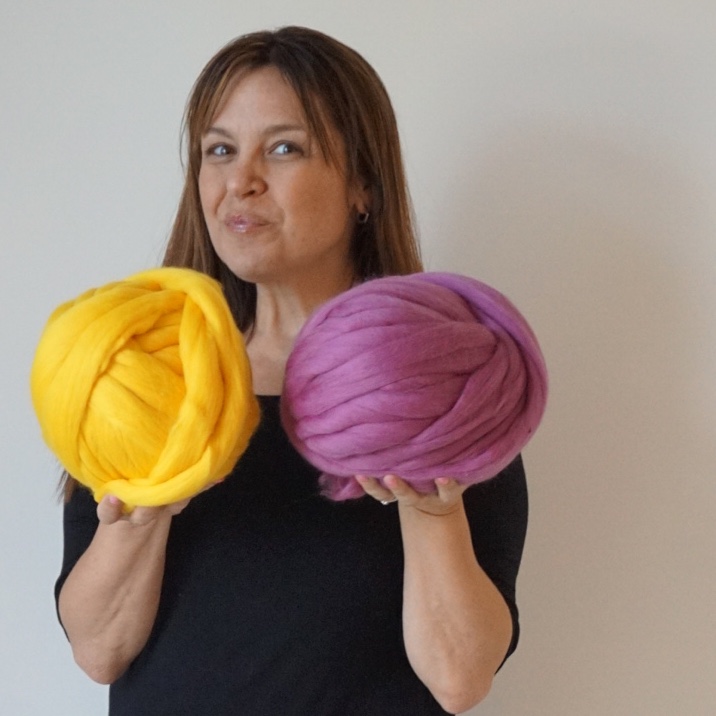
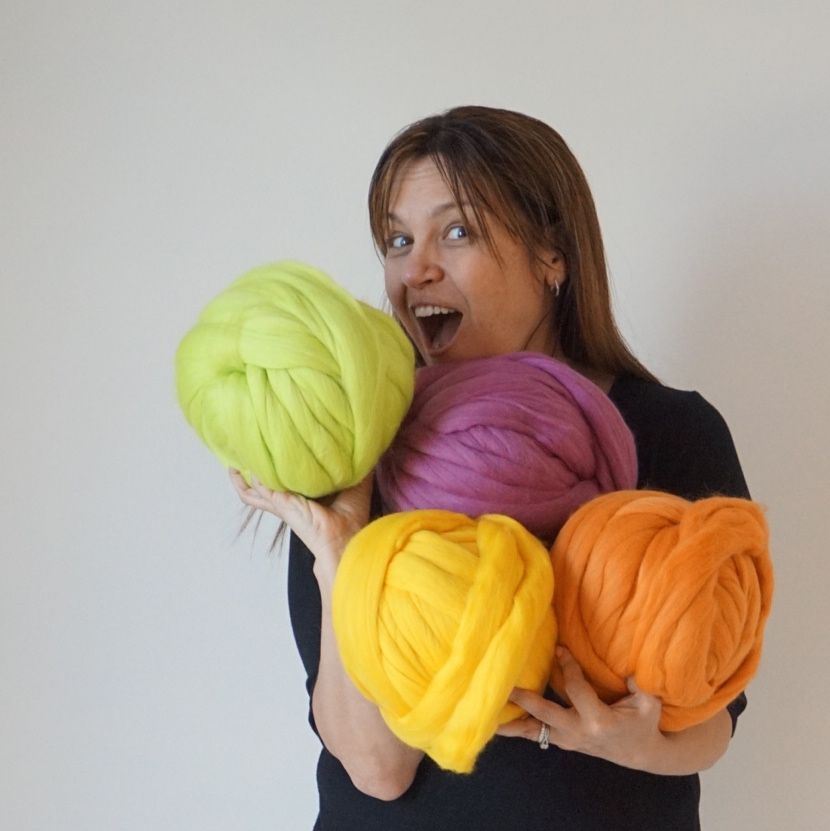
I had seen all of these big chunky merino projects over the last year. Blankets and knits and hand knitting and arm knitting. It was all exciting and curious and totally overwhelming. I wanted to try but those big projects didn't seem to call me by name. I had a feeling I would start with a bang then see them over in that endless pile of all my other "in progress" projects. I wanted to do something different to try this stuff out. This stuff I talk about is big bulky huge balls of merino wool. I reached out to Sarah with my crazy idea for bright colors and home decor with a twist. I am so glad she was on board for this because I have had SO MUCH FUN!

Ok... let me sidebar a minute:

If you read my post about Brand Partnerships, then you know how important partnering with the RIGHT brands is for success. Partnering with Mama Knows Luxury was more than Right, it was perfect.  Originally, we had agreed to have this collaboration post for Easter. I had a big fun Easter spread planned. And then my sweet Sadie got sick. So we moved the project to be for Mother's Day. Then my Sadie suddenly died. And my world fell apart. I didn't want to create. I wasn't feeling inspired. I hardly wanted to make anything. I tried. I took out the project bag so many times trying to force myself to feel creative but all I felt was sad missing my Sadie.

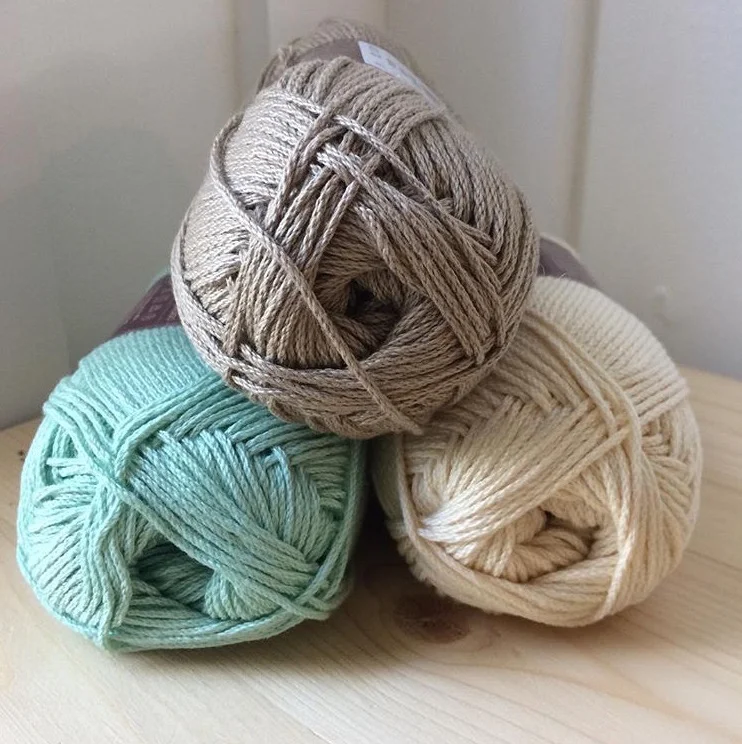
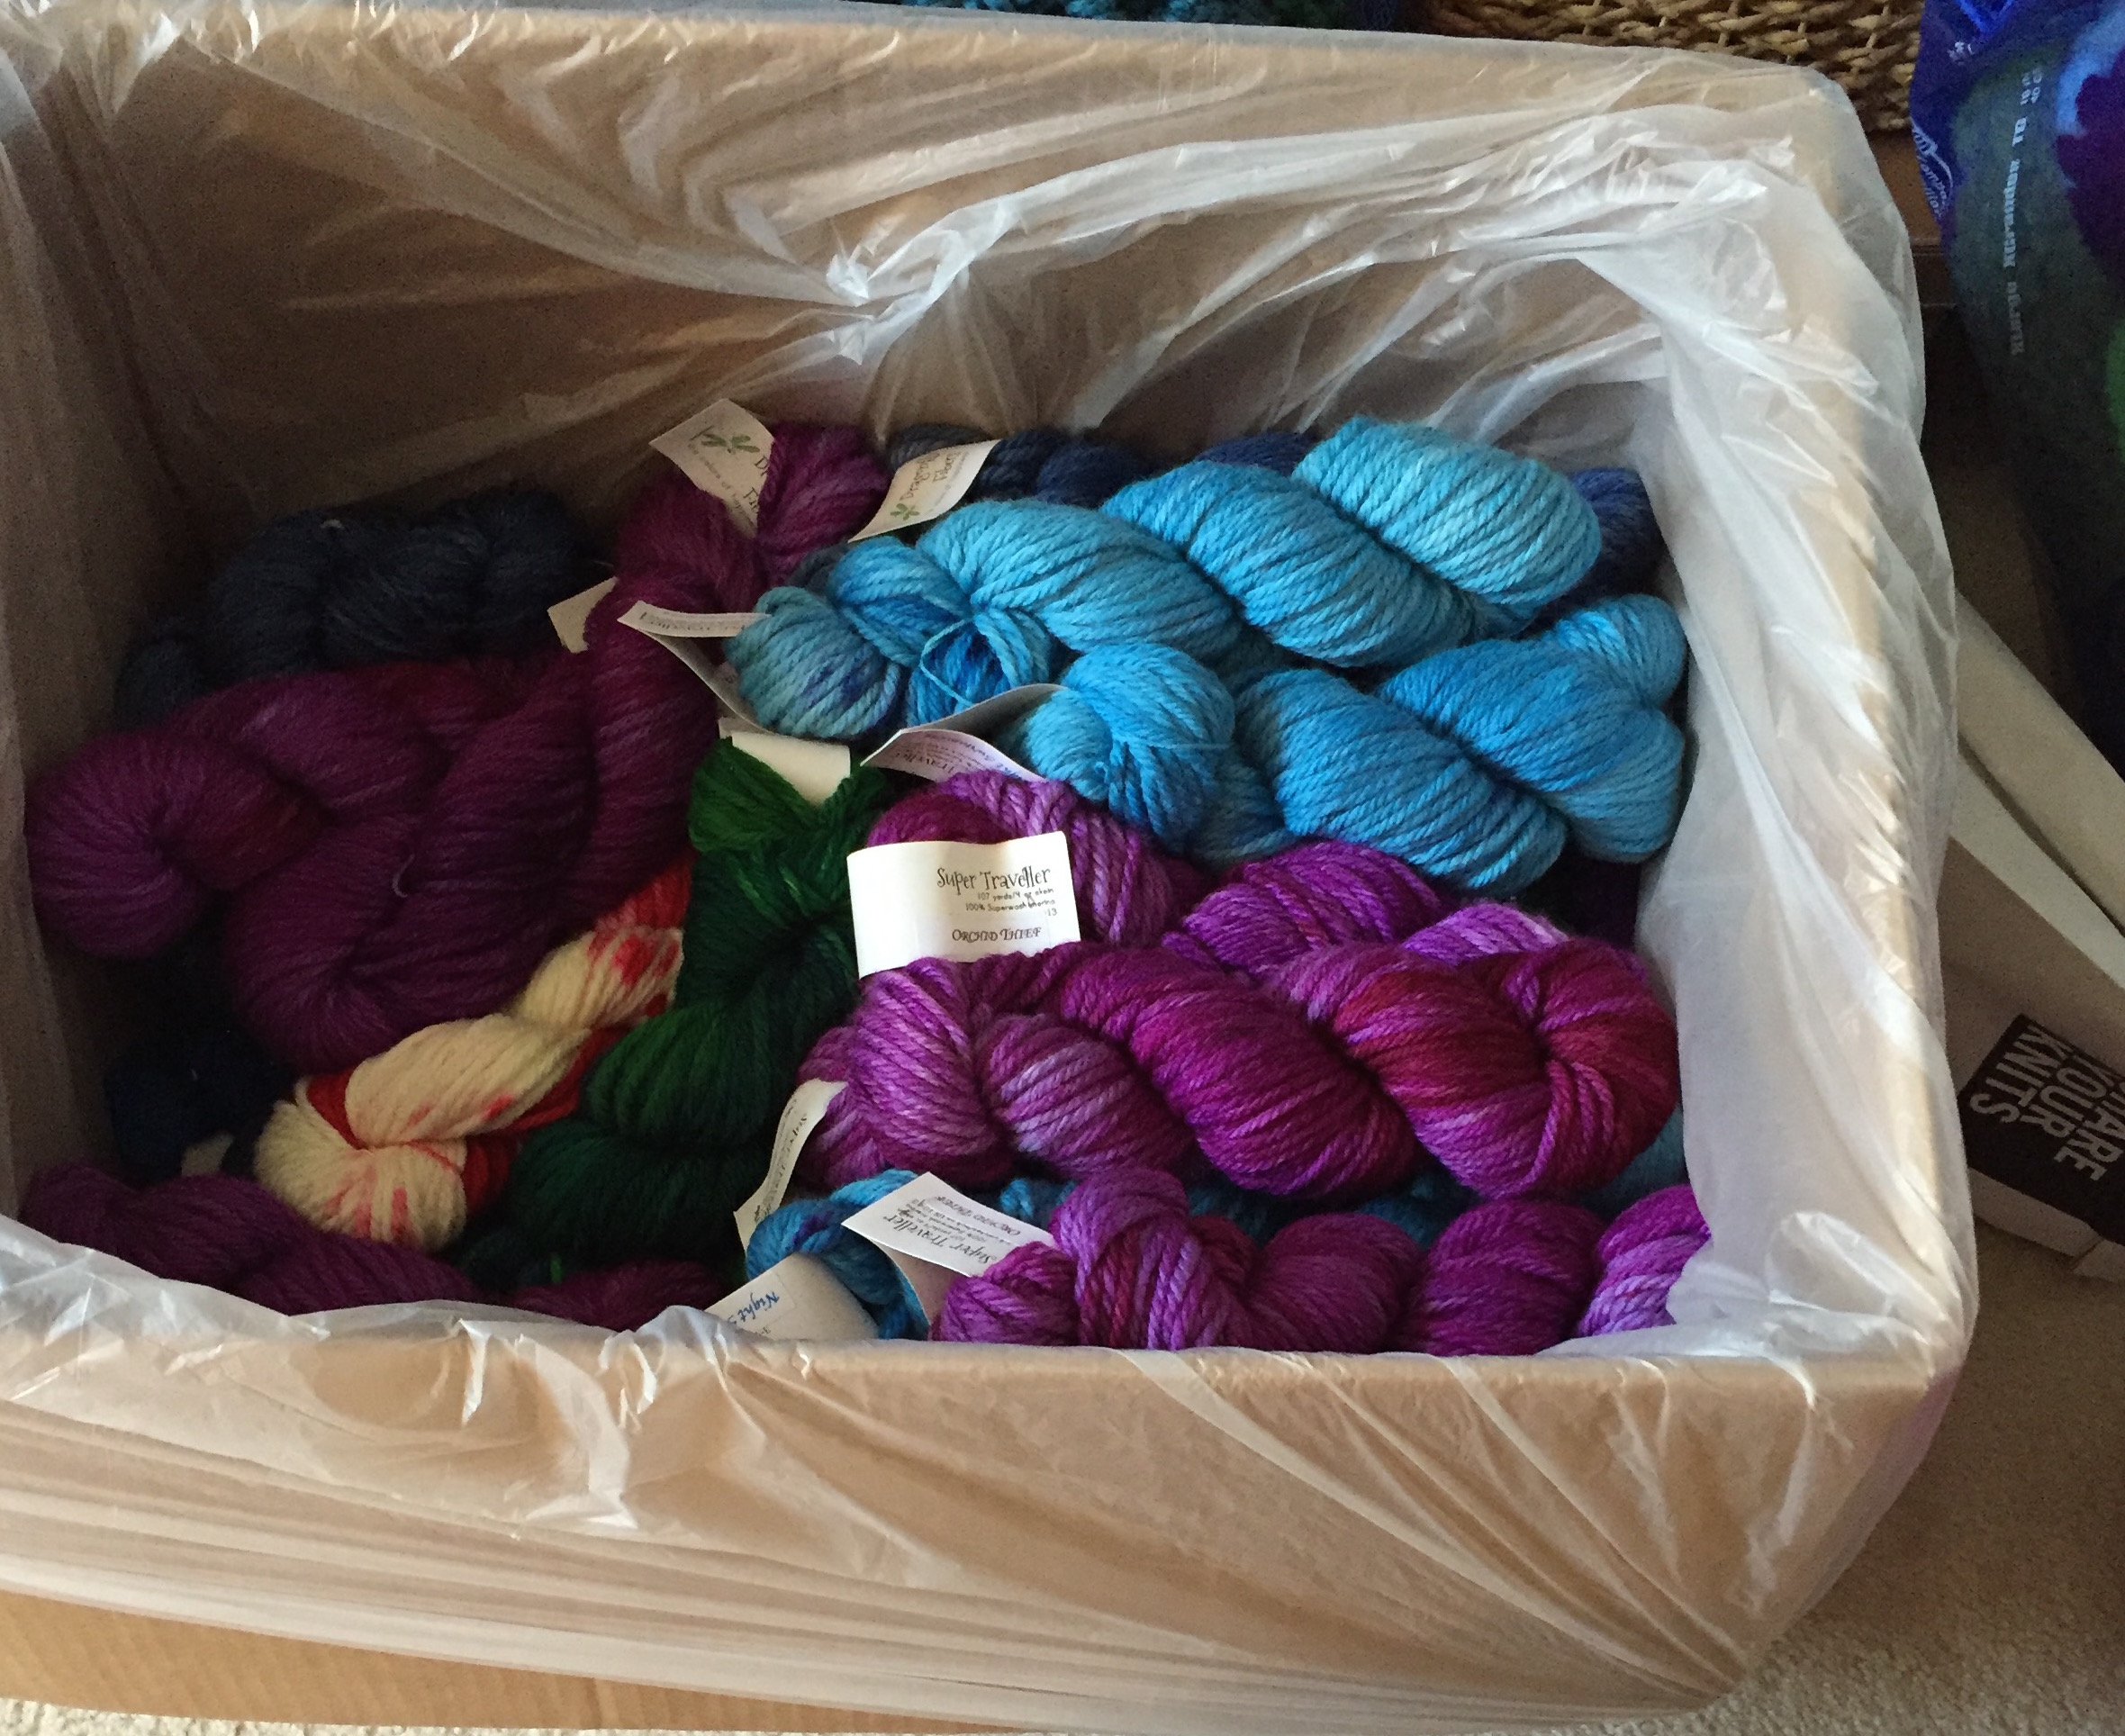
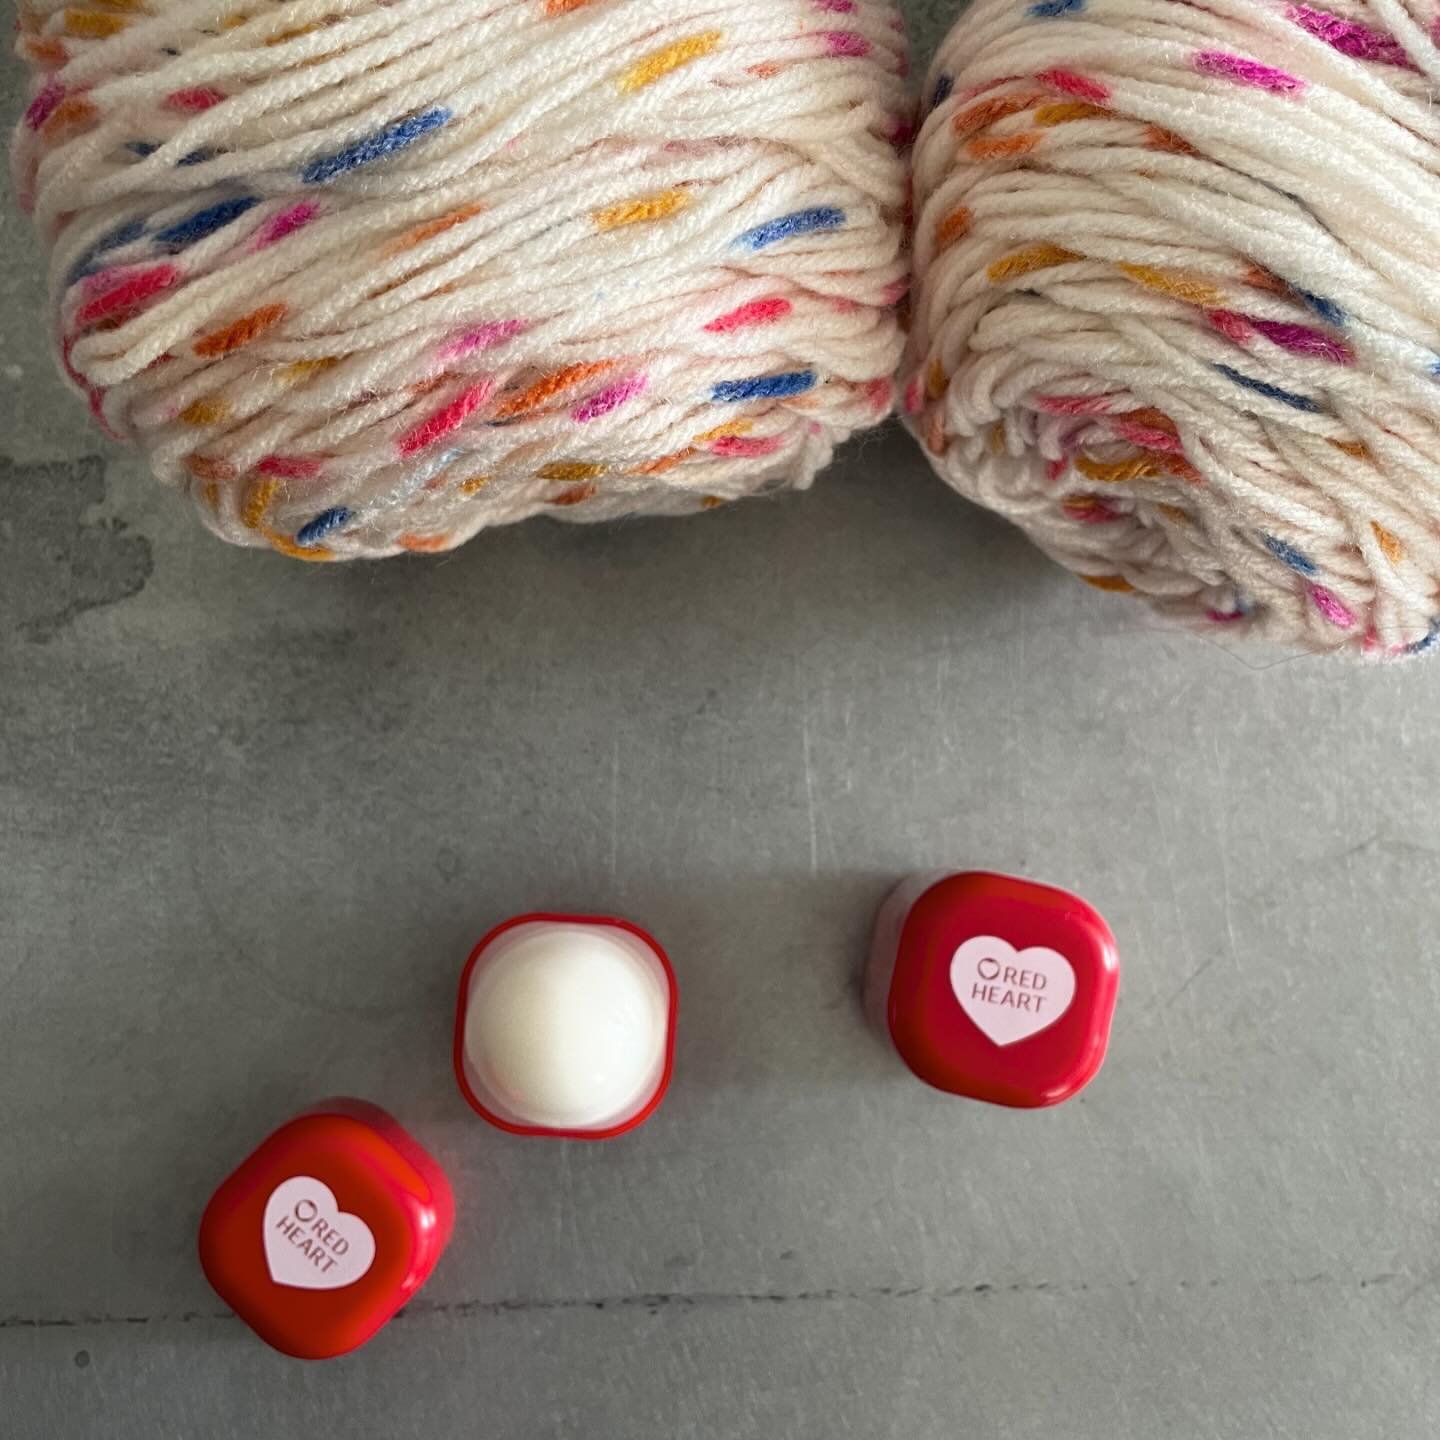
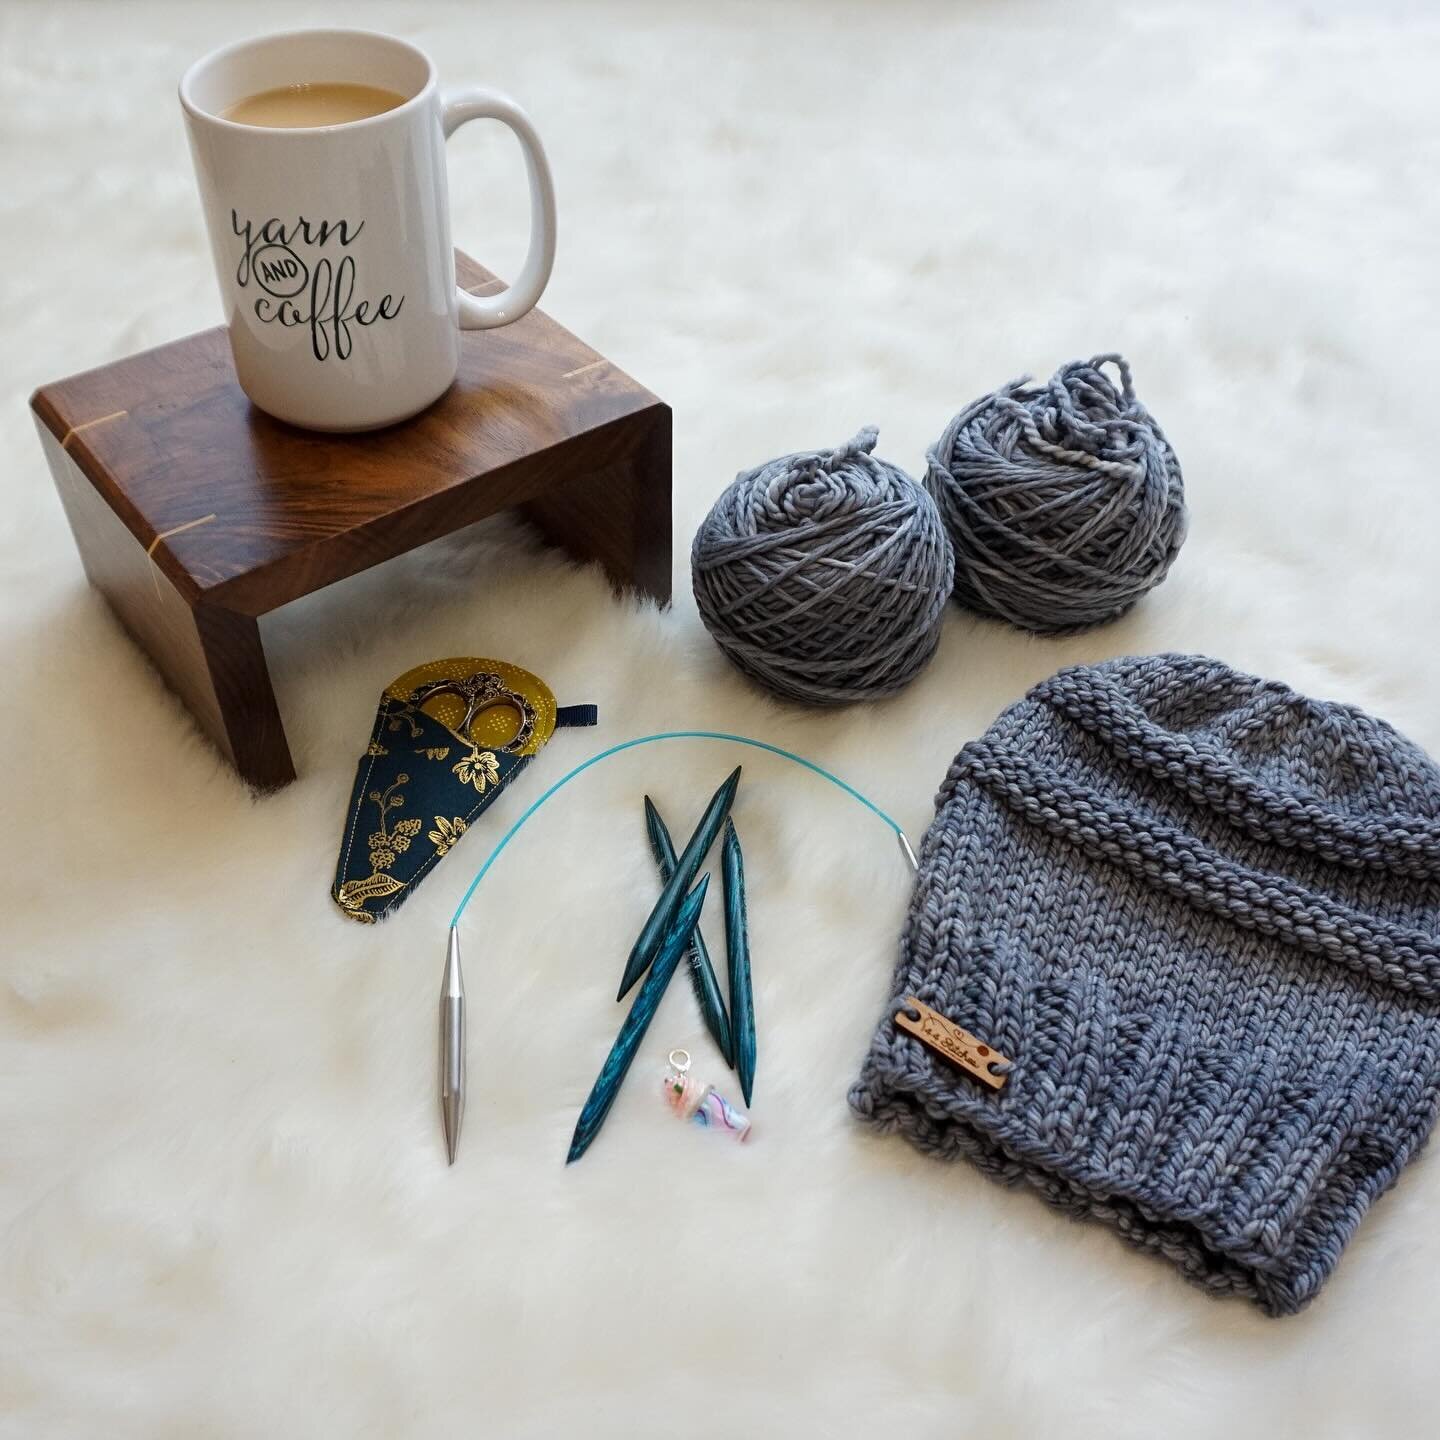
A big Box Of Fun waiting for me

I emailed Sarah feeling terrible. I had never missed these deadlines or not delivered on a collaboration. I was so excited she wanted to work with me I was worried I would ruin the relationship missing all these deadlines. But then Sarah emailed me back. She said "Take your time and get yourself right". She got it. My head space wasn't there. And because I partnered with the RIGHT brand and the RIGHT small business owner in Sarah, the stress was lifted in an instant. I had the freedom to take the time I needed without added stress.

Then it happened. Time passed and I found myself reaching for these big fluffy chunky merino balls. In fact, they helped bring me back. Like magic balls of yarn. So thank you Sarah for being who you are and to all of YOU reading this.. partner with the RIGHT Brands because it makes all the difference.

OK... now back to this AMAZING project.

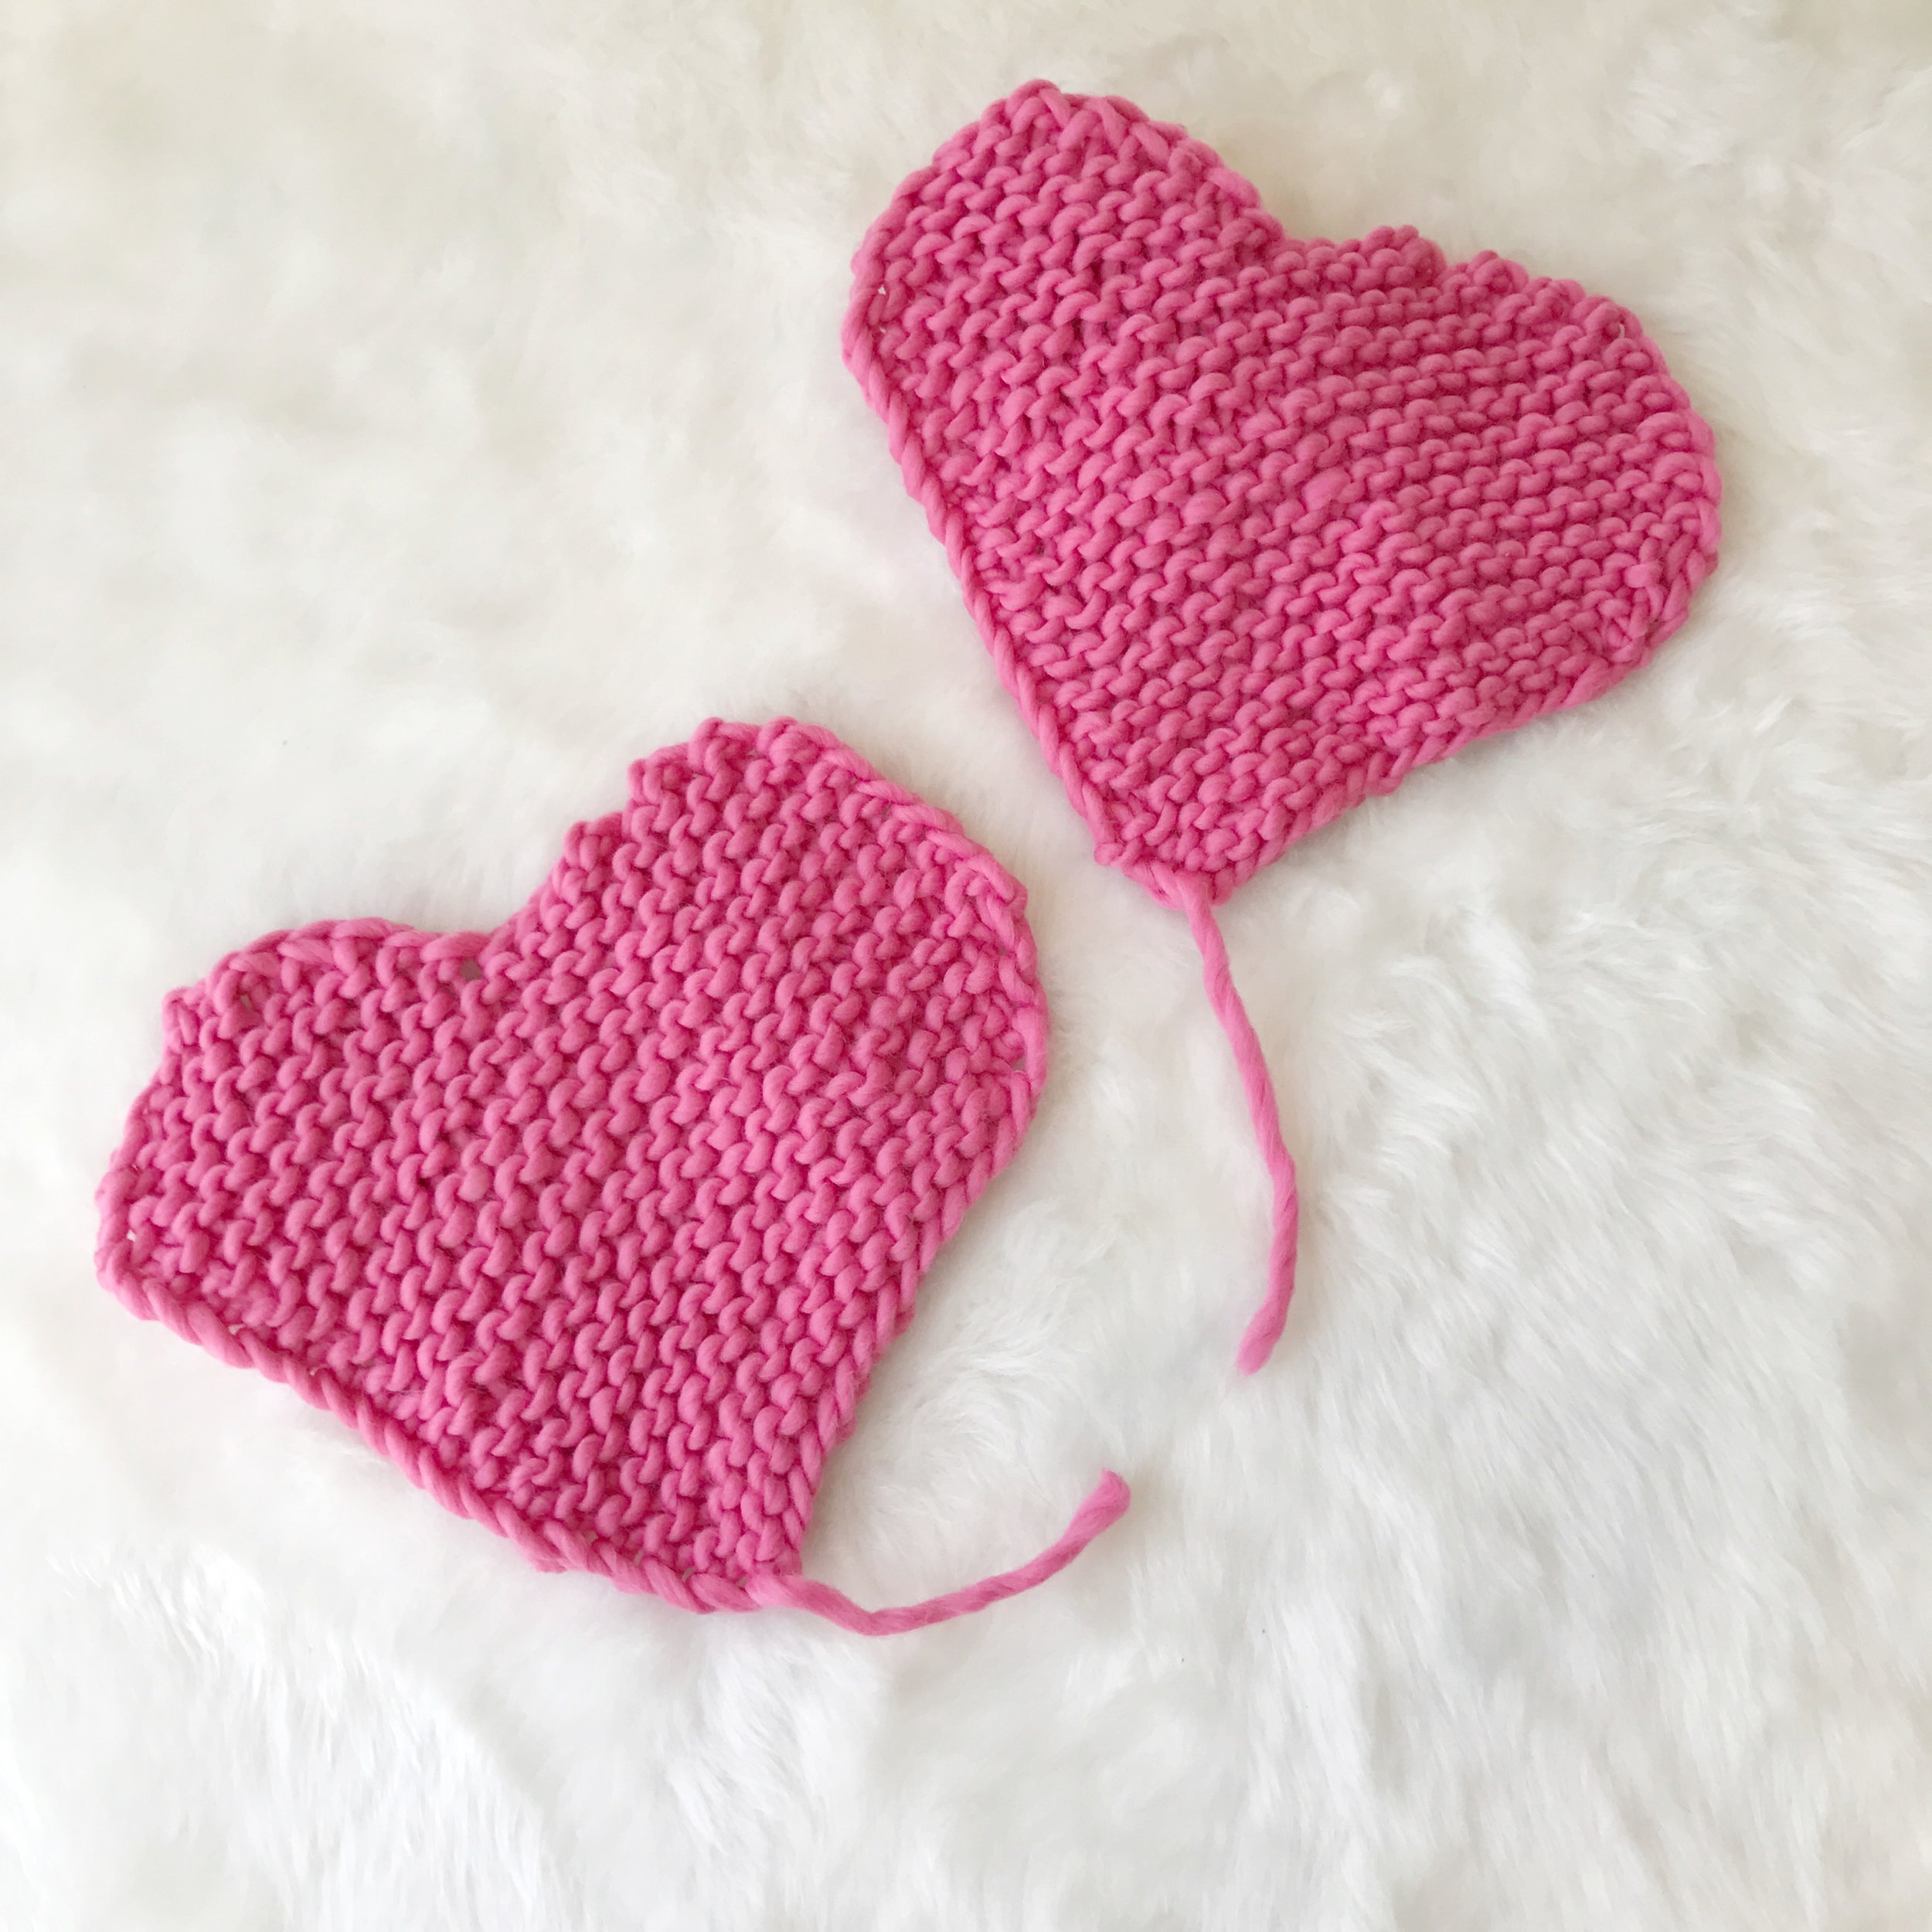
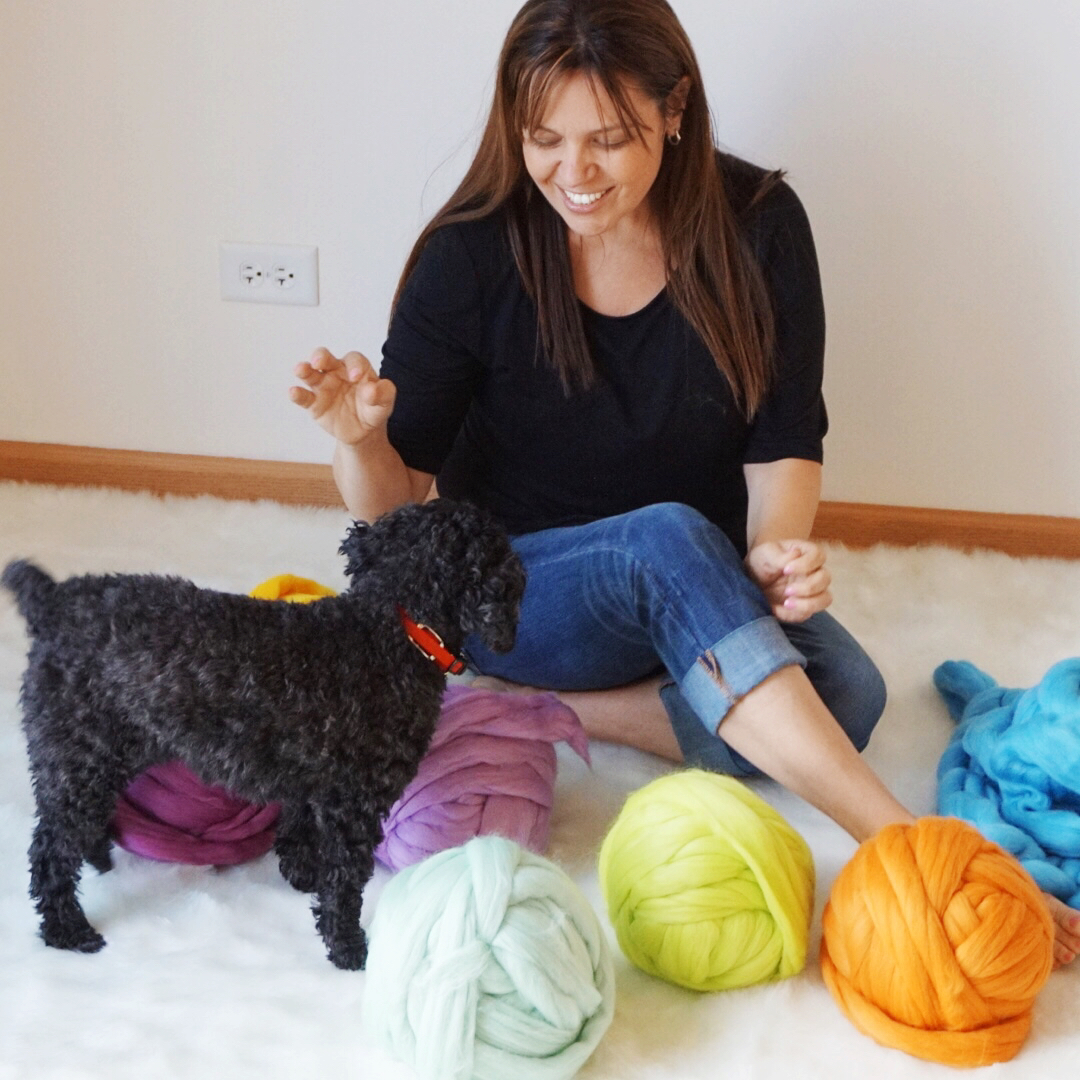
At first I just wanted to squeeze all of the yarn. I admit, once I got going there was some play time before getting down to business and it was awesome. I knit it. I crocheted it. My husband threw the big yarn gum balls (as he called them) at me. It was just FUN.

My initial idea was inspired by my favorite placemats but that didn't quite work out. Making them square was sort of boxy and didn't have the look or feel I had envisioned. But the yarn was so fun to play with that it was not long before I had a new plan. I switched to round placemats and then it hit me... barstool pads AND placemats. GENIUS!

Then...I decided... hand crochet. I WANT TO HAND CROCHET. 

Ok if you have never tried hand crochet then let me tell you: IT IS SO MUCH FUN!!!!! This is the perfect project for it because you can make each Barstool Pad with a single ball. Which, by hand crochet, I kid you not... 15 minutes. 30 if you are having fun and undo it only to remake it again! Think about it... a brilliant fun handmade home accent you can MAKE in 15 minutes. YES!

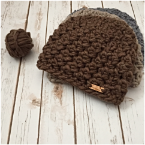
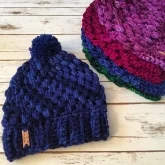
I decided to make my first set LSU Colors... because... GAUX TIGERS! They are great for mini playroom stools and big barstools too. You can make them in any team colors for your game day accents.

As I was making these magnificent fun barstool pads I had a brilliant idea. My FAVORITE coffee house is a super chill place in Peoria called Zion Coffee Bar (more on them later but if you follow me on social media you know it is my joint). so I asked them if they would let me come in and add a pop of color and BAM!!!!  How amazing is this?


Now for Phase II: The tables. My friend has the perfect North Carolina home with such beautiful decor. But what she is missing is a pop of color. So I sent her a set of these beauties and will you look how much fun they bring to your summer tables!

Big_Stitch_Extreme_Crochet.jpg

This whole experience, even with the challenge I faced personally losing my Sadie, was incredibly perfect. Sarah is the real deal. A woman with a passion for people who make things. It is what this blog is about . She made the project beyond my dreams awesome. I Love how the pads came out. I loved learning hand crochet. I loved playing with this big chunky merino. I love the whole shebang. If you have been wanting to try big merino but afraid of the big projects, this kit is for you.  A perfect start and introduction to Big Stitch Merino.

And standby... because there is more to come from me and Mama Knows Luxury.

Write That Pattern! How To Write A Crochet Pattern

I was recently asked by Vincent of Knot Bad to help him learn to write patterns for his wearable items. That request for help was followed by a long series of texts over the next several days with lessons covering everything from how to determine gauge and yarn requirements to general verbiage and then... like magic he published his first wearable pattern. YAY! Success!

I was also helping two other friends begin writing patterns this week and since I know so many ask about writing patterns and bringing ideas to life, I thought why not share my process with everyone and make it a blog post. Now I am sitting here typing and thinking, I wish I had saved my texts with Vincent so I could paste them here for ease. LOL. No worries... we can dive in. Let me start by saying: YOU CAN DO THIS.

To begin, I always go back to something Drew Emborsky (AKA The Crochet Dude) told me when I was first starting to write my own patterns and overwhelmed and clueless: Start simple. Make it a tutorial and just tell people what to do. It is so simple it is almost mind blowing. Write down what you do. Revolutionary right? But that's all a pattern really is: instructions to tell someone else how to achieve the same result you did. A roadmap.

My first patterns were more like tutorials and not at all technical. But they got the job done: to tell people how to make what I made. As my designs grew in difficulty, my pattern writing skills were becoming more developed as well. So while tutorials saying do this, then do this are great and can often do the trick, for garments with sizing and items with design variations I would need to go beyond that with solid pattern writing.

It all starts with an idea and some yarn...

For me, my process always starts with an idea. I have in my mind a look to achieve. As I work to achieve that look I take detailed notes. I have learned over the years that I should use pencil. There is a lot of erasing in my process. I also have a single design book that is in my studio but also carry mini design books in my bag for ideas that hit on the go. I prefer the grid pages of Doane Paper for my travel books and have a journal notebook for my main designs.

My note process is twofold: I write down what I do in words, but I also draw the stitchwork. This is known as Charting. I know it is intimidating to many, but the truth is that charting is a HUGE time saver. I can literally see the chart in my mind when I imagine what I want to create. I can visualize the stitches and it helps me create the exact look I am going for. It is also great for when I am in the groove and don't want to write all the words. I can just chart and come back later to fill in the complete steps.

Once I have got my notes and finished garment it is time to write up that pattern. Woo Hoo! Now starts the real work and is much less fun. Though, I have to admit... I kind of like this part too. As you sit down to turn your notes into your pattern, don't feel like things are "known" or make assumptions. The thing about writing a pattern is information: you want to give as much detail as you can to the person making it. Success is when I never hear from a customer except to show me what they have made. That means I have communicated clearly and they are able to create the item.

I have written enough patterns where now, I have a template that works for me and is set up to always give me prompts to add information. It is super helpful so I don't leave things out. Information your pattern should have at the start:

WHAT IS IT: What are people making? Who designed it? My cover page always has my logo, website, copyright detail, pattern name and photos right off the top. Boom!

WHAT DO YOU NEED: Remember, you are giving someone all the information to make your design. I always list supplies and stitches off the top. For stitches: I give the abbreviation and the stitch name. People crochet & knit all over the world so be clear. I refer to the Craft Yarn Council for best practices on abbreviations.

WHAT ELSE DO YOU NEED TO KNOW: Again, the most important thing is to communicate as much information as possible for the user to get the result they want. On my sizes I use standard sizing but also give information on specific areas (bust or waist, etc) as well as any information on how the garment fit is designed. Sizing details will vary based on what the pattern is for. Again, I refer to Craft Yarn Council standards for best practices on sizing

GAUGE: OK... I could (and will) do a whole blog post on gauge. Gauge is my nemesis but it is essential. Gauge is the way to success, especially if you are using multiple stitches. In this case you need to communicate to the user how to achieve gauge and what stitch is used. No one has the exact same tension so in order to achieve the look, the user will need to know gauge.

Phew.... still with me? Now we get into the actual pattern... the meat and potatoes. YUM!

Design / Pattern Writing Essentials: Yarn, Coffee, Notebook, Markers, Tape Measure, Notions.

Take a look at some of the Free Patterns on this blog to get a feel for this part of the process. This is where you actually tell the people what steps to take so they can create the masterpiece you designed.  But this is not the time to feature all of your creative writing skills. Less is more here. No fluff. Just clear and precise directions.

And anyone who has purchased my patterns knows that I try to lay out the steps concisely and clearly as well as include charts and schematics. It is ok if you do not know how to do charts or schematics. You can also include photos if that best illustrates what needs to be done. As long as you are clearly laying that road map out then you are all good.

OK. So you've got your item made, notes transcribed into steps to follow and you've added photos or charts as needed. GO YOU!!!! You have nearly got yourself a pattern. Have a sip of coffee and get ready for the home stretch.

Give the pattern a once over, then a twice over, and maybe even a third look to scan for mistakes & make sure you got all of your notes from your notebook on there. This is the point where I would send my pattern off for technical editing. This is basically the process where the pattern is checked by a pro. The math is checked. The schematics are added (if they haven't been already) or checked. The pattern is checked to follow best practices and standards set by the Craft Yarn Council and such. This is a step I know many do not take because it costs money. For me, as a professional pattern writer it is essential.

So now here you are: You have written, checked and re-checked your pattern. You have had the math checked and tech edited the language. You are almost ready to hit that publish button.

But first -  you need to take it out for a spin. Grab some of your fiber friends and see if anyone is available to test your pattern out. Often times I miss things. It happens. In June I published 24 patterns that month. I would be lying if I said they were all perfect out of the gate!

Having fiber friends test your pattern is an invaluable opportunity for feedback from everything to gauge to fit to stitch counts to grammar to you name it. I am fortunate to have a great pool of testers and would not get my patterns out there without them.

Now you've had an idea, you've brought it to life and created a way for OTHERS TO CREATE. Woo Hoo! Publish your pattern and do a little dance.

Can't wait to see all of your design ideas coming to life. Happy designing.
And see part 2 of this post here

The Cotton Club!

While it is true, I am a cozy vibe, snowboard loving, scarf making kind of gal, anyone who knows me knows I am truly an ocean loving Pisces to the core. Nothing gets to me like the fresh waves and salt air. When I lived in Australia, there wasn't a single day that went without a dip in the South Pacific, of course it helped that I lived and worked a short walk from the beach. With this in mind, it was probably only a matter of time before my two passions (yarn and ocean) collided.

beachside-knittng

About two years ago, while on location in Florida for a shoot, I got the idea to make myself some lightweight cotton garments to wear. But while on location with super long shooting days, and still prepping for the Chicago One Of A Kind Show... well let's just say such an undertaking would have to wait.

Last year, while in Miami for several weeks, the idea reignited and so the journey began. Over the last year I have experimented with various fibers and cotton was always the winner for this idea. Like the commercial says, it is the "fabric of our lives" after all. I began my process of swatching and sketching and found the old ideas I had tucked away coming to life again. In the process, I quickly fell in love with a few specific cottons that lent themselves in both color and texture to my vision.

Thus my first Summer Cottons Collection was born.

cottons-design-process

Within a few weeks I had edited it down to a variety of looks I would want in my own closet. I drew inspiration from the many coastal places I have been and created pieces that spark a memory from each place they are named for.

I have put my heart into my first Summer Cottons Collection. This collection features garments made from some of the softest cottons and breathable for those summer days. Garments I enjoy both making and wearing. And I hope they are garments many others will enjoy both making and wearing.

The collection is made up of 20 new designs for makers to enjoy and be inspired by and a handful of made to order garments available here. And you can try the Inwood Summer Beach Top free pattern here.

For a deeper look at the fibers, read on to learn about the materials. (disclosure: the following contains affiliate links where I may get credit or commissions but these are not sponsored posts and opinions are my own).

Wool And The Gang Shiny Happy Cotton
Ok... this is by far the most superior cotton of all the fibers I have used and tried gearing up for this collection. Yes, I work with WATG often, no they did not pay me to say that. My order receipts can be proof enough how much this material factors into my designs and offerings. Why is it so special? First of all, it is just a wee bit thicker than most other cottons on the market. It has that few added strands that makes a difference in how it holds structure of my stitches. And still, it does not sacrifice drape effect for being a wee bit thicker which is awesome because when designing with lightweight fibers drape matters!  Last, I do not know what their color process is but this cotton has a sheen like none other. It truly is Shiny Happy Cotton and I love it! And because WATG is awesome, you get 15% off with code WATG144S through 6/9/17!

Betta Knit Pima Cotton
I discovered Betta Knit last winter when I collaborated with them on the Stella Jumper design and fell in love with their chunky wool. I was thrilled to discover they are offering Pima Cotton for summer. This cotton is great for those drapey and lacey designs. It holds the stitch structure well for a finer fabric. This is technically a category 3 DK yarn but in truth it works up like a sport weight and I just love it. I designed my Megan's Bay Shrug specifically for the way this fiber drapes. And... Betta Knit is giving you 20% off with code 144XBK through June 30, 2017 WOOT WOOT!

Lion Brand Yarn 24/7 Cotton
Lion Brand continues to deliver for affordable yarn options. The 24/7 Cotton is mercerized adding a sparkle and sheen even after multiple washings. Trust me, I tested this claim out and it passed the test! This fiber is interesting because it is a little bit "rope-like" for lack of a better term. It was interesting to work up and I quickly fell in love. It is perfect for my Saratoga Shrug design! I loved it so much I reached out to Lion Brand and we teamed up to collaborate on a design specifically for this collection and this yarn. More coming on that very soon!

Universal Yarn Cotton Supreme
The name says it all. It truly is Cotton Supreme. One of my favorite things about this fiber beyond the awesome texture is all the colors they offer. You can get so many blends and without much effort in yarn change, your garments will have style and color all their own. This is a heavier weight cotton, definitely more category 4 worsted. And yes still gives you the soft drape of the finer fibers. It is ideal for garments like my Manchester Tunic where you can let the yarn do the color work for you!

DebbieBlissCottonDK

Debbie Bliss Cotton
I discovered Debbie Bliss Cotton well into this project. In fact, most patterns were already out for testing when I came across this gem. I discovered it while checking out a new Local Yarn Shop Wool & Company that opened about 15 minutes from my home. (More on them in a future post). This fiber is delicious! In colors and in texture, I was delightfully surprised. It says it is DK, but more of a sport weight for sure. You can order from them here and they provide free shipping in the US!

I know there are endless other cottons out there and have tried many. But these are the ones that inspired and are featured in this collection and I encourage you to try them out. Do you have a favorite cotton you want us to know about? Share in the comments below. And tag #stitchandhustle on social media so we can see your summer cotton projects. Happy summer and see you in the Cotton Club!

And to celebrate.... I am giving away the whole collection of designs. Yep - ALL 20 PATTERNS could be yours! Enter below

Manos Del Uruguay Milo & The Naples Shrug

Ok ... so I could hardly contain my excitement when I was told Manos Del Uruguay would be sending me their new Milo fiber to try and review ... and what colors would I like. Um... ALL OF THEM? Can that be an option?

No but seriously, even though the palette of this fiber is more muted than the vibrant colors I typically work with I wanted them all.  They are so fabulous and so enticing it was hard to choose.

As I looked at the colors I had this instant image from the Florida beaches on a full moonlit night. I selected to make an ombre item that would be like the shoreline beach up to the dark sky.

The colors I chose were:
Natural
Potosi
Lisboa
Indigo
Manchester  

Can you see it? Beach to night sky? Ah - PERFECT!

When the yarn arrived I was ecstatic about my choices once I saw how truly perfect they worked together. It was exactly the blend I envisioned.

Now, the yarn states that it is "fingering weight" but in truth it is closer to sport weight. Ish. You know how it goes... no strands are ever quite exactly the same. Either way - it was definitely thinner and lighter than my normal chunky yarn vibe. I worked up a couple of swatches and I knew a shrug would be perfect. I pulled out an old motif and got ready to put a new twist on it.

The Milo works up so quickly and so smoothly. It has an interesting texture because of the linen blend but it is not stiff with that starch-like feeling so many other linen blends that I've used have.

I could not be more please with this yarn and am already starting another project with it! because yes.. it is THAT GOOD! I want to make so many things with it. 

Thank you so much to Fairmont Fibers & Manos Del Uruguay for sending me this yarn to try. I am definitely a new fan.

You can get the Naples Shrug pattern here to make your own.

Webs Yarn has Milo in stock and also if you buy a certain amount you get their club discount. I love their customer service - here is the link. (nope - not an affiliate link - I just like shopping with them).

ย 

ย 

Disclosure: Fairmont Fibers & Manos Del Uruguay sent me this yarn free of charge for the purpose of this review and collaboration. Although this is sponsored content, opinions and review are my own.

Be Fearless With WATG

Oh the happiness of a new project. Yes, I may have done an actual little dance when Wool And The Gang wanted to send me a Fearless Cardigan Knit kit. I had seen it on my Instagram Feed when Krysten Ritter posted hers and fell in love with the color she chose too. SO the chance to create my own was super exciting. And I especially love new projects where I get to learn something like new stitches or techniques. When it arrived, and it was the color I loved on Krysten, well I was elated. I dove right in!

ย 

At first I had to pause a minute. I mean it had some pretty BIG knitting needles and I admit, I was maybe a little fearful. It took a few tries but I got the hang of them big needles! 

As I moved along the pattern it was a bit challenging doing the stitch additions on the needles. I ended up having to restart a couple of times. But an Instagram friend suggested I get these circular needles and as soon as I did I was off and running. Thanks IG friend you know who you are! Oh and yes, I kind of love these big needles now.

Assembly was a breeze. The pattern called for a specific type of assembly and while I followed the pattern this time, I figured out a way to make it a SINGLE fabric so there will be no back seam on the next one. WINNING!

Like I said - the very best thing is a project where I get to learn something new. This project I learned cable cast on technique which I assure you will be used often and horizontal invisible seam technique, AND and how to handle these awesome BIG needles which I guarantee you I will be using for many projects (including more Fearless Cardigans).

Click here to get your own Fearless Cardi Kit and use code WATG144 for an extra 15% off through March 31. GET YOUR KNIT ON and add this perfect transitional item to your closet.

ย 

ย 

Disclosure: Wool And The Gang sent me this kit free of charge for the purpose of this review. Although this is sponsored content, opinions and review are my own.

Shibui Knits Reed Octave Scarf - Right on Time For Spring

I am kind of excited about this giveaway and let me tell you why. Because one of you guys is going to win a pretty AWESOME prize: A full Kit to make the Octave Scarf featuring Shibui Knits Reed fiber. Um... YES. I said it. You are going to win big here.

I first discovered Shibui Knits about a year ago when I was getting more into garment design and upping my knitting game. At first I admit I was intimidated. Shibui Knits screams of high end fiber and elegance (yet somehow has an urban edge to it as well). Over the last few months as my knitting skills improved and as I was seeing more and more of Shibui on my instagram feed I was getting more curious than I was intimidated and I had to try it. So when I had the opportunity to collaborate with Shibui Knits for this giveaway I JUMPED at the chance.

Being that I typically work with bulky fiber,  the Shibui Reed Linen was a completely new experience. It is a fingering weight yarn, which was a bit of a shock to my system when I first cast on. The first few swatches were surely not photo worthy.

ย 

But I have to say that as my hands adjusted to the finer fiber, it was such a joy and ideas began to flow. After several swatches (isn't swatching new yarn just one of the most fun things to do by the way?) I settled on a lovely knit stitch with a slightly larger needle than the fiber calls for. I was able to get a beautiful "open" stitch and it gave me an idea for a summer tank beach cover up. Linen, on the beach in Miami? YES PLEASE!

And now you too can get your hands on some of this Reed Linen delight courtesy of the amazing team at Shibui Knits. You will get the full 6 skeins needed and pattern to make an Octave Scarf - which is ideal for transitional weather so right on time. Enter below.

ย 

ย 

Disclosure: Shibui Knits sent me the yarn for this review & giveaway collaborations free of charge. Although this is sponsored content, opinions and review content are completely my own.

The Aalto Basket & Me

Ah Betta Knit. If you follow me on social media you know I'm such a fan of their product and company. I mean I just love their squishy yarn and friendly service! So when they wanted to send me a kit to review & host a giveaway as part of March Maker Madness I was beyond stoked.

Now when the Aalto Basket Kit arrived I was a little taken aback. I mean it is designed by crochet design ICON Molla Mills AND is calling for tapestry crochet! TAPESTRY CROCHET??? A little intimidating but also, "I don't KNOW tapestry crochet" I thought loudly. A quick google and video and I was good to go - and realized I did in fact know Tapestry Crochet just not what it was called. Ok now I'm definitely in!

The Kit comes with their Fettuccine yarn, which was also new to me. At first was thinking, this is quite wide and strange and, well, yes reminds me of Fettuccine - now I'm hungry. Anyway... I had to fight the natural urge to want to keep flattening the yarn but once I got over that my swatch worked up quickly and I really liked the texture. I also like that it is 100% cotton. It works up super easy. Like I said, it takes a minute or two to get used to for sure but by the time the base of the basket was done I was well on my way.

The pattern instructions are easy to follow and they come with an awesome chart to know exactly which color should be worked where. Even a Tapestry Crochet newbie like me had no problem sorting out the pattern to follow along.  My basket was done in no time once I got the rhythm of tapestry and comfortable carrying the extra yarn across.

Truly - this kit is a great afternoon project!

I absolutely LOVE how the finished basket came out. I added an extra finishing row to the top just to suit my own style and added my branding tag as well. Now I'm hooked (pun intended) and expect you will see lots more tapestry crochet baskets from me in the future. 

If you've wanted to try tapestry crochet or already a pro at it, I think you will love this kit. You can grab one here and use code 144XBK for 20% off and, as part of March Maker Madness, you can enter below to WIN an Aalto Basket Kit!!!

ย 

ย 

ย 

Disclosure: Betta Knit sent me this kit free of charge for the purpose of this review & collaboration. Although this is sponsored content, opinions and review content are completely my own.

Two Of Hearts - Knit Pillow Talk

Being that I am still a fairly new knitter and in the tail end of busy season, I was a bit apprehensive when We Are Knitters contacted me to make one of their heart shaped Happy Cushion Pillows. Sure it looked super cute... but the shapes? How would I make the shapes? But then I thought, well,  Valentine's Day was around the corner and who doesn't love hearts? I love hearts! So Sure, why not! Then when the kit arrived and they send me an extra ball of yarn in pink, well I was beside my self in squishy yarn heaven.

The pattern had lots of increases and decreases to be sure, but was well laid out and seemed easy enough follow. I usually use the Make One method for increasing but for this project I decided to try something new so I followed the We Are Knitters Tutorial here.

Got my knit on and was cruising right along. I could see the heart taking shape and got super excited. Until I cast off and realized: wait a minute. That's not right. One side was noticeably "less rounded" than the other. Hmmm.....

On the second panel I watched my gauge more closely and still it came out a wee bit distorted in shape. Luckily, I knew I could tweak it during assembly but the perfectionist in me was happy to have the pink yarn to try again. and... NAILED IT! Grabbed some fiber fill from local craft store and time to put these babies together and stuff 'em!

This project was way more fun than I expected. And way less scary lol. Worked up super fast (for this beginner - a little more than an hour for each heart) and the assembly was easy peasy
ย 

I have 3 awesome takeaways from this project:1. I learned a new way to increase and how to make shapes. YES Shapes!
2. Try new things. Make mistakes. Try again.
3. HAVE FUN! I had a ton of fun with this project.

Going to be making many more hearts and share the love for sure.

ย 

Get your Happy Cushion Heart Pillow Kit here and use code WAK144Stitches for 20% off through 3/31/17

ย 

ย 

ย 

ย 

Disclosure: we are knitters sent me this kit free of charge for the purpose of this review & collaboration. Although this is sponsored content, opinions and review are completely my own.

Last Minute Holiday Decor

Sometimes I get so busy with holiday orders and work and this and that I forget little things like my own decor or wrapping hostess gifts for parties. Sometimes I even forget the hostess gift entirely. Thankfully I always have yarn laying around so making something is an awesome option.

And thankfully this Liesure Arts Yarn Whimsies for the Holidays booklet has me (and you) covered. So many great and quick ideas from a Pom Pom wreaths to a table top tree to garland. I whipped up these cute Pom Pom Hat Ornaments for gift decor in no time using yarn I had in the house and a toilet paper tube! What I love about this booklet is everything in here can be made with what you've got on hand and they are great if you are looking for activities with kids. You can download the booklet here

ย 

ย 

 Disclosure: Liesure Arts sent me this booklet free of charge for the purpose of this review & collaboration. Although this is sponsored content, opinions and review are completely my own.

Three Great DIY Projects For Holiday Gifts

My love for handmade is endless. Especially when it comes to gifting. Something about taking time to think about someone, and then put a bit of love into each stitch or hammer swing or paint stroke. It makes the project so special and the giving so magical. Receiving handmade is pretty special too. I mean just knowing someone thought about me enough to take TIME to CREATE something just for me is a little bit of magic.

In that spirit, here are three fun and fabulous projects from three AMAZING artsians you can make. You still have time to make some handmade magic for your holiday gifting.

First up: The Crochet Clock by ChiWei of @1dogwoof.
Ok um excuse me a minute while I literally drool at both the beauty and genius of this project. When Chi Wei initially shared this project on Instagram I was speechless. It is both simplistic and intricate. It never occurred to me to crochet a clock. But why not? I mean really... WHY NOT?

What I love most is the simplicity. In the making and in the design. Ideal for someone with a new home or that friend who loves classic style.

Next Up: The Lovely Star Stitch Pouches by Stephanie of @allaboutami
Stephanie constantly inspires me. What I truly love about these pouches is their simplicity in design. A sewing project that doesn't scare me is rare because sewing is not my strong suit. Stephanie takes you through this step by step and you can whip this up in a flash.

And if you are like me, and sewing is not on your top of fave things to do, you can make just a crochet version and it is still lovely. It can be a make up pouch, notions pouch, beach pouch... uses are endless. A great gift for anyone really.

And Last but not least... This simply fantastic Shave Case from Drew Emborsky, AKA The Crochet Dude.
  Now, let me first say WELCOME BACK to Drew who took a crochet hiatus. It is no secret he helped me get my start of taking my passion for yarn to the next level and I am forever grateful.

But beyond that, he is still the original badass for Why Didn't I Think Of That designs that are awesome. This Shave Case is awesome for the fellas but could easily be a make up brush case for the ladies too. It could be so many things and is not scary to make.  It looks like you slaved for days when really you can whip this baby up in an afternoon. So pick your fave color combo and get to it!

So there you have it. The countdown to the holidays is on but there is still time to hand make some awesome gifts of love.

Tone on Tone and The Chapen Shrug

I love hand dyed or hand-painted yarns. I have been a fan for years. The colors and tonal shades are just magical. I also love Lion Brand Wool Ease series - it is a staple in my arsenal of yarn. So when I heard that Lion Brand was coming out with a line of Wool Ease Tonal, based on hand dyed coloring, I have to admit that I was both excited and skeptical.

The Chunky Everest, Amherst & Capeside Beanies- all designed for Wool Ease Tonal

I tried not to be bias when my sample box arrived from Lion Brand and not compare it directly to hand dyed fibers. And I was not disappointed. The subtleties of the tone on tone in each colorway is what makes them so special. There is a true 'natural" appearance to the color blends. And Wool - Ease? I mean come on... I just love it. Works up quick and has that chunky Wool Ease feel I love so much.

The yarn is perfect for my chunky hats and I even created a new set based on the subtleties of this yarn. The Amherst Beanie works up fast and picks up the accents of the colorway.

The combination of the yarn and getting into fall weather,  inspired me to create something new and fabulous. Something that really played with the shades of the Tonal. I created this Chapen Shrug.

The Chapen is my own fun twist on the traditional granny. It is misleading because it is not a granny at all! I created a graduated color scheme with the grey-scale Tonal shades. The yarn works up so well, and really lends itself to this kind of design.

And now you too can try this new delightful cozy yarn. Lion Brand is sponsoring the ALL You Need To Make This Giveaway. You win the yarn, the pattern, the hook, the yarn (did I say that twice? Because it's THAT GOOD)- the whole kit. Yup - how AWESOME is that?!?!  Enter below.

Can't wait to see if you win? You can buy the pattern here or in my Etsy shop here

Disclosure: Although this is sponsored content, opinions and review are my own.

One Love With Wool And The Gang

I was pretty excited when Wool And The Gang wanted to send me a Project Kit for review. And even more excited when my One Love Top Kit actually arrived.  I had a few other projects and customer orders to finish before I could start on it, so it sat in my studio for a few days. I admit, I looked at it often. The color of the Shiny Happy Cotton Land Of Oz Green in person is beyond magnificent. It's like no emerald green I've seen.

The pattern itself is easy enough to follow and with this awesome cotton it worked up pretty fast.  The pattern doesn't offer sizing but it is quite easily adjustable to suit any size with a little math. I followed the pattern to the letter for the back panel.

I tweaked the front panel pattern based on my own preferences for my body. I added an armhole slant where the lattice rows started by doing symmetrical decreases on the first two lattice rows. I also altered the last two rows of the top for more of a scoop neck than boat neck look to show off a little collar bone ;-)

I'm thrilled with how it came out and will definitely not only make more of these but likely offer them in my shop next spring for my customers. If you would like to try a Wool And The Gang Project shop here and use code WATG144 for 15% off all through March 31, 2017. 

ย 

Disclosure: Wool And The Gang sent me this kit free of charge for the purpose of this review. Although this is sponsored content, opinions and review are my own.

ย 

Wind 'Em Up! My Yarn Winding DIY Swift

As I started to work with more high end fibers I started to need a better yarn management system. Mostly because they come in hanks not skeins and without winding them I would end up with a mess. I realized very quickly I would need a yarn winder and a yarn swift. But Yarn Swifts are not cheap!

I had always loved the look of wooden Swifts for yarn but couldn't afford one nor did I have the space for one to be mounted. I mean $40-$120 is pretty steep when you are starting out. It also isn't efficient for me space wise. My studio is small. A magnificent swift would have to remain a "someday" not a solution to the current need.

As I started to look around I didn't find anything that fit my studio needs. My studio is lined with cubby shelves (more on that later when we talk storage and workspace efficiency) and since I also use these shelves for my booth at the One Of A Kind Show in Chicago, I couldn't permanently mount a swift to them.

So we took a ride to home Depot and about $12 later I had my very own perfect yarn winder. As time went on and my business grew I upgraded the hand crank to an electric winder I purchased online. But my $12 makeshift swift is still in place and works like a charm. Photos below in case you want to build your own.

If you want to splurge and get a yarn swift, this one from Knit Picks gets rave reviews but I have not personally used it.

Shrug It Off With We Are Knitters

I am so incredibly excited to share this with you guys. If you follow my personal Instagram, you know I have been on a weight loss journey and am down 34 lbs so far. While this is awesome, it creates some fashion challenges. See, I have an oversized shrug from Anthropologie  that I LOVE but it is just huge now. I swim in it. It is my Go-To spring and summer item so I am having a hard time parting with it without replacement. Then I looked at it and thought... Wait! I can make that.

Right about the same time, I had just frogged my 4th version of a baby blanket pattern I was developing in partnership with We Are Knitters (don't you just love them?). I was sitting there, staring at a pile of amazing Cotton Wool and it hit me... scrap the blankie and make a shrug. I let my WAK contact know my plan and they were also excited. Because... who doesn't love a shrug? Brilliant!

It came together perfectly. And we all know that rarely happens so I just know it was meant to be. Like my friend Amy says, "sometimes the yarn just speaks to you and tells you what it wants to be". She is so right!

I wanted to create a shrug that would be both fashionable and functional. Perfect for cooler evenings, over a swimsuit or as just a cozy accessory. An all season go-to staple item for my closet. I also wanted a pattern that would work for any size or shape, because we woman come in all shapes and sizes right :-)

It has been a blast designing this and I shared some of the process and progress on Instagram. This pattern is so much fun and I could not be happier with the outcome.

And now just for our community get this: The amazing team at We Are Knitters are sponsoring a giveaway. Enter below to win EVERYTHING you need to make this Shrug yourself. Seriously! All the happiness of a shrug in a WAK Kit. YEAH!!!!

That's not all, if you don't want to wait, you can now buy the pattern here and get 20% off your Cotton Wool from We Are Knitters with code WAK144Stitches. I mean, COME ON!!! If you were looking for your amazing next summer project, this is it.

BIG THANK YOU to We Are Knitters. This has been an amazing collaboration experience. And Enter blow to win the Kit!

Five Product Photography Hacks For A Homemade Studio

Whether it is for your website, promotional materials or to post on social media, product photography is crucial for success.

But what if you are not a pro photographer with full light kit and studio? Here are five tips, tricks and hacks to help you DIY yourself into better product shots.


Tip 1: Change Your Scene
You can order very inexpensive backdrops from Amazon. I got the Elle Bella Paper Backdrops shown here for $10 each! Then just tape it to the wall that gets the best light and boom: you have a studio.

Or, if you are so inclined you can go the extra mile and order a set of stands to hang the backdrop from. I got this Limo Studio set shown here for $35 on Amazon.

Tip 2: Clean Light Box DIY
If you have smaller products and want that clean white lightbox look, hit up your local craft shop and get 2 pieces of poster board. I got the pieces here for a total of $3 at my local Hobby Lobby.


Tip 3: Steady As You Go
Even if you are using your phone, as I personally do about 50% of the time, invest in a tripod. I got the one here for $25 from Amazon and spent another $10 on the Jelly Fish Spring Mount for when I use my iPhone.

Tip 4:  DIY Floor & Backdrop Board
The truth is, sometimes it is just better to go with the classics and drop your product on the floor in a well lit room and shoot overhead. But what if your home rocks a 1970's avocado shag carpet? No prob!

Get yourself one of the $10 paper backdrops I mentioned in tip #1, grab a $2 piece of foam board and glue the paper to the foam board. Instant flat board backdrop. Ideal for almost any product and portable to go wherever you have the light!

If the light hits that one impossible sweet spot - no worries! Just get creative. I often use drawers to prop up my backdrop board in the bedroom that has the best afternoon light.  


Tip 5: Use Props
I realize it may sound counter intuitive because you want to keep focus and showcase your product, but the truth is that your image tells a story about your product. So use props to help tell that story and maintain your brand message. I love this mini chalk board I got on clearance for $2.50 but you can also use whatever props are in your home and fit your  brand message and vibe.
 

Hope these tips help you get started to better product photography. Feel free to also share your own tips and hacks below in comments. Happy shooting :-)

Stitch_And_Hustle_Tips For Better Fiber Photography-2.png

Another Wood Shop Adventure: Business Card Holders

While I was looking around Pinterest for product display ideas, I also noticed some other interesting ideas to display  my business cards. Previously, I had them just stacked on the table near my products.

I would often have to neaten up the pile and point to where they were. Well not anymore!

With some left over wood from another project, and another afternoon in the wood shop with my husband I present my new business card displays.

We cut the approx 2 inch blocks off of a scrap wood slat. Then used the router to create slanted spaces. You want to be sure to slant so that your business cards display with your information showing.

Quite easy to make and I just love them.

Two Worlds Collide: The Cornwall Shawl

As a designer, I find myself inspired by so many different things: the seasons, the scenery, sights on trips, other artists and designers, something in a magazine or boutiqueโ€ฆ it is endless. Sometimes it is all overwhelming in the most amazingly perfect way but sometimes reigning in those ideas can be a challenging process. When it all comes together quickly like magic and boom, instant success it is the most unexpected delight. Other times though,  it takes a while to marinate on a concept or idea and nurture it to life.

It's all a funny, fabulous and daunting process and in fact, One of the best parts of my job. I love the experimentation and design process.

I'd wanted to experiment with leather and "tougher" fibers inspired by some of the stylings in Highlander and the Hunger Games series. But I had yet to find the right leather to work with so this became a concept I was kicking around and marinating on for some time

โ€ฆ until...

At least year's One Of A Kind Show in Chicago my booth was next to Urban Gypsy Designs. The artisan, Christina hand paints beautiful leather purses and satchels and accessories. She also sells these fabulous cuffs that have both an industrial and sophisticated feel. I fell in love immediately with them and knew I wanted to incorporate them into a design.

As I marinated over all the ways to incorporate her leather cuffs into my work and mix it with the softness of my crochet wear I found myself not just accenting existing pieces but designing whole new ones. Then I found myself returning to my original notes and ideas from several months ago on the mixed texture pieces I wanted to do. YES!! It's all coming together! This is the process!

So I have been hard at work creating several new styles that will be ready for Fall 2015 and I am so excited about the variety of texture. Here is a sneak peek at that new collection: This is the Cornwall Shawl.

The shawl body is made using an exceptionally soft wool blend fiber. I am using a stitching technique that gives the illusion of being striped when it is actually not. It is an added dimension by design.

I have placed one of Christina's Infinity Cuffs as an accent to the piece giving it a flare of juxtaposition and style. The cuff is strategically placed to give the shawl so many different looks.

I am so thrilled with the Cornwall Shawl and  the complete collection will launch for Fall 2015 and I cannot wait to bring you these creations incorporating new textures and leather accents.

If you would like to make your own, I have made my original design available in my Etsy shop. You can buy the pattern here

My Weekend Project: A Little Woodworking Fun Working On Show Displays

Me & The Husby Getting Our Woodshop On

I am always looking for interesting ways to display my creations. But unless you catch a store closing sale, dress forms and mannequins are not cheap and building a display can get expensive. Fast. I also don't want the display to take away from or distract from the crochet creation I want to show off. And now that I am doing more in person appearances, such as at The One Of A Kind Show in Chicago, I also want displays that work within my booth while people have a room to walk around and shop. Meeting all the display criteria is not easy.

And, Like I saidโ€ฆ it can get expensive fast.

So after spending a little time on Pinterest (and getting lost in the land of pretty pictures and fabulous ideas), I realized why not just build what I want? For raw materials cost of under $50 and a fun day in the garage / workshop with my fabulous husband I could get exactly what I wanted. I present to you my DIY Easter weekend in pictures and note I am EXTREMELY proud of the finished projects at the end:

FIRST UP: The Head Display

We started with a scrap piece of wood from another project. We cut it to the size we wanted and then let the sanding begin.

TIP: Measure the hole in the base of the Styrofoam heads to buy the right size rod. Also, buying one long rod and cutting it allows flexibility in placement or you can know the measurements you want and they will cut it in the store for you. Some places charge to cut though.

Almost done assembling the head display stand after we drilled holes for the rods.

NEXT UP: The Hanging Stand

TIP: We took a plastic hanger and traced it onto the wood for the standing frame. Use thicker wood โ€“ 1.5โ€ณ โ€“ 2โ€ณ so it will be sturdy and hold the weight of your piece. Sand the heck out of that hanger. Remember, your garments will hang here for display and you donโ€™t want them to get snagged in the fabric. We use a tread screw at the base so that this stand can easily be taken apart for transport.

And here comes the big finish...

New displays are ready and one perfect Weekend with the husby in the can.

The Open Cowl - Box Stitch

photo-2-e1410885598114.jpg

One of my most popular patterns is the CJ Fashion Cowl, also known as the Box Stitch open cowl. It is a quick one skein pattern that works up super fast.

I designed this pattern by accident - as I find is often the case with my most popular patterns. I simply missed a stitch in the pattern I was trying to make. And I kept missing that same stitch and before I knew it I was creating something totally new and different from what I had intended. A few tweaks later and bam: I had a new design!

One of my customers sent me this fabulous photo of her creation from this pattern. I love how she added a a flower accent. And that is the beauty of crochet! Even when following a pattern, you can always make it your own.

Buy the pattern here

ย 

The Chalet Neck Cozy

The Chalet Neck Cozy

I love neck cozies but I don't find them in many stores. So, of course, I found that as an opportunity to design & create my own!

Some days I don't want the bulk of a full scarf but I need the warmth. Enter the Chalet Neck Cozy.  They are also ideal for on the slopes. They keep me snuggle up warm but without all the bulk.

This was made with a faux ribbing stitch using chunky Lion Brand Hometown USA 100% Acrylic yarn and is available on my site here.

The pattern will soon be available in my pattern shop on Etsy.