
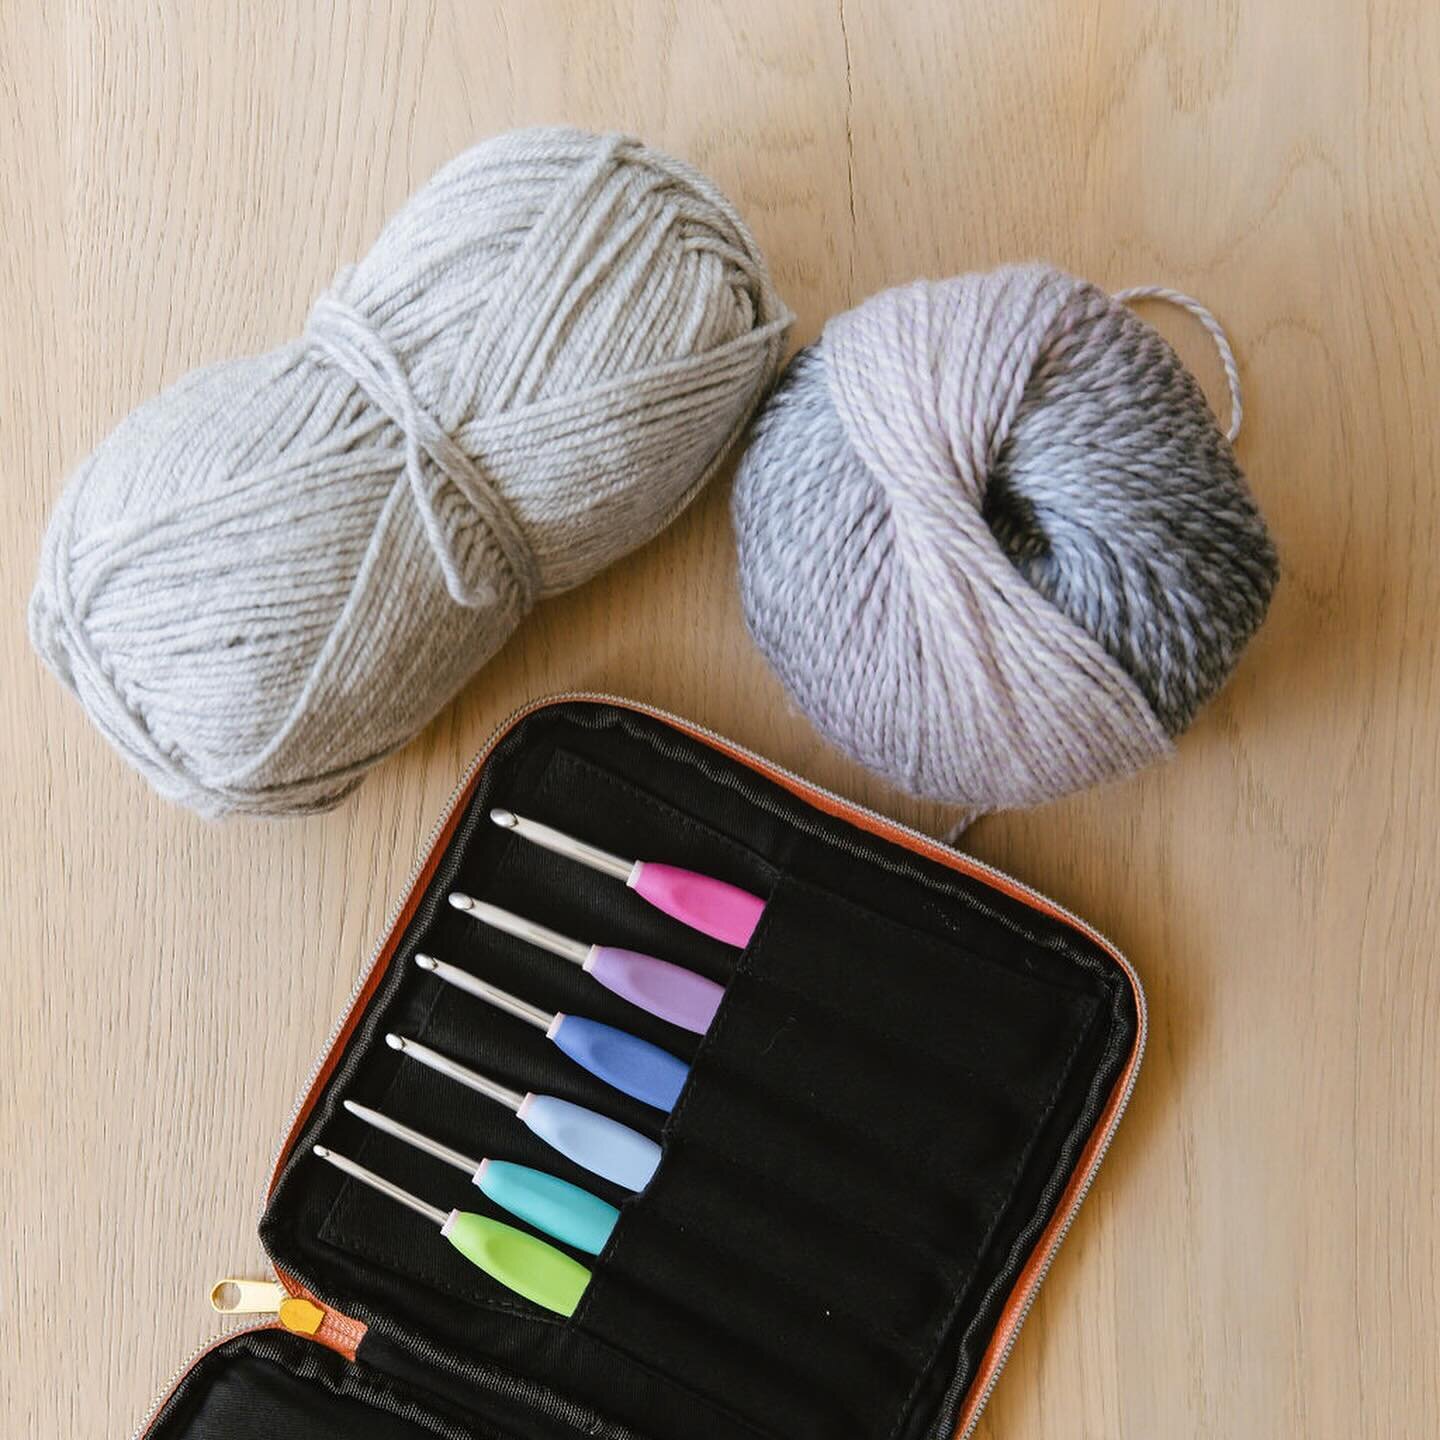
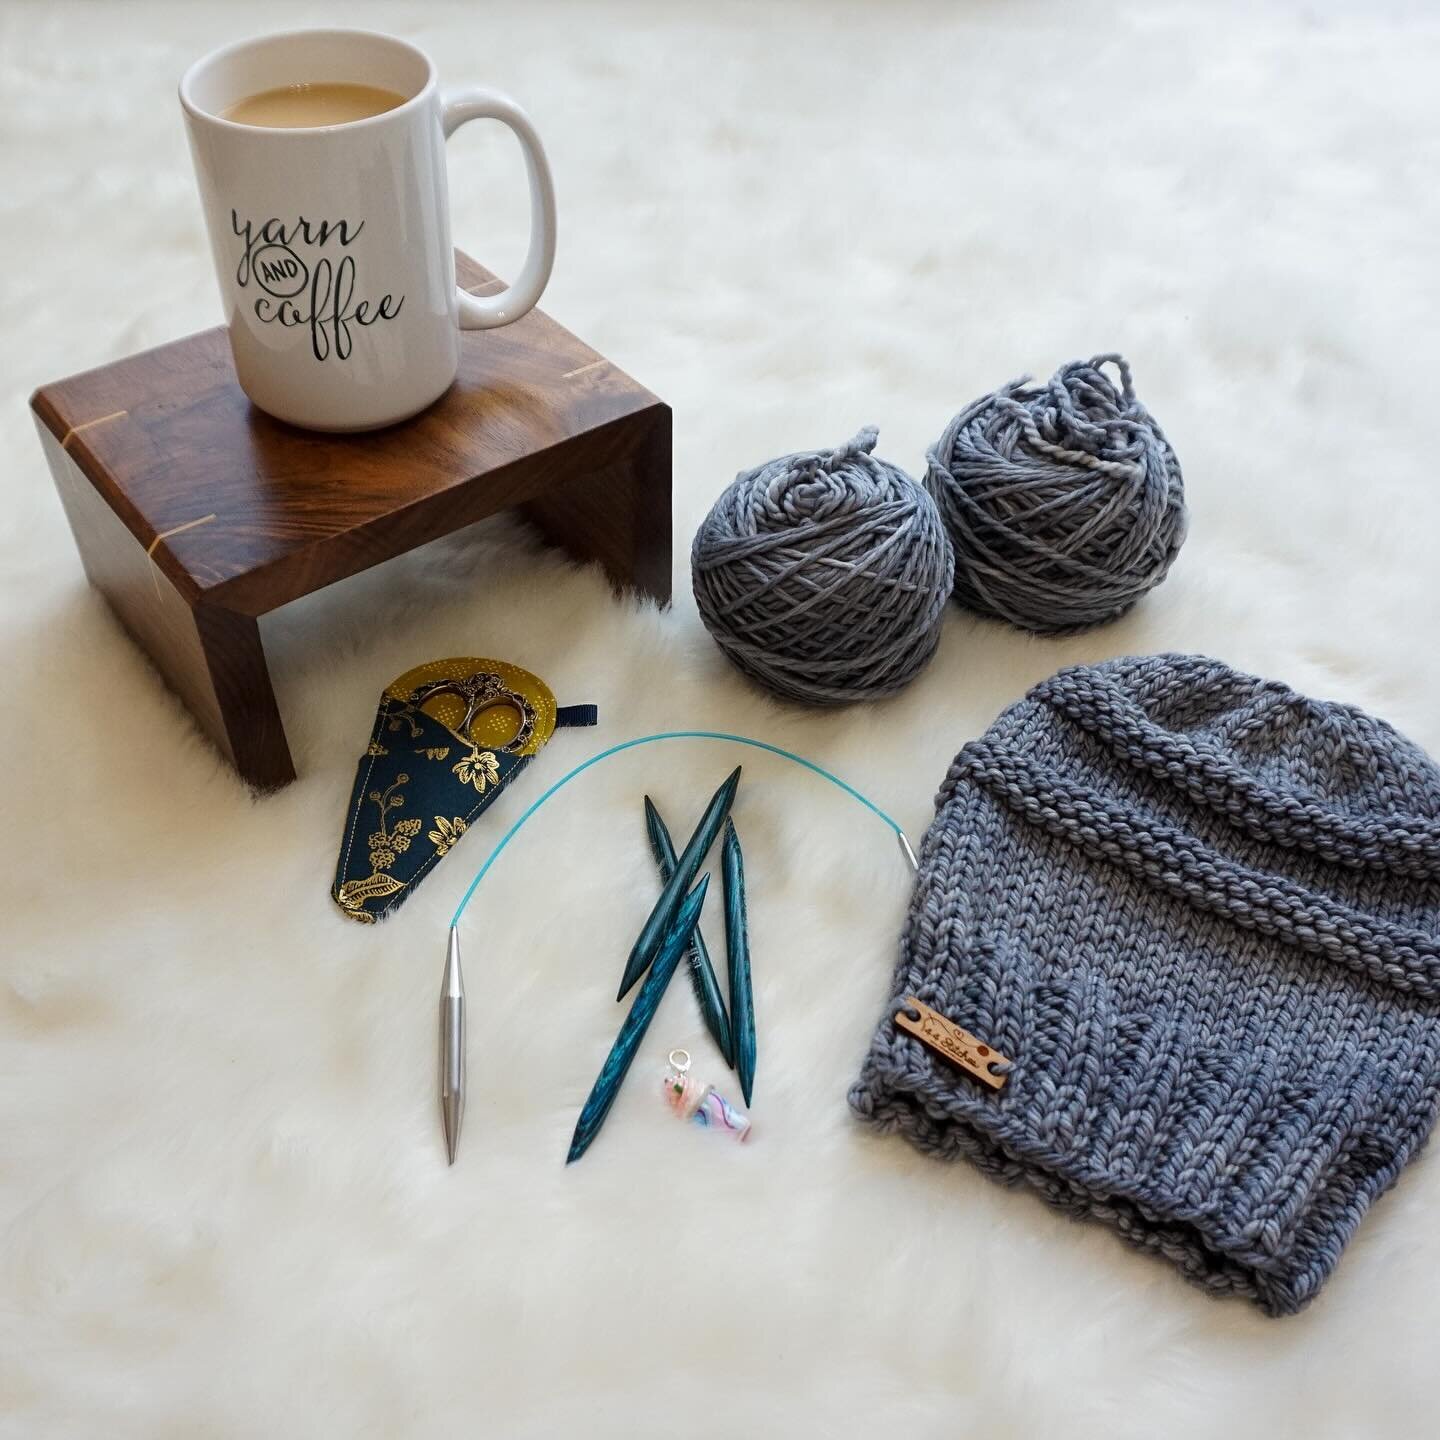
Technique Tip: Working With Super Bulky Fibers
/
Helpful tips for weaving in the ends of those super bulky fibers to make your projects look finished to perfection.
Read MoreHelpful tips for weaving in the ends of those super bulky fibers to make your projects look finished to perfection.
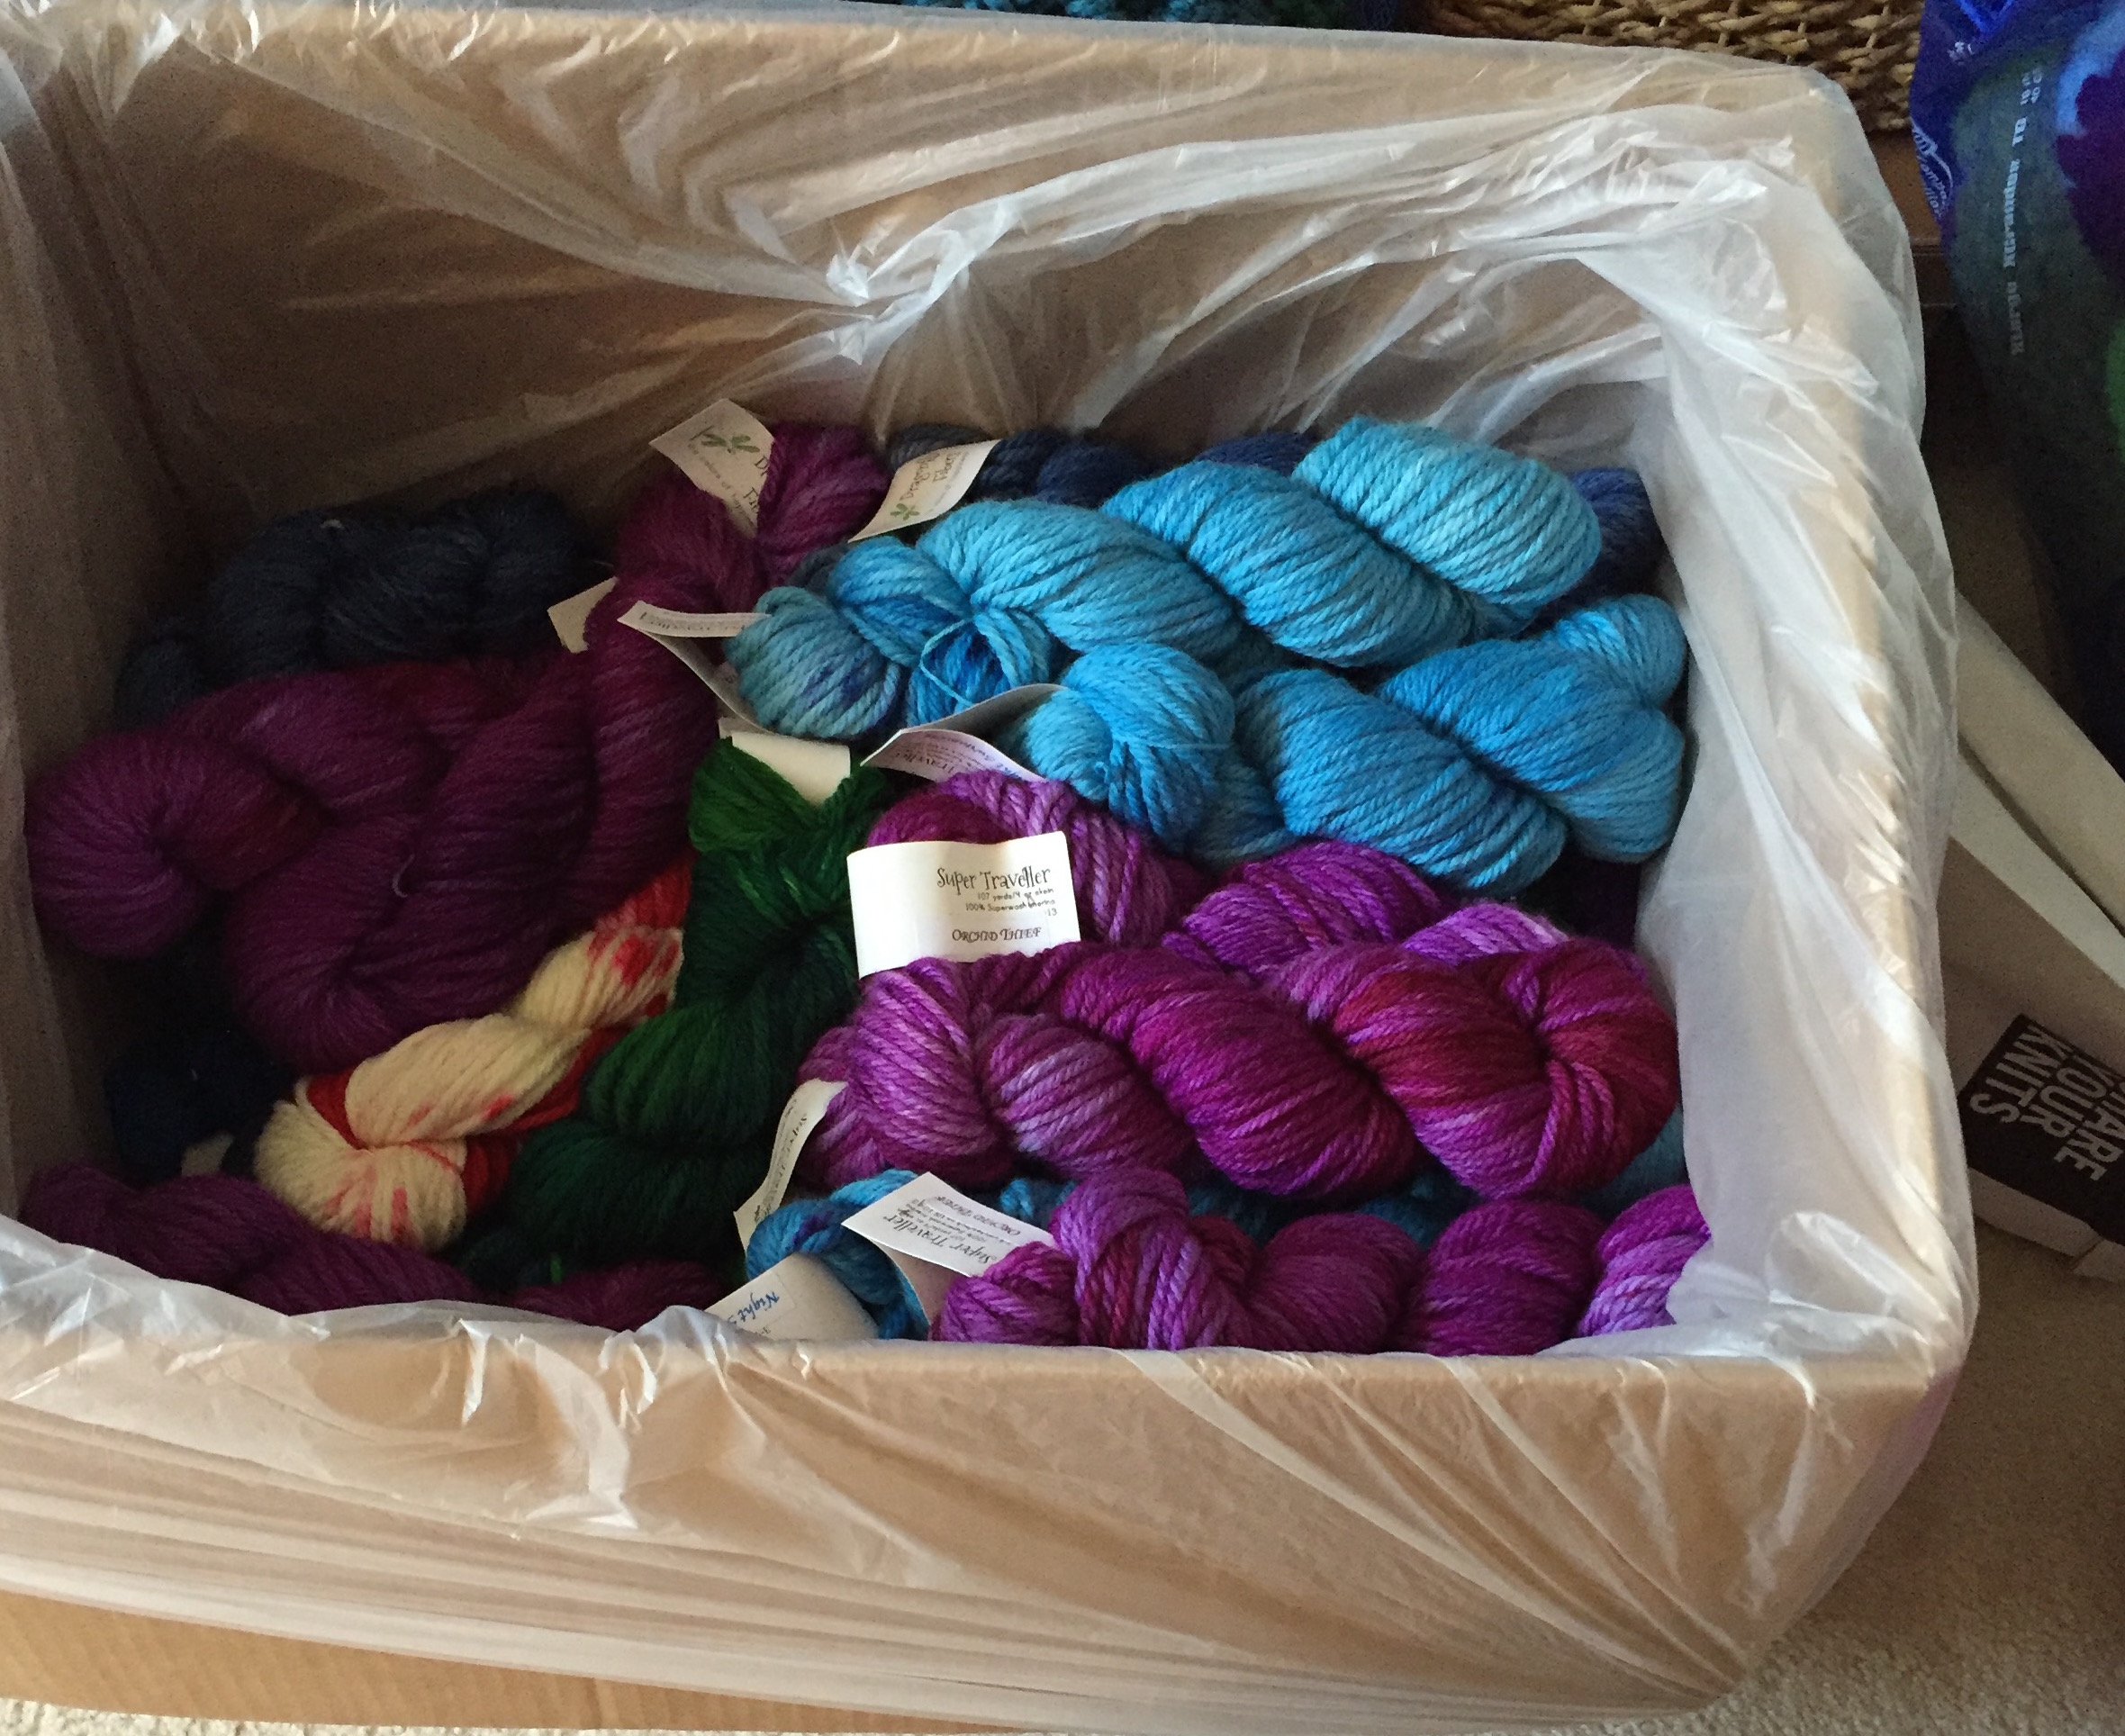
Read MoreAs I started to work with more high end fibers I started to need a better yarn management system. Mostly because they come in hanks not skeins and without winding them I would end up with a mess. I realized very quickly I would need a yarn winder and a yarn swift. But Yarn Swifts are not cheap!
I had always loved the look of wooden Swifts for yarn but couldn't afford one nor did I have the space for one to be mounted. I mean $40-$120 is pretty steep when you are starting out. It also isn't efficient for me space wise. My studio is small. A magnificent swift would have to remain a "someday" not a solution to the current need.
As I started to look around I didn't find anything that fit my studio needs. My studio is lined with cubby shelves (more on that later when we talk storage and workspace efficiency) and since I also use these shelves for my booth at the One Of A Kind Show in Chicago, I couldn't permanently mount a swift to them.
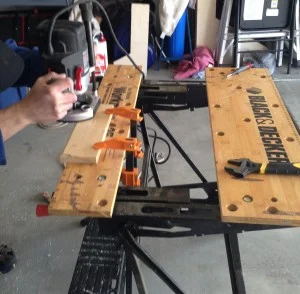
So we took a ride to home Depot and about $12 later I had my very own perfect yarn winder. As time went on and my business grew I upgraded the hand crank to an electric winder I purchased online. But my $12 makeshift swift is still in place and works like a charm. Photos below in case you want to build your own.
If you want to splurge and get a yarn swift, this one from Knit Picks gets rave reviews but I have not personally used it.


While I was looking around Pinterest for product display ideas, I also noticed some other interesting ideas to display my business cards. Previously, I had them just stacked on the table near my products.
I would often have to neaten up the pile and point to where they were. Well not anymore!
With some left over wood from another project, and another afternoon in the wood shop with my husband I present my new business card displays.
We cut the approx 2 inch blocks off of a scrap wood slat. Then used the router to create slanted spaces. You want to be sure to slant so that your business cards display with your information showing.
Quite easy to make and I just love them.

I am always looking for interesting ways to display my creations. But unless you catch a store closing sale, dress forms and mannequins are not cheap and building a display can get expensive. Fast. I also don't want the display to take away from or distract from the crochet creation I want to show off. And now that I am doing more in person appearances, such as at The One Of A Kind Show in Chicago, I also want displays that work within my booth while people have a room to walk around and shop. Meeting all the display criteria is not easy.
And, Like I said… it can get expensive fast.
So after spending a little time on Pinterest (and getting lost in the land of pretty pictures and fabulous ideas), I realized why not just build what I want? For raw materials cost of under $50 and a fun day in the garage / workshop with my fabulous husband I could get exactly what I wanted. I present to you my DIY Easter weekend in pictures and note I am EXTREMELY proud of the finished projects at the end:
We started with a scrap piece of wood from another project. We cut it to the size we wanted and then let the sanding begin.


TIP: Measure the hole in the base of the Styrofoam heads to buy the right size rod. Also, buying one long rod and cutting it allows flexibility in placement or you can know the measurements you want and they will cut it in the store for you. Some places charge to cut though.
Almost done assembling the head display stand after we drilled holes for the rods.
TIP: We took a plastic hanger and traced it onto the wood for the standing frame. Use thicker wood – 1.5″ – 2″ so it will be sturdy and hold the weight of your piece. Sand the heck out of that hanger. Remember, your garments will hang here for display and you don’t want them to get snagged in the fabric. We use a tread screw at the base so that this stand can easily be taken apart for transport.
New displays are ready and one perfect Weekend with the husby in the can.
DISCLOSURES: As an Amazon Associate I earn from qualifying purchases. Posts may includes affiliate links. Read full blog disclosure here.


BACK TO THE TOP TERMS & PRIVACY ABOUT US MEDIA KIT SUBMISSIONS
All photos, designs, and patterns are copyright of Stitch & Hustle unless otherwise noted. Please do not repost or claim my content as your own. This site displays third party ads and contains affiliate links. Michele of Stitch & Hustle is a participant in the Amazon Services LLC Associates Program, an affiliate advertising program designed to provide a means for sites to earn advertising fees by advertising & linking to amazon.com. Read policies & disclosures here.
Thank you for visiting!
Stitch & Hustle © 2017 - 2023 ALL RIGHTS RESERVED.


