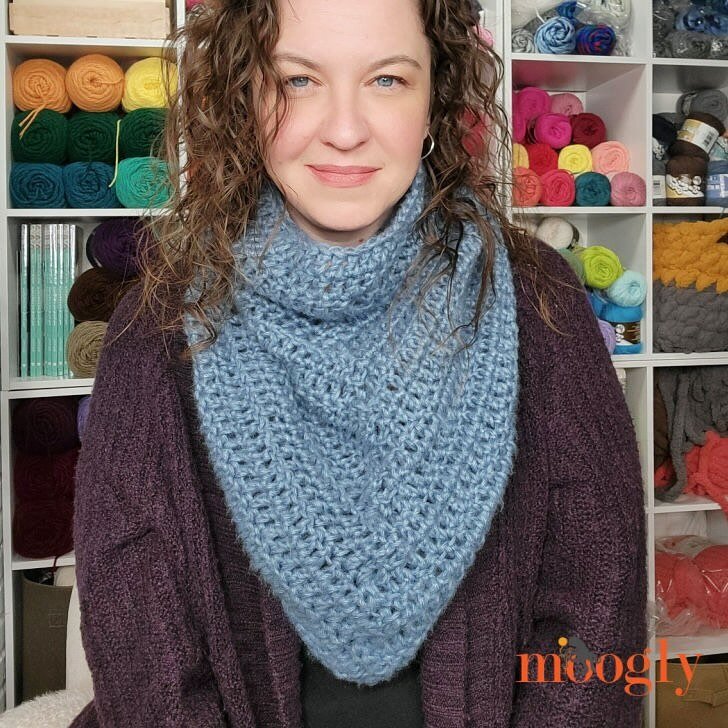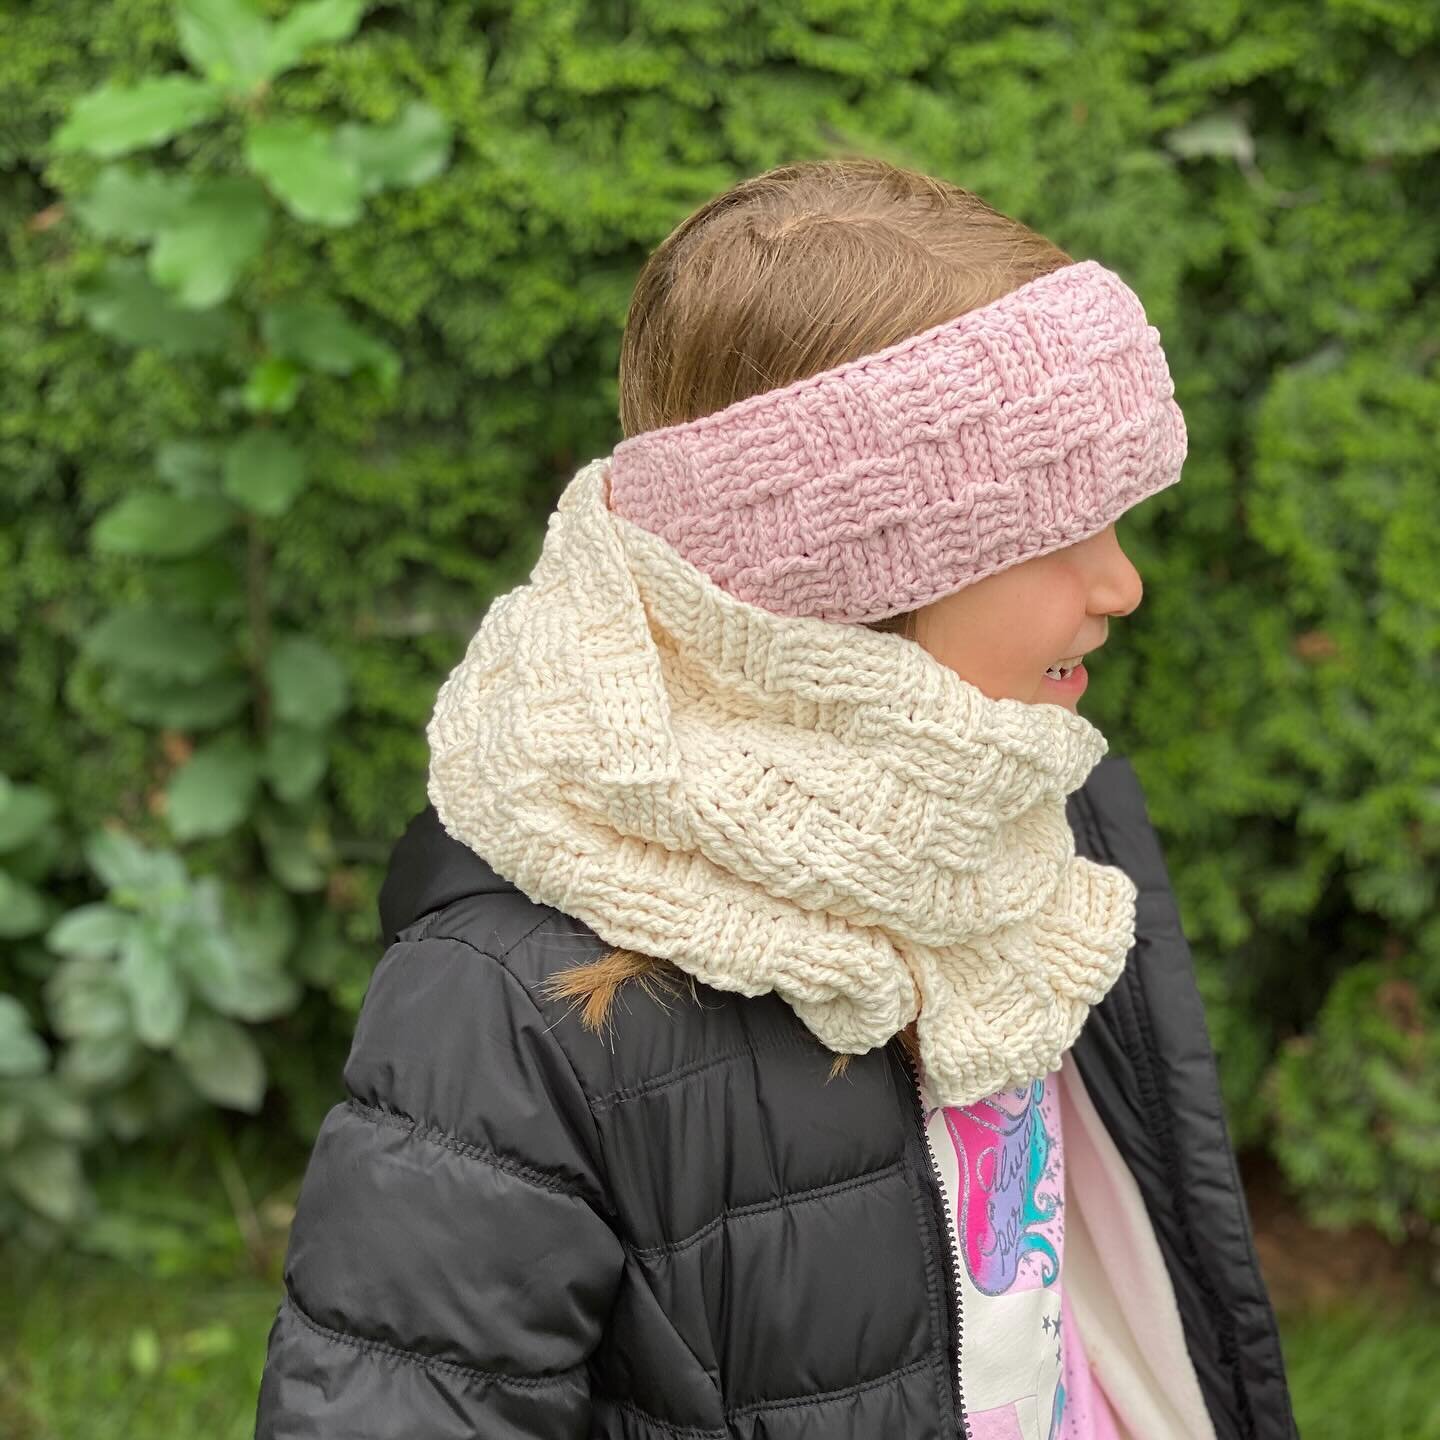
Skyline Scarf Free Crochet Pattern
/Designed by Miss Katie - The Queen Stitch herself, the Skyline Scarf takes you on an adventure of crochet and architecture. Ah - how magnificent. Read the full backstory here.
From Katie:
This scarf features a minimalist New York City Skyline along each end. Filet crochet creates the windows on the massive high-rises, with the standout of the Empire State Building. Inspired by the dark silhouettes of buildings in front of a setting sun, the pattern utilizes the rich and complex colorings of Asylum Fibers. Designed exclusively for Stitch & Hustle, this pattern was designed, dyed, made, and inspired all by NYC women.

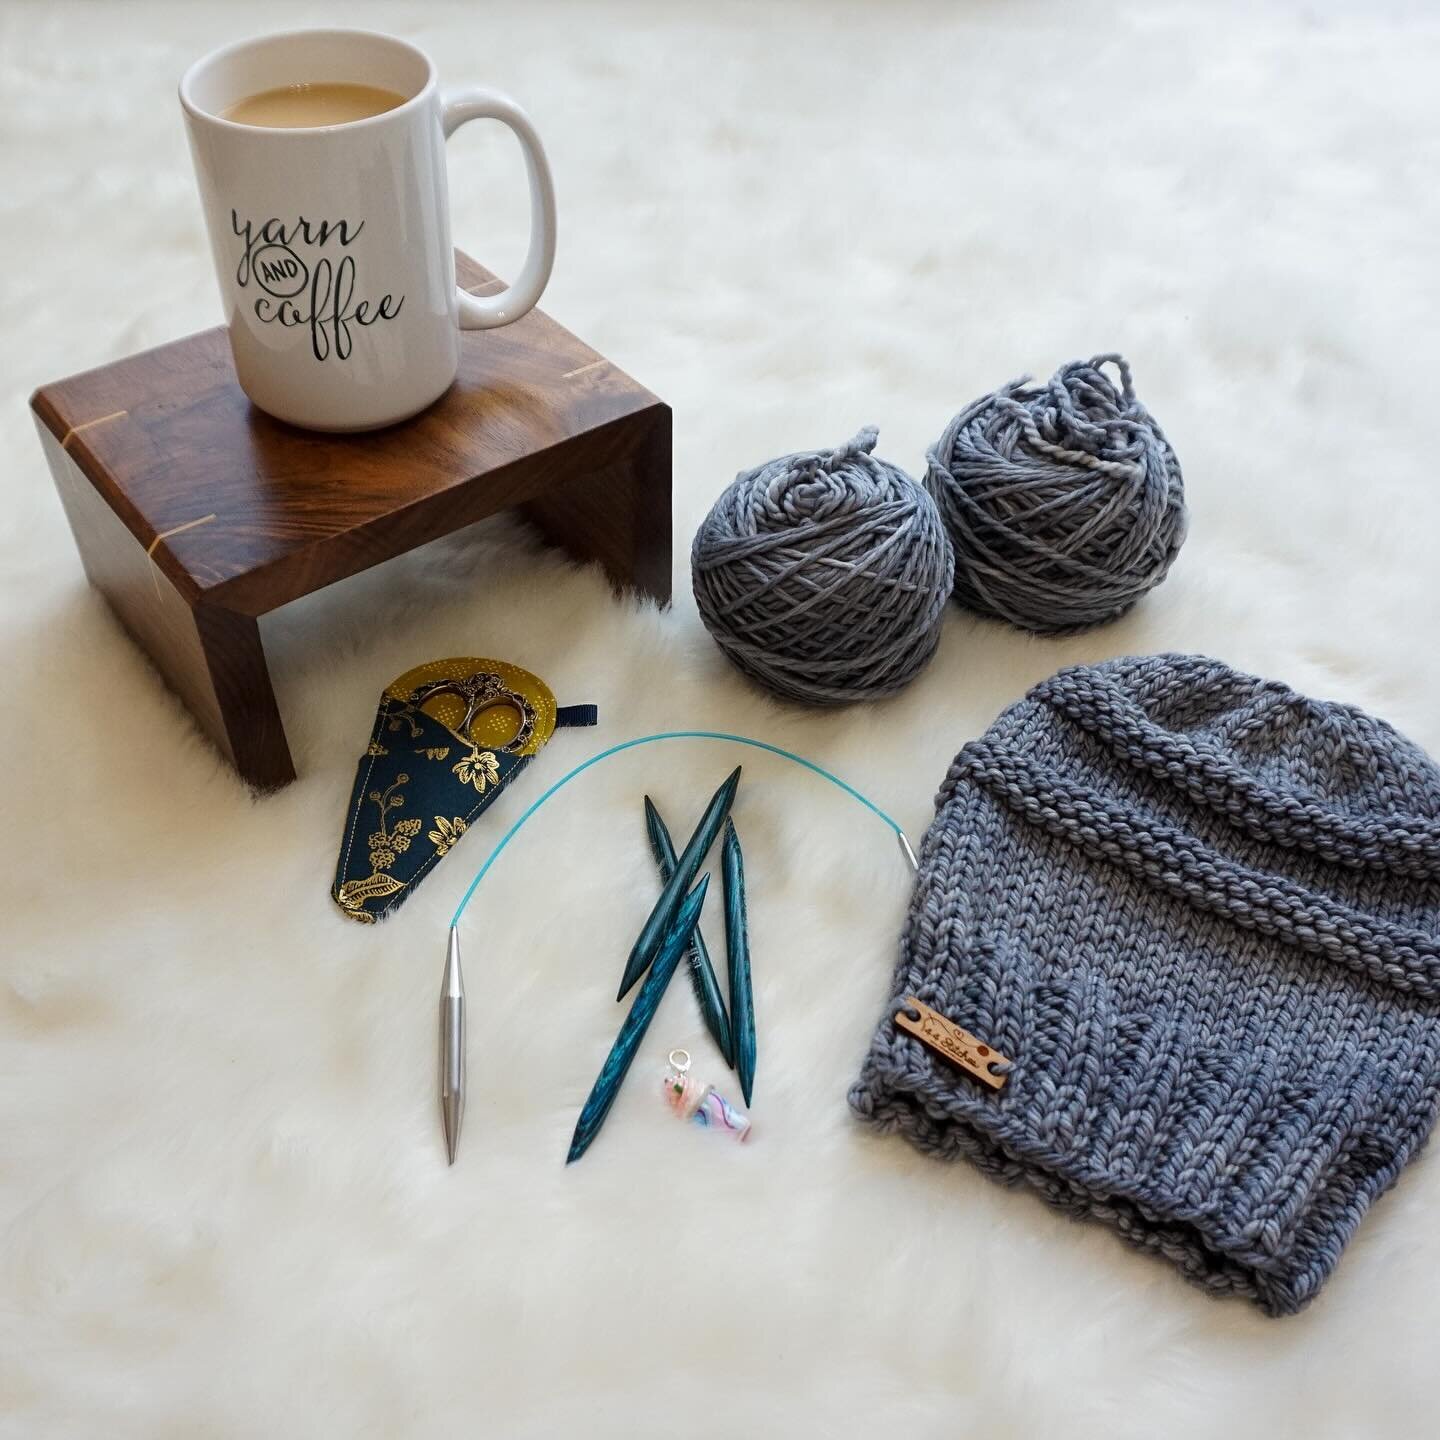
Materials:
Asylum Fibers Daft DK
Main Color: Flower Child - 430 Yards (2 skeins)
Contract Color: Vacant Stare - 219 Yards (1 skein)
Crochet Hook – 4mm
Tapestry Needle
Abbreviations / Stitches:
ch – chain
st(s) – stitch(es)
sk – skip
sp – space
sc – single crochet
dc – double crochet
RS – right side
WS – wrong side
MC – Main Color
CC – Contrast Color
Gauge: 12 rows x 18 sts – alternating sc and dc rows
Final Measurement: 65 x 6 ¾ in, or 165 x 7 ½ cm
Pattern Notes:
In this pattern, when you chain stitch outside of the foundation row, you are skipping over the equivalent # of sts in the previous row. So, when you dc 1, ch 1, dc 1, that is the equivalent of 3 sts.

BEGIN WITH Scarf End A
Foundation: With CC, ch 33
Row 1: RS - Insert hook into second loop from hook and sc 31, ch 4 and turn (Final st count – 31)
Row 2: WS - The ch-4 from the previous row counts as your first dc and the ch sp, insert your hook into the 3rd st and dc, following the chart, ch 1, dc 3, ch 1, dc 1, ch 1, dc 1, ch 1, dc 3, ch1 , dc 3, ch1, dc 1, ch 1, dc 1, ch 1, dc 3, ch 1, dc 1, ch 1, dc 1, ch 1 and turn
Row 3: The ch-1 from the previous row does not count as your first st. Sc across, being sure to sc in every st including the ch-sps
Rows 4-9: Repeat Rows 2+3

For the next section, you’ll be working with two sections of MC
PRO TIP: it’s easier to wrap yourself a small ball of MC in addition to your main ball.
Row 10: The ch-4 from the previous row counts as your first dc and the ch sp, insert your hook into the 3rd st and dc, following the chart, ch 1, dc 3, ch 1, dc 1, ch 1, dc 1, ch 1, dc 3, ch1, dc 3, ch1, dc 1, ch 1, dc 1, ch 1, dc 1, leave the working loop. Tie on in the next st with your small ball of MC, bring a loop through CC, tighten CC loop and pull the end toward you, on the WS, then dc 6 with MC, ch 1 and turn
Row 11: Sc 6 with MC, pull CC through the working loop of MC, push the end towards the back, and sc 25 with CC, ch 4 and turn
Rows 12-15: Repeat Row 10 and 11. At the end of row 15, ch 1 and turn.
Row 16: Tie on with your large ball of MC, pull through working CC loop and ch 3, this counts as your first stitch, *dc 5 with MC around your CC end.
This is like tapestry crochet, hiding the next color inside your working yarn stitches.
Pull CC through MC, and dc 1 with CC. Make sure to pull all ends towards you.
Ch 1, dc 1, ch 1, dc 1, ch 1, dc 3, ch 1, dc 3, ch 1, dc 1, ch 1, dc 1, ch 1, dc 1, pull small MC ball loop through working loop, pull ends towards you, dc 6 MC, ch 1, turn*

Row 17: Sc 6 MC, pull CC through working loop and push ends to the back, sc 19 CC, pull big MC through CC working loop, push ends to the back, sc 6 MC, ch 3 and turn
Rows 18-21: Repeat Row 16 between the ** + Row 17
Row 22: Ch-3 from previous row counts as first dc, then dc 13 with MC (being sure to hide CC end inside the last 8 MC dc’s,) pull CC through working MC loop, and pull MC ends towards you, with CC dc 1, ch 1, dc 3, ch 1, dc 1, ch 1, dc 1, ch 1, dc 1, pull MC through working loop to form a loop, pull CC end towards you, dc 6 with MC, ch 1, turn
Row 23: Sc 6 MC with your small ball, pull CC through working loop, push ends to the back, sc 11 with CC, pull MC through working loop, push CC ends to the back, sc 14 with your big MC, ch 3 and turn
Row 24+25: Repeat Rows 22+23
Row 26: Ch-3 from previous row counts as first dc, then dc 18 with MC (being sure to hide CC end inside the last 4 MC dc’s,) pull CC through working MC loop, and pull MC ends towards you, with CC dc 1, ch 1, dc 1, ch 1, dc 1, ch 1, dc 1, pull MC through working loop to form a loop, pull CC end towards you, dc 6 with MC, ch 1, turn
Row 27: Sc 6 MC, pull CC through working loop, push ends to the back, sc 7 with CC, pull MC through working loop, push CC ends to the back, sc 18 with MC, ch 3 and turn
Row 28+29: Repeat Row 26+27
Row 30: Repeat Row 26
Row 31: Sc 7 MC, (hiding CC under 1 sc st) pull CC through working loop, push ends to the back, sc 5 with CC, pull MC through working loop, push CC ends to the back, sc 19 with MC, ch 3 and turn
Row 32: Ch-3 counts as first st, dc an additional 18 sts with MC, pull CC through working MC loop, and pull MC ends towards you, with CC dc 2, ch 1, dc 2, pull MC through working loop to form a loop, pull CC end towards you, dc 7 with MC, ch 1, turn
Row 33: Repeat Row 31
Row 34: Ch-3 counts as first st, dc an additional 19 sts with MC (hiding CC for 1 st), pull CC through working MC loop, and pull MC ends towards you, with CC dc 3, pull MC through working loop to form a loop, pull CC end towards you, dc 8 with MC, ch 1, turn
Row 35: Sc 8 with MC, pull CC through working loop, push ends to the back, sc 3 with CC, pull MC through working loop, push CC ends to the back, sc 20 with MC, ch 3 and turn
Row 36: Ch-3 counts as first st, dc an additional 20 sts with MC (hiding CC for 1 st), pull CC through working MC loop, and pull MC ends towards you, with CC dc 1, pull MC through working loop to form a loop, pull CC end towards you, dc 9 with MC, ch 1, turn
Row 37: Sc 9 with MC, pull CC through working loop, push ends to the back, sc 1 with CC, pull MC through working loop, push CC ends to the back, sc 21 with MC, ch 3 and turn
Row 38-41: Repeat Rows 36+37. At the end of row 41 cut small MC and CC with enough end to weave in
Row 42: Ch-3 from previous row counts as first dc, dc an additional 30, ch 1 and turn
Row 43: Sc 31, ch 3 and turn
Row 44: Repeat Row 42

Lace Line – Side A
Row 45: Ch 3(counts as first st) dc 1, ch 2, *dc 2, ch 2* repeat ** until last 3 sts, dc 3, ch 5 and turn
Row 46: Ch-5 counts as first st and ch 2, *dc 2 into the ch-2 sp in previous row, ch 2* repeat ** until last 4 sts. Dc 2 into ch-sp, ch 1, dc 1, ch 1 and turn
Row 47: Sc 31 across, ch 3 and turn (be sure to sc 2 in the ch-2 sps)
Row 48: Dc 31, ch 1 and turn
Rows 49-90: Repeat Rows 47+48
Rows 91+92: Repeat Lace Line Section
Rows 93-114: Repeat Rows 47+48
Lace Line – Side B
Row 115: Ch 3 (counts as first st) ch 1, *dc 2, ch 2* repeat ** until last 5 sts, dc 2, ch 2, dc 1, ch 3 and turn
Row 116: Ch-3 counts as first st, dc 2 additional sts, and ch 2, *dc 2 into the ch-2 sp in previous row, ch 2* repeat ** until last 2 sts. Dc 2, ch 1 and turn
Row 117-160: Repeat Rows 47+48. Cut and Tie off. Set aside.

Scarf End B
Foundation: Ch 33 with CC
Row 1: RS - Insert hook into second loop from hook and sc 31, ch 4 and turn (Final st count – 31)
Row 2: WS - The ch-4 from the previous row counts as your first dc and the ch sp, insert your hook into the 3rd st and dc, following the chart, ch 1, dc 1, ch 1, dc 3, ch 1, dc 1, ch 1, dc 1, ch 1, dc 3, ch 1, dc 1, ch 1, dc 1, ch 1, dc 1, ch 1, dc 1, ch 1, dc 3, ch 1, dc 1, ch 1, dc 1, ch 1 and turn
Rows 3-10: Repeat Rows 1+2
Row 11: Repeat Row 1, but at the end only ch 1
Row 12: Tie on with your big MC ball, pull MC through working CC loop, ch 3, this counts as your first st. Dc an additional 5 sts, hiding the CC color underneath, pull CC through working MC loop, and pull MC ends towards you, with CC dc 1, ch 1, dc 1, ch 1, dc 1, ch 1, dc 3, ch 1, dc 1, ch 1, dc 1, ch 1, dc 1, ch 1, dc 1, ch 1, dc 3, ch 1, dc 1, ch 1, dc 1, ch 1, turn
Row 13: Sc 25 CC, pull MC through working loop, push CC ends to the back, sc 6 with MC, ch 3 and turn
Row 14: The ch-3 from previous row counts as first dc, dc additional 5 sts with MC, pull CC through working MC loop, and pull MC ends towards you, with CC dc 1, ch 1, dc 1, ch 1, dc 1, ch 1, dc 3, ch 1, dc 1, ch 1, dc 1, ch 1, dc 1, ch 1, dc 1, ch 1, dc 1. Tie on with small MC ball, pull MC through working loop to form a loop, pull CC end towards you, dc 6 with MC, ch 1, turn
Row 15: Sc 6 MC, pull CC through working loop, push MC ends to the back, sc 19 with CC, pull MC through working loop, push CC ends to the back, sc 6, ch 3 and turn
Row 16: The ch-3 from previous row counts as first dc, dc additional 5 sts with MC, pull CC through working MC loop, and pull MC ends towards you, with CC dc 1, ch 1, dc 1, ch 1, dc 1, ch 1, dc 3, ch 1, dc 1, ch 1, dc 1, ch 1, dc 1, ch 1, dc 1, ch 1, dc 1, pull MC through working loop to form a loop, pull CC end towards you, dc 6 with MC, ch 1, turn
Row 17: Repeat Row 15
Row 18: Ch-3 from previous row counts as first dc, then dc 13 with MC (being sure to hide CC end inside the last 8 MC dc’s,) pull CC through working MC loop, and pull MC ends towards you, with CC dc 1, ch 1, dc 1, ch 1, dc 1, ch 1, dc 1, ch 1, dc 1, ch 1, dc 1, pull MC through working loop to form a loop, pull CC end towards you, dc 6 with MC, ch 1, turn
Row 19: Sc 6 MC, pull CC through working loop, push MC ends to the back, sc 11 with CC, pull MC through working loop, push CC ends to the back, sc 14, ch 3 and turn
Row 20-25: Repeat rows 18+19. At the end of row 25, cut CC and small MC.
Row 26: Ch-3 from previous row counts as first dc, dc 30, ch 1, turn
Row 27: Sc 31, ch 3, turn
Rows 28-45: Repeat Row 26+27, do not cut off
Connecting the Scarf Sides:
Your ch-3 is now on the WS of side B. Flip Side A WS, and dc into the corner of scarf end A where you cut off in MC at the end of Row 160. This will twist the Side A dc so it’s facing RS out, then dc 2 additional sts on side B next to your ch-3. Then, skipping over 2 Side A sts, dc 2 in side A, skipping over 2 Side B sts, dc 2 in side B, repeat across until last 2 Side B sts, dc 2 into Side B, then dc 1 into last st of Side A. Cut with enough end to weave in.
Weave in all ends.
Building Separation Lines:
To create a great degree of separation between your buildings, you can top stitch or whip stitch lines between them. Both these methods look good on both sides of the fabric so it’s up to you. The x’s in the chart notate where these lines should be. When done, weave in all ends.
Fringe:
Cut 96 8 in/21 cm pieces of CC. Bundle these into 32 groups of 3. You will have 16 bundles on each end of the scarf.
Starting at the corner pull bundle halfway though the stitch, pull ends through the loop, tighten. Repeat in every other stitch along the end.
Trim ends.