New Park City Knit Beanie Free Knitting Pattern
/
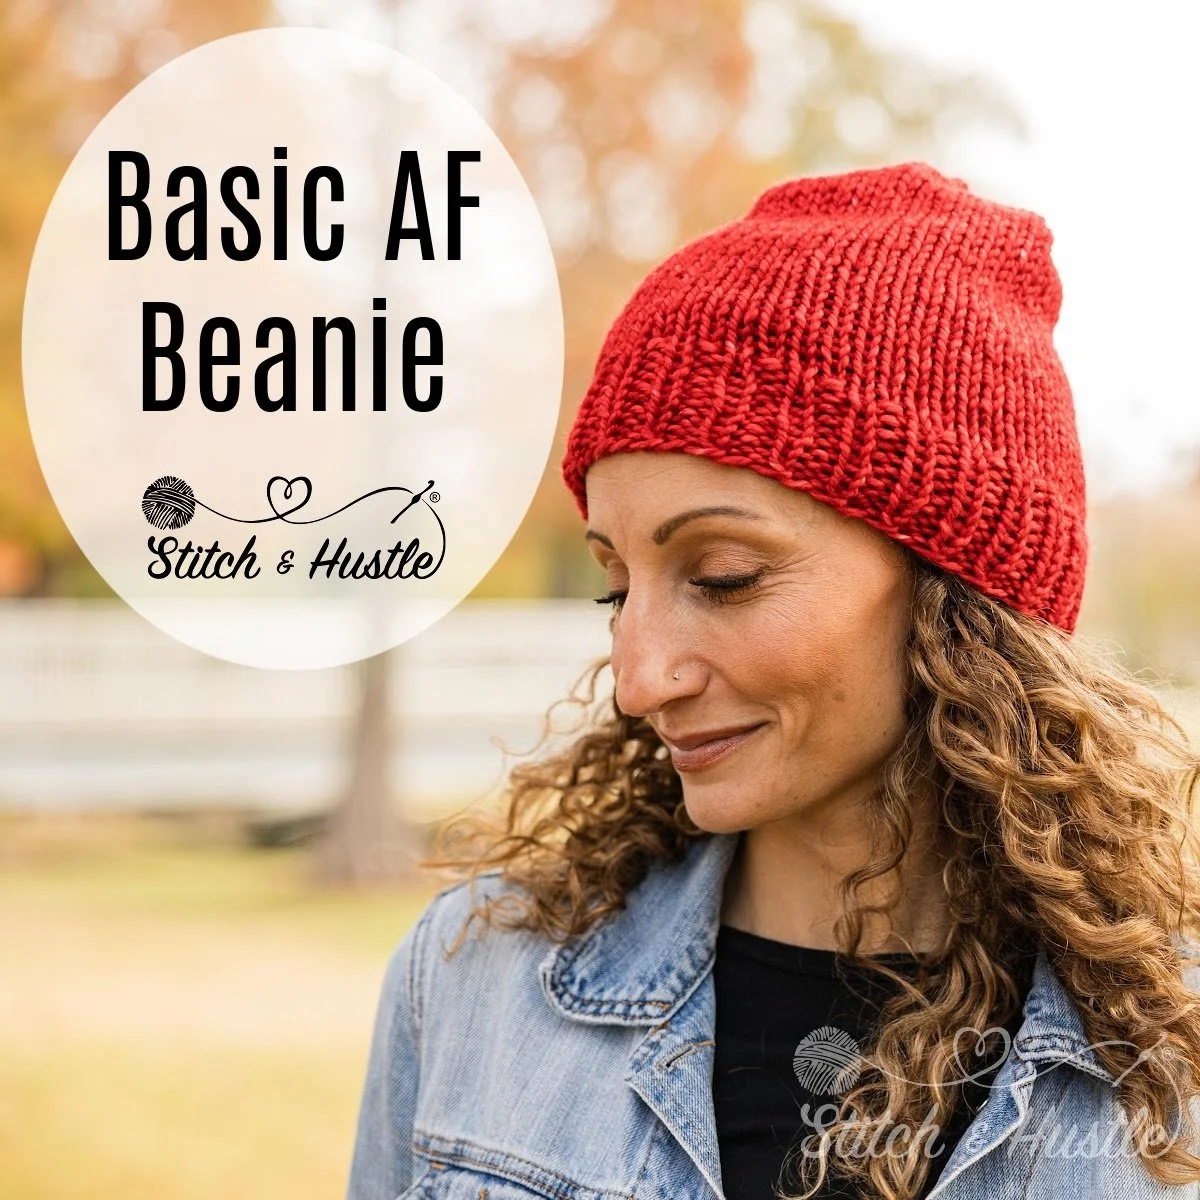
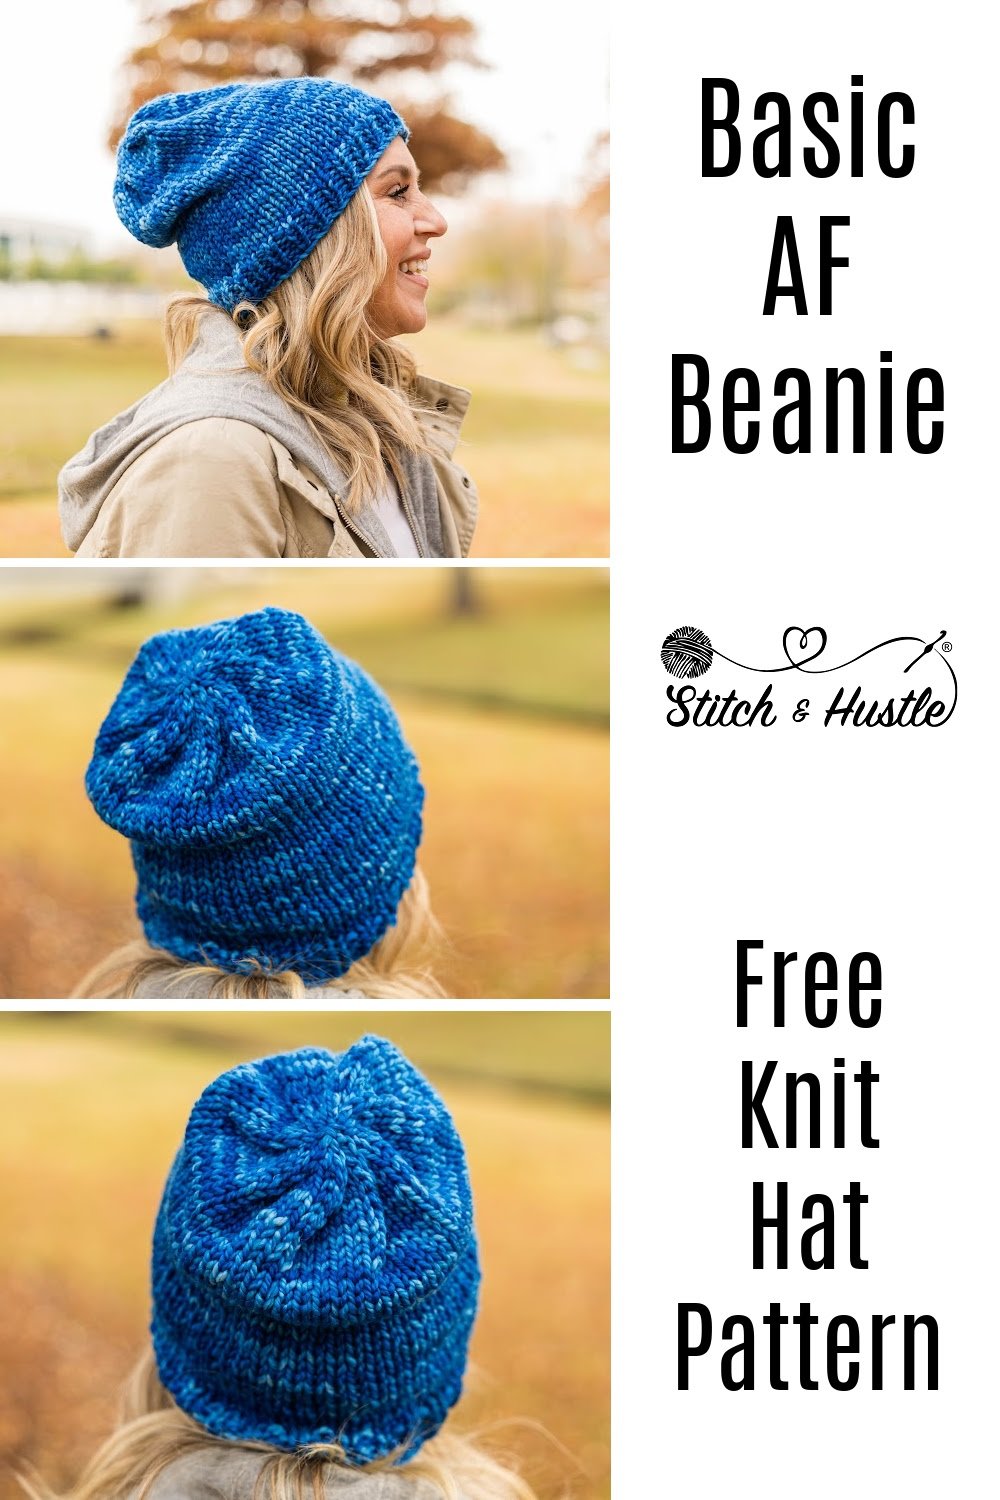
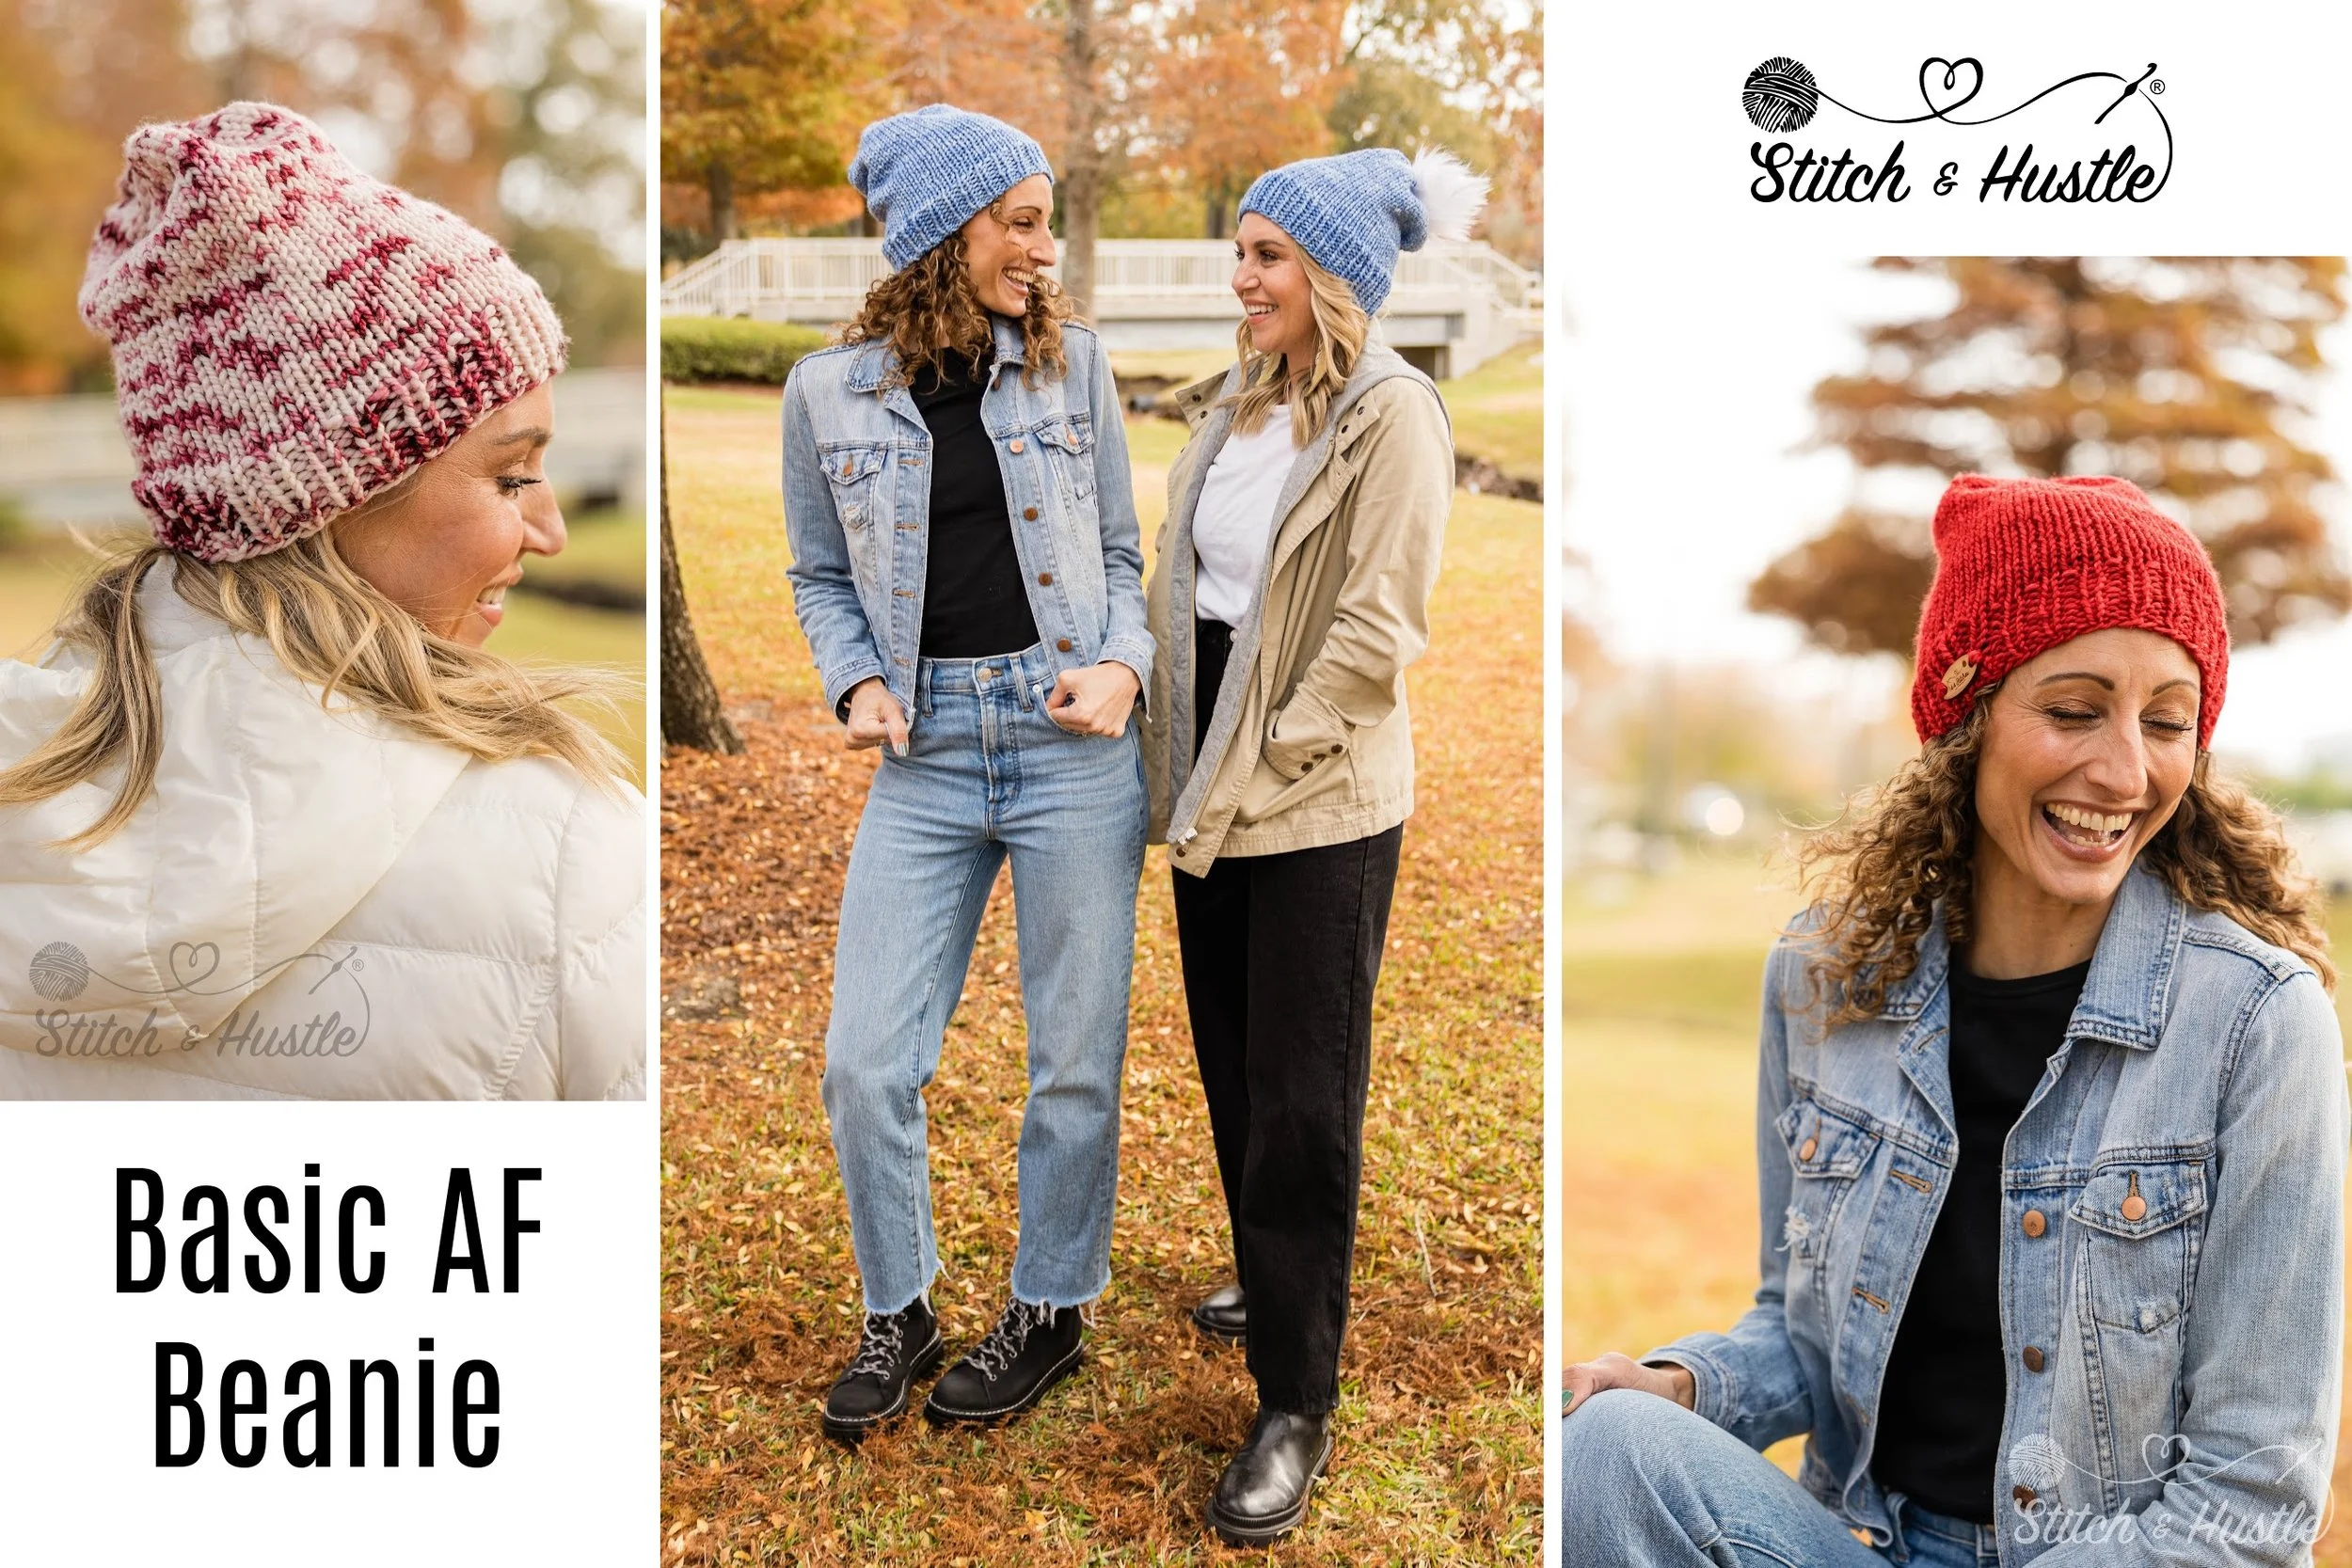
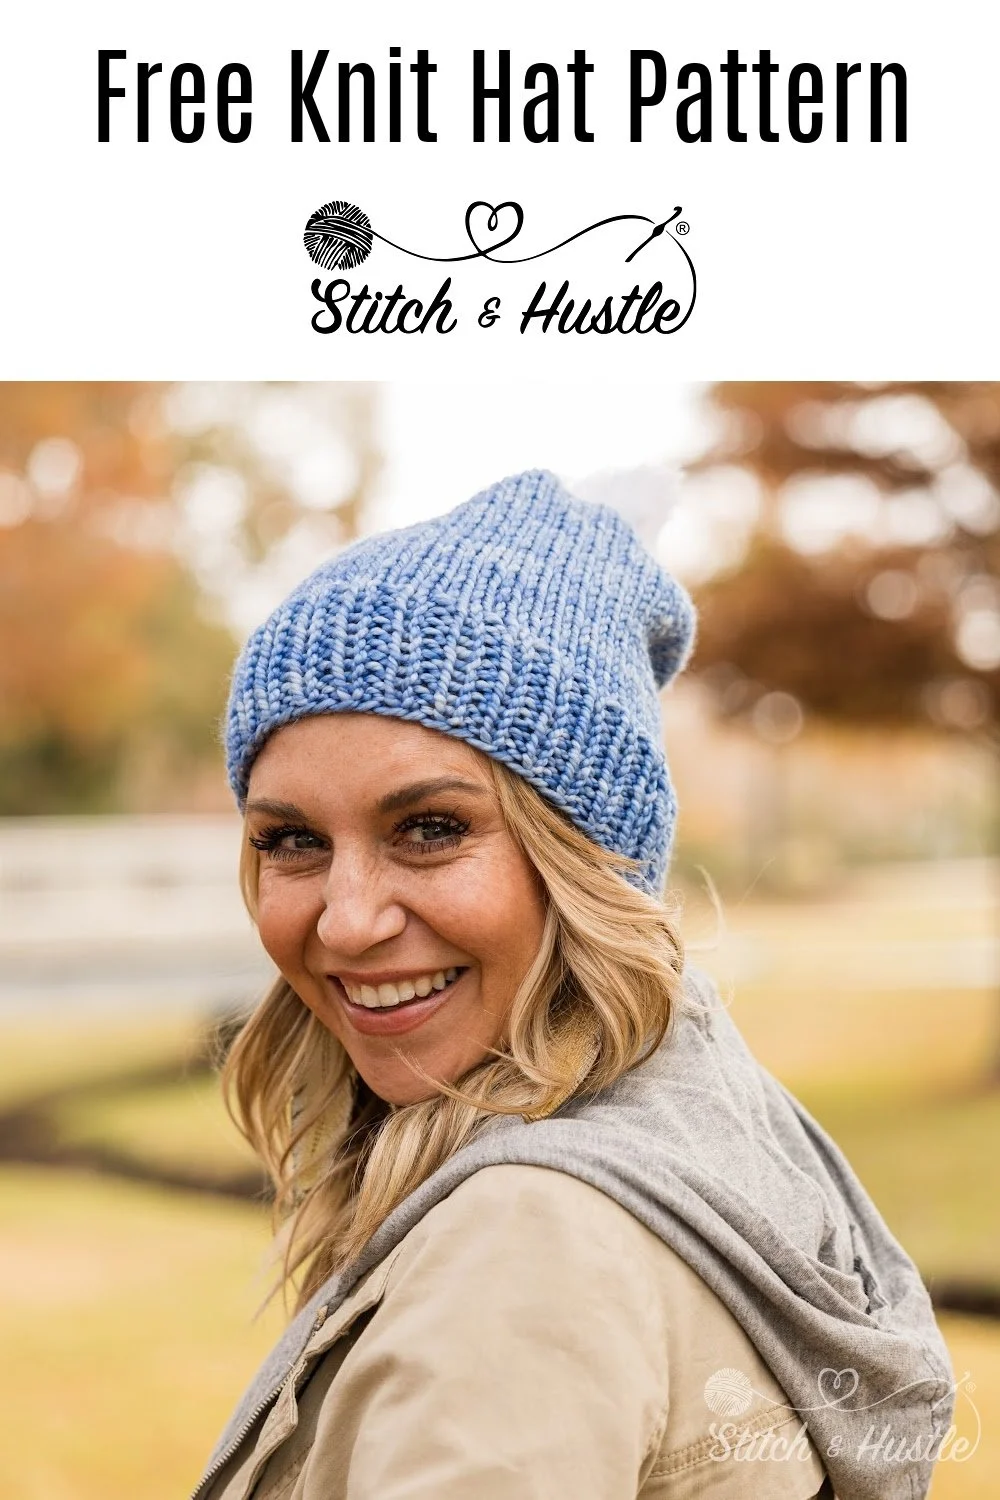
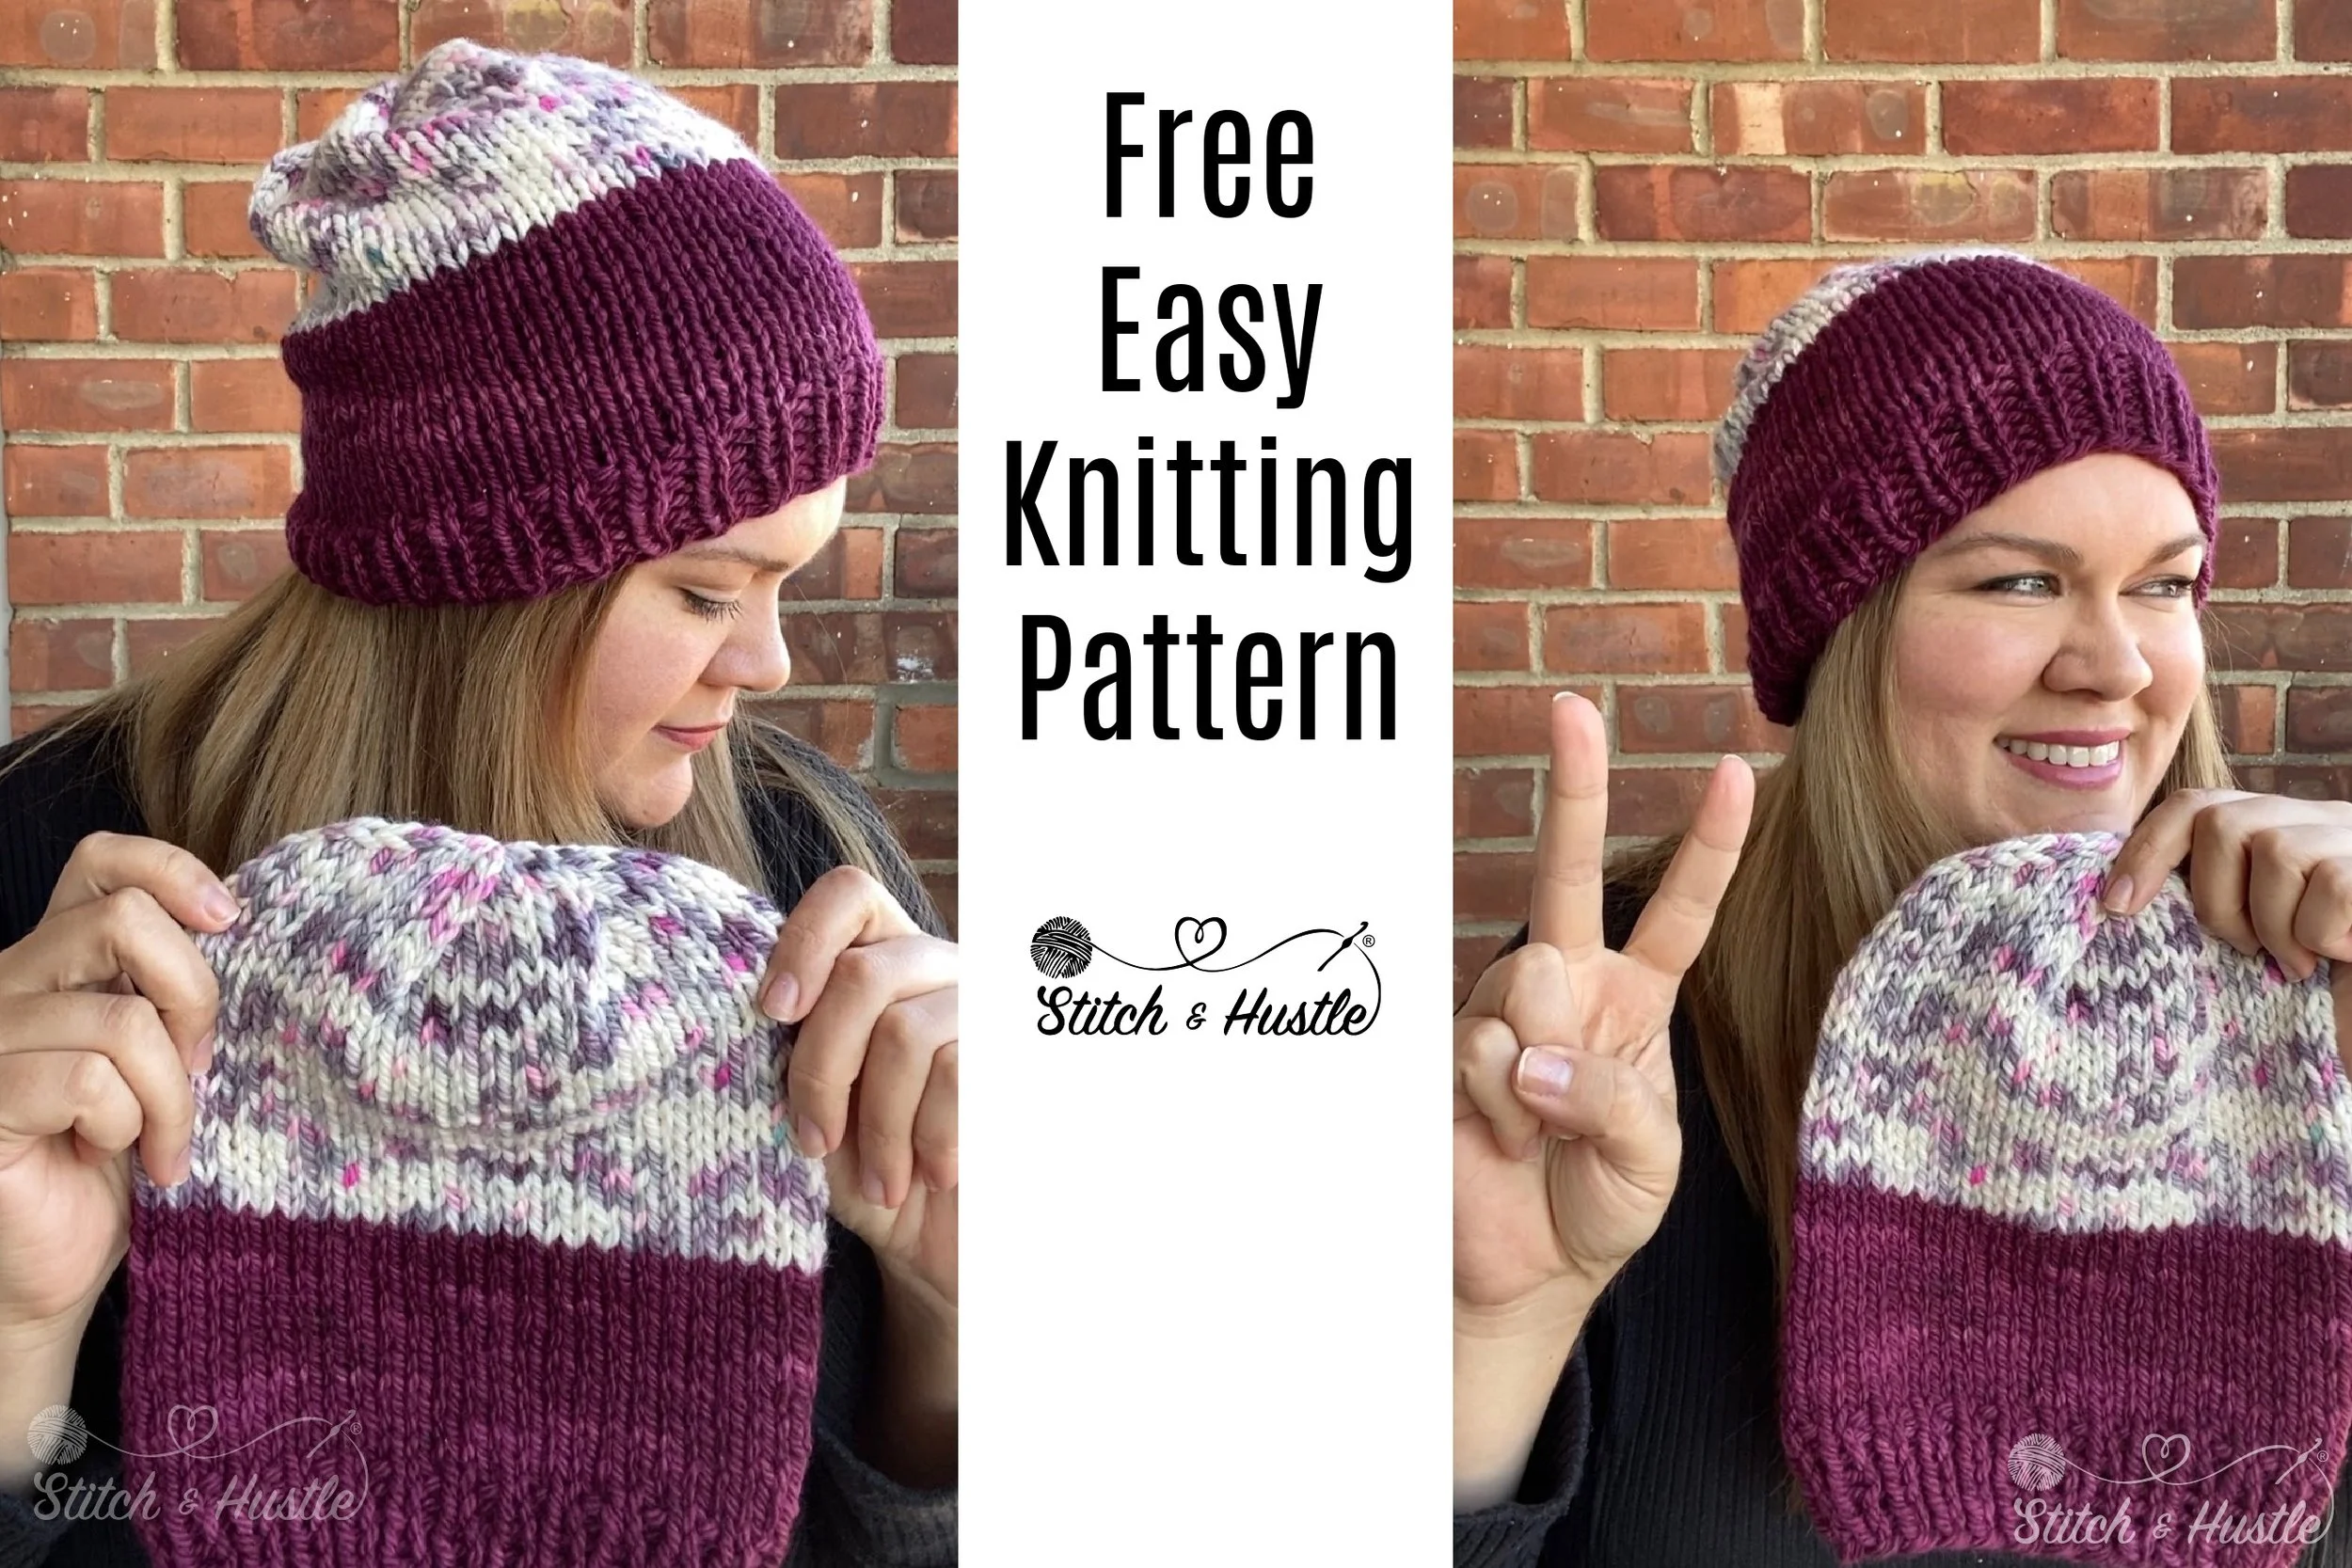
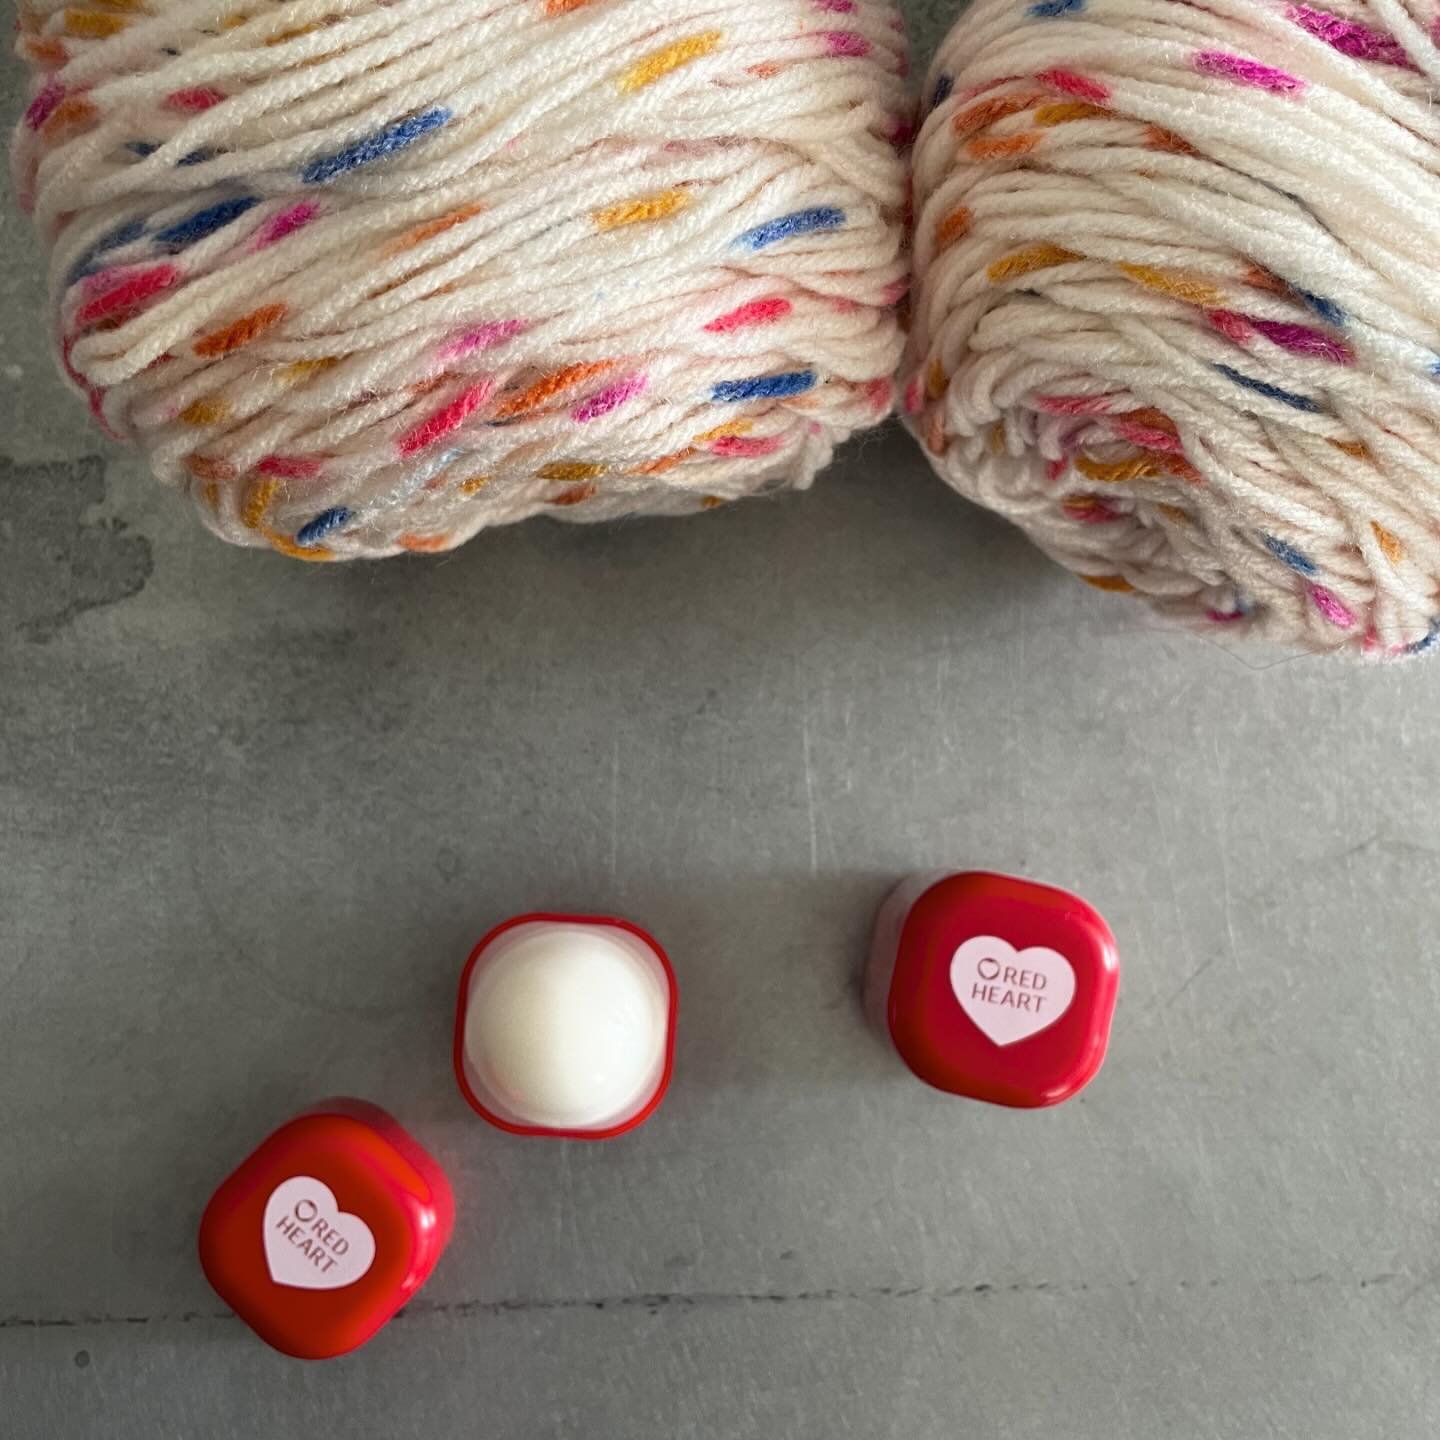
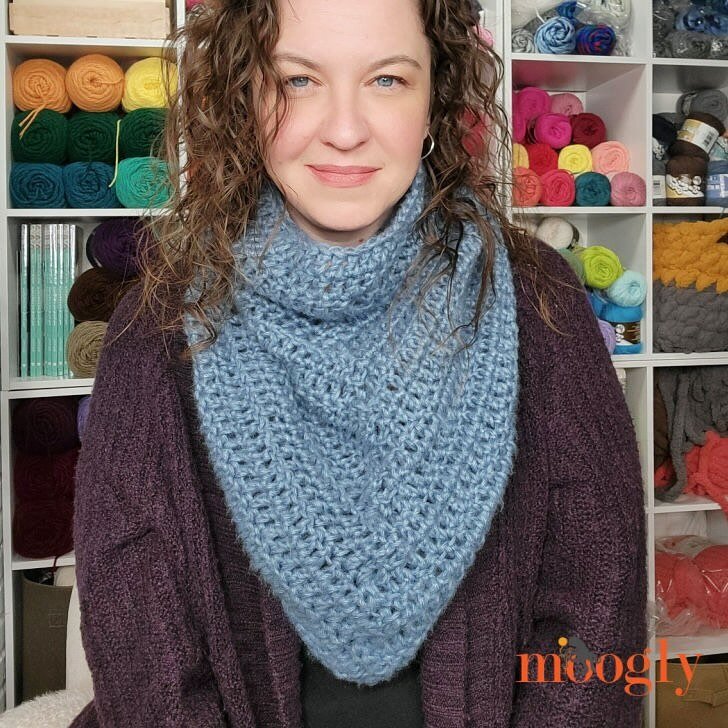
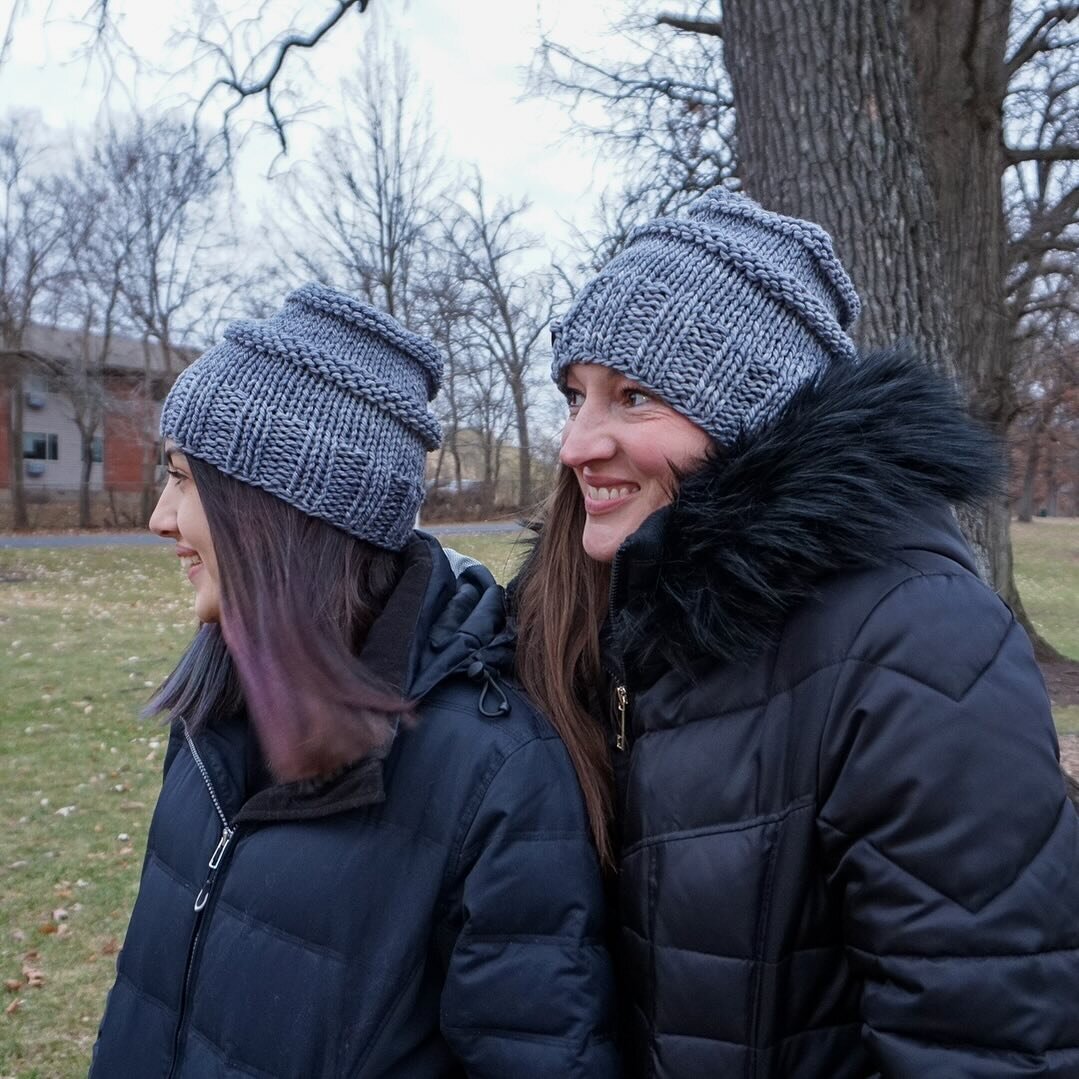
A Fabulous One Skein Wonder! The texture of the New Park City Knit Beanie give guys and gals a slight slouch and fantastic beanie style.
Read MoreA Fabulous One Skein Wonder! The texture of the New Park City Knit Beanie give guys and gals a slight slouch and fantastic beanie style.
Read MoreIn partnership with Asylum Fibers and her amazing chunky yarn, we bring you this free classic knit beanie pattern. Perfect to whip up on the go and great for gifts for the whole family. Beginners and experienced knitters alike love our Basic AF Knit Beanie. You can make the brim as wide or trim as you like. Add slouch if you like. Truly versatile and the most perfect basic beginner knit beanie.

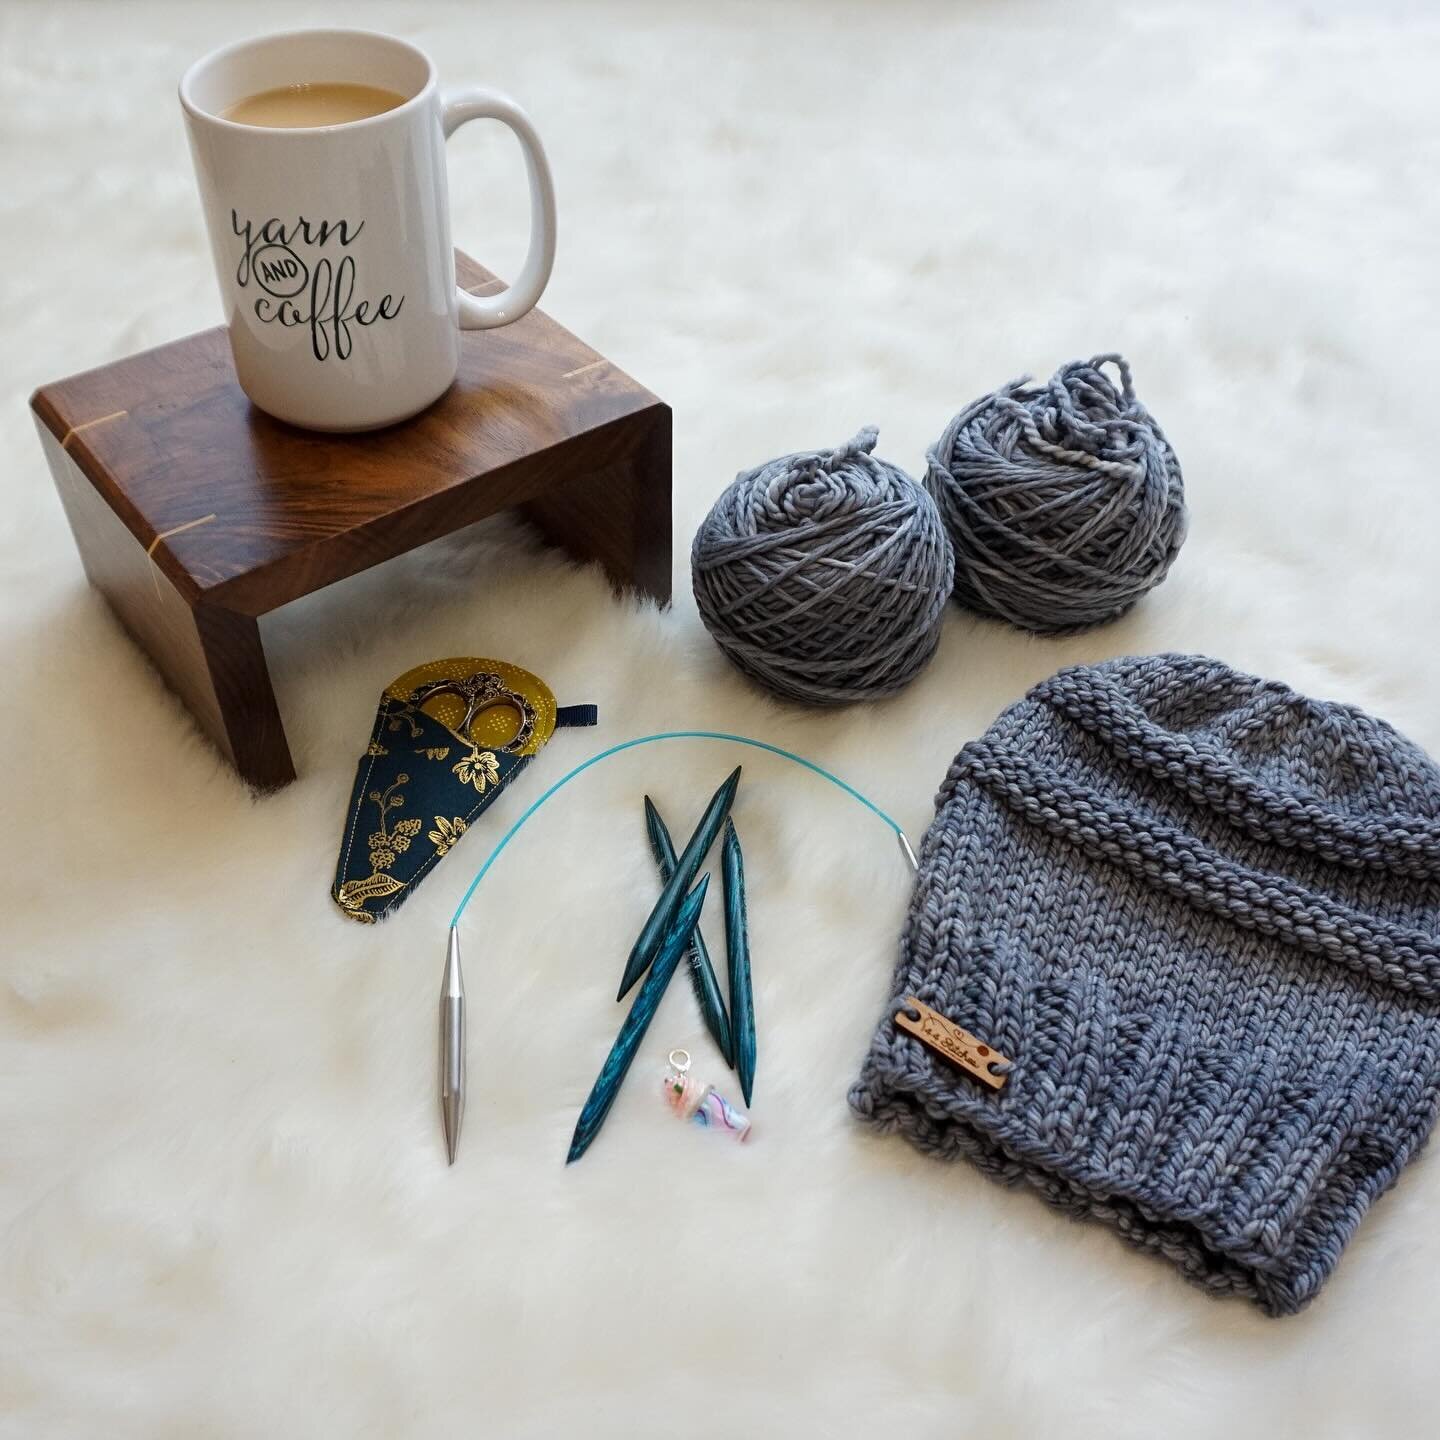
Supply List:
Asylum Fibers Bulky –1 skeins, each Approx 108 yards
US 13 / 9mm 16”circular needle & set of double pointed needles
Large needle to weave ends
Stitch Marker
Finished hat:
Brim Circumference 16.5” –stretches to fit 21 –23” average adult head
Beanie Length 7.5” Approx / Slouchy Length 14” Approx
Stitches Used / Abbreviations:
co –cast on (using long tail cast on method)
k –knit
p -purl
k2tog –knit two together decrease
st -stitch
Gauge: 4 inch sq = 12 stitches x 12 rows
NOTES: Gauge is not a huge factor for this pattern so do not worry to much if you are struggling to meet gauge. In fact - this is a great pattern to use to work on improving gauge and consistency.
You will be able to add slouch by adding rows.
PATTERN
Color A:
CO 56; Place marker and join to work in the round, being careful not to twist sts.
Round 1: [k1,p1] to end
Rounds 2-9: repeat Round 1
*** or repeat until desired brim width
Rounds 10-20: knit
If adding a color change, change to Color B here:
Rounds 21-34: Knit
*** Or until you reach desired hat body length
Begin crown decrease:
Round 1: [k5,k2tog] around –48 sts remain
Round 2: [k4,k2tog] around –40 sts remain
Round 3: [k3,k2tog] around –32 sts remain
Round 4: [k2,k2tog] around –24 sts remain
Round 5: [k2tog] around -12 sts remain
Round 6: [k2tog] around -6 sts remain
Using needle, weave in tail through the remaining 6 stitches to close up hat peak. Weave in ends using cast on tail to attach button or tag.
The absolute perfect beginner friendly chunky knit cowl fre epattern. Works up like a charm and lots of ways to customize your size.
Read MoreDive into our beginner-friendly crochet Alaska Shrug pattern, perfect for cozy layering. Enjoy our free, easy crochet pattern complete with photo and diagram assembly details, and create a modern, stylish piece effortlessly.
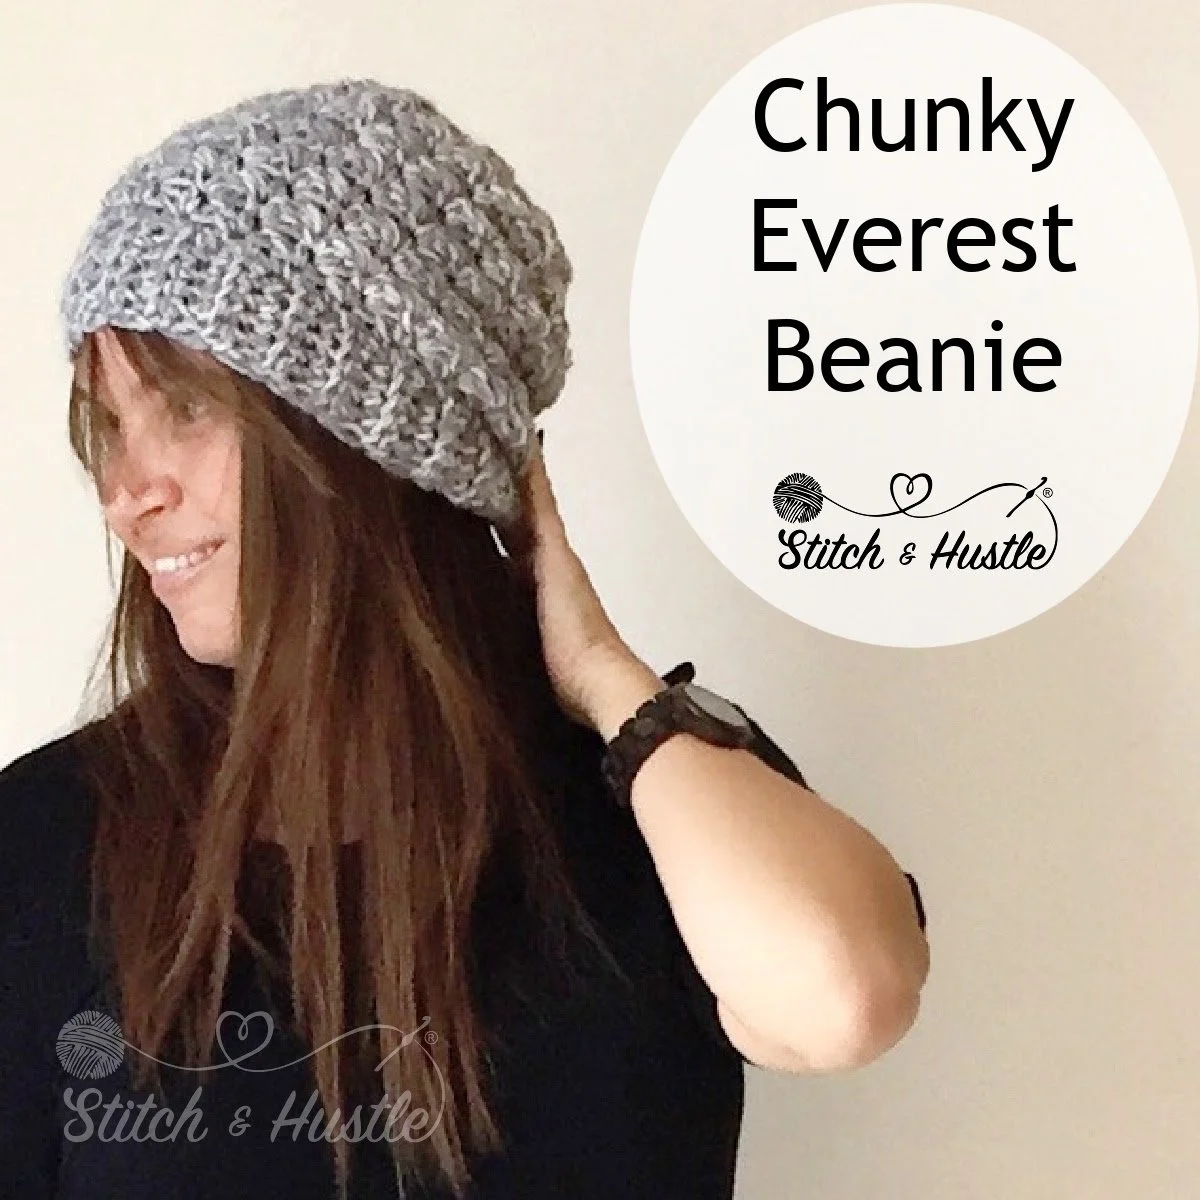
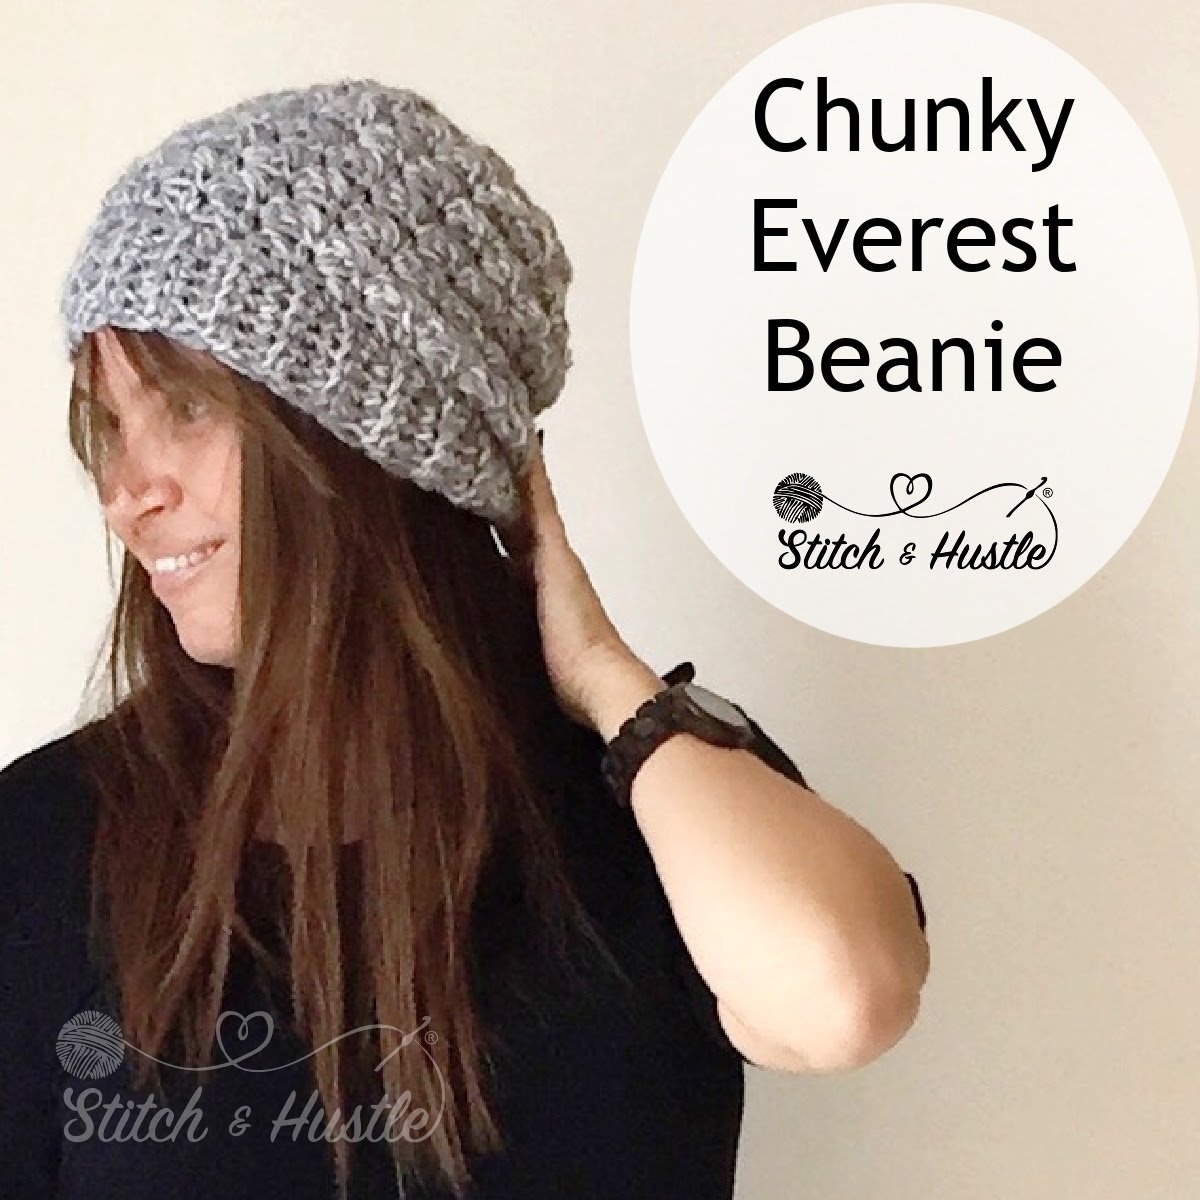
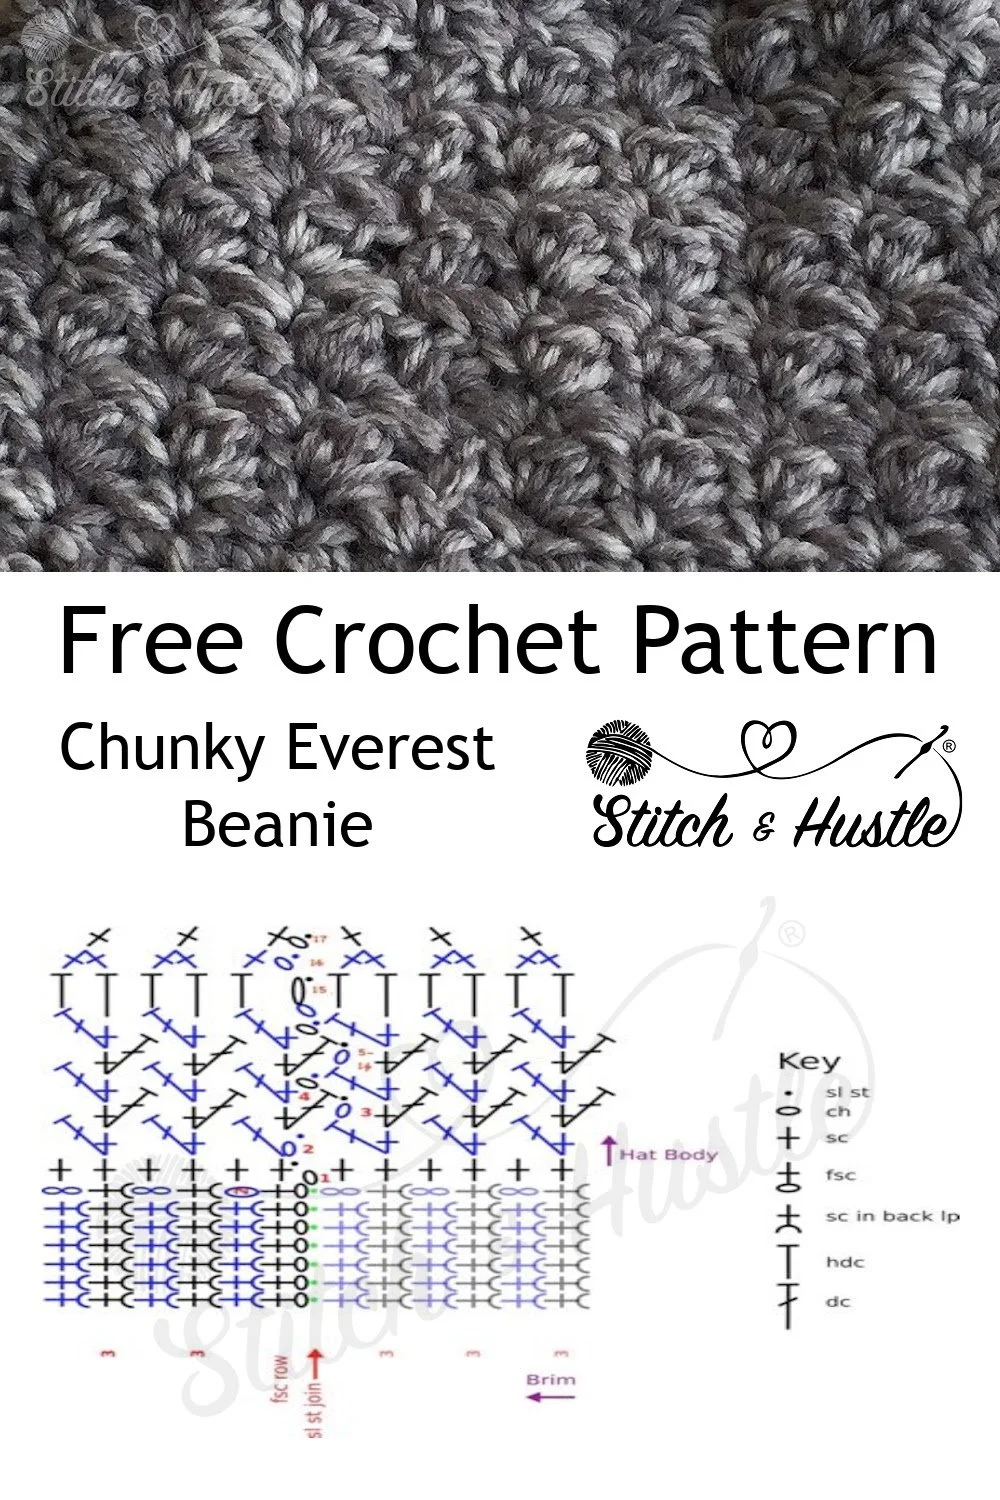
Read MoreHey everyone! I’m super excited to share something with you today. Remember my Everest Beanie? Well, I’ve got a new twist on it that’s perfect for colder days. Say hello to the Chunky Everest Beanie free crochet pattern!
So I took our favorite worsted-weight Everest Beanie and bulked it up with chunky weight yarn. It’s thicker, cozier, and just perfect for those extra chilly days. It feels like a warm hug for your head, seriously! The way the texture of this beanie works, all those lovely loops join together to keep you warm.
Not only is this beanie super warm, but it also looks amazing. The texture? Oh, it’s something else! It adds that perfect stylish touch to any winter outfit. Whether you’re grabbing coffee or going for a walk in the park, this beanie’s got you covered - literally!
And guess what? Making this beanie is a breeze. Whether you’re just starting out with crochet or you’re a seasoned pro, you’ll find this pattern super easy and fun. It’s a great project for cozy nights in.

Supply List:
124 yds Category #5 Bulky Yarn (Yarn used in sample is discontinued. WeCrochet Brava Bulky or Swish Bulky would be good substitutes.) (to add Pom Pom you will need more yarn)
Crochet Hook Size L / 8mm
Stitch Marker
Large needle to weave ends
Gauge: 4 inch sq = 7 pattern stitches x 14 rows
Hat Size:
Completed measures: 19” band circumference / Height 10”
Fits Average Adult Size Head 21” – 23’
Stitches Used / Abbreviations:
fsc- foundation single crochet
ch - Chain
sc - Single Crochet
dc – Double Crochet

Pattern Notes:
Pattern has joined rows. You will ch 1 & turn for the body of the hat
BAND:
Row 1: fsc x7 *** (alternate: ch 7, turn, ch 1, 6x sc across) ***
Row 2 and on: turn, ch 1, 6x sc in back loop only
Rows 3 – 58: Repeat row 2 for average adult size head of 19” (or desired width)
When band is at desired width: Sl st to top of initial fsc from first row, then 7 sl st across to join the whole band to become a circle
DO NOT CUT YARN // Turn to now work the body
BODY:
Row 1: ch 1, sc all way around band for total 60 sc, then sl st to ch 1
(If you adjust for larger band, this will increase – must be multiple of 2 for pattern)
Row 2: ch 1, then dc in same sc of previous row then *skip one sc sp space and [1sc, 1 dc] in next sc space *; repeat * to * all the way across to end leaving 1 sc space left; skip 1 sc space then sl st to ch 1 to complete row, Then ch 1 and turn
Row 3: then dc in same, then *skip next dc, [1 sc, 1 dc] in next sc *; repeat * to * all the way across then sl st to ch 1 to complete row, Then ch 1 and turn
Rows 4 – 14: Repeat ROW 3 but do NOT turn at the and of Row 24 after ch 1
Row 15: ch 1, hdc all way around, sl st to top of ch 1 for total of 59 hdc + ch 2
Row 16: ch 1, sc in hdc, then [sc2tog] all way around and sl st to top of ch 1 **this row should be stitched loosely**
Row 17: ch 1, sc loosely all way around, sl st to top of Ch 1 to complete row for total 30 sc incl. ch 1
Cut yarn leaving approx. 3” tail
Turn hat inside out.
Using tapestry needle, weave lengthy tail across the top of the hat across, then diagonally, creating a star shape. Then pull tight like a drawstring
Turn hat right side out Using tail, seam up the hat peak
Fasten off and weave in ends.
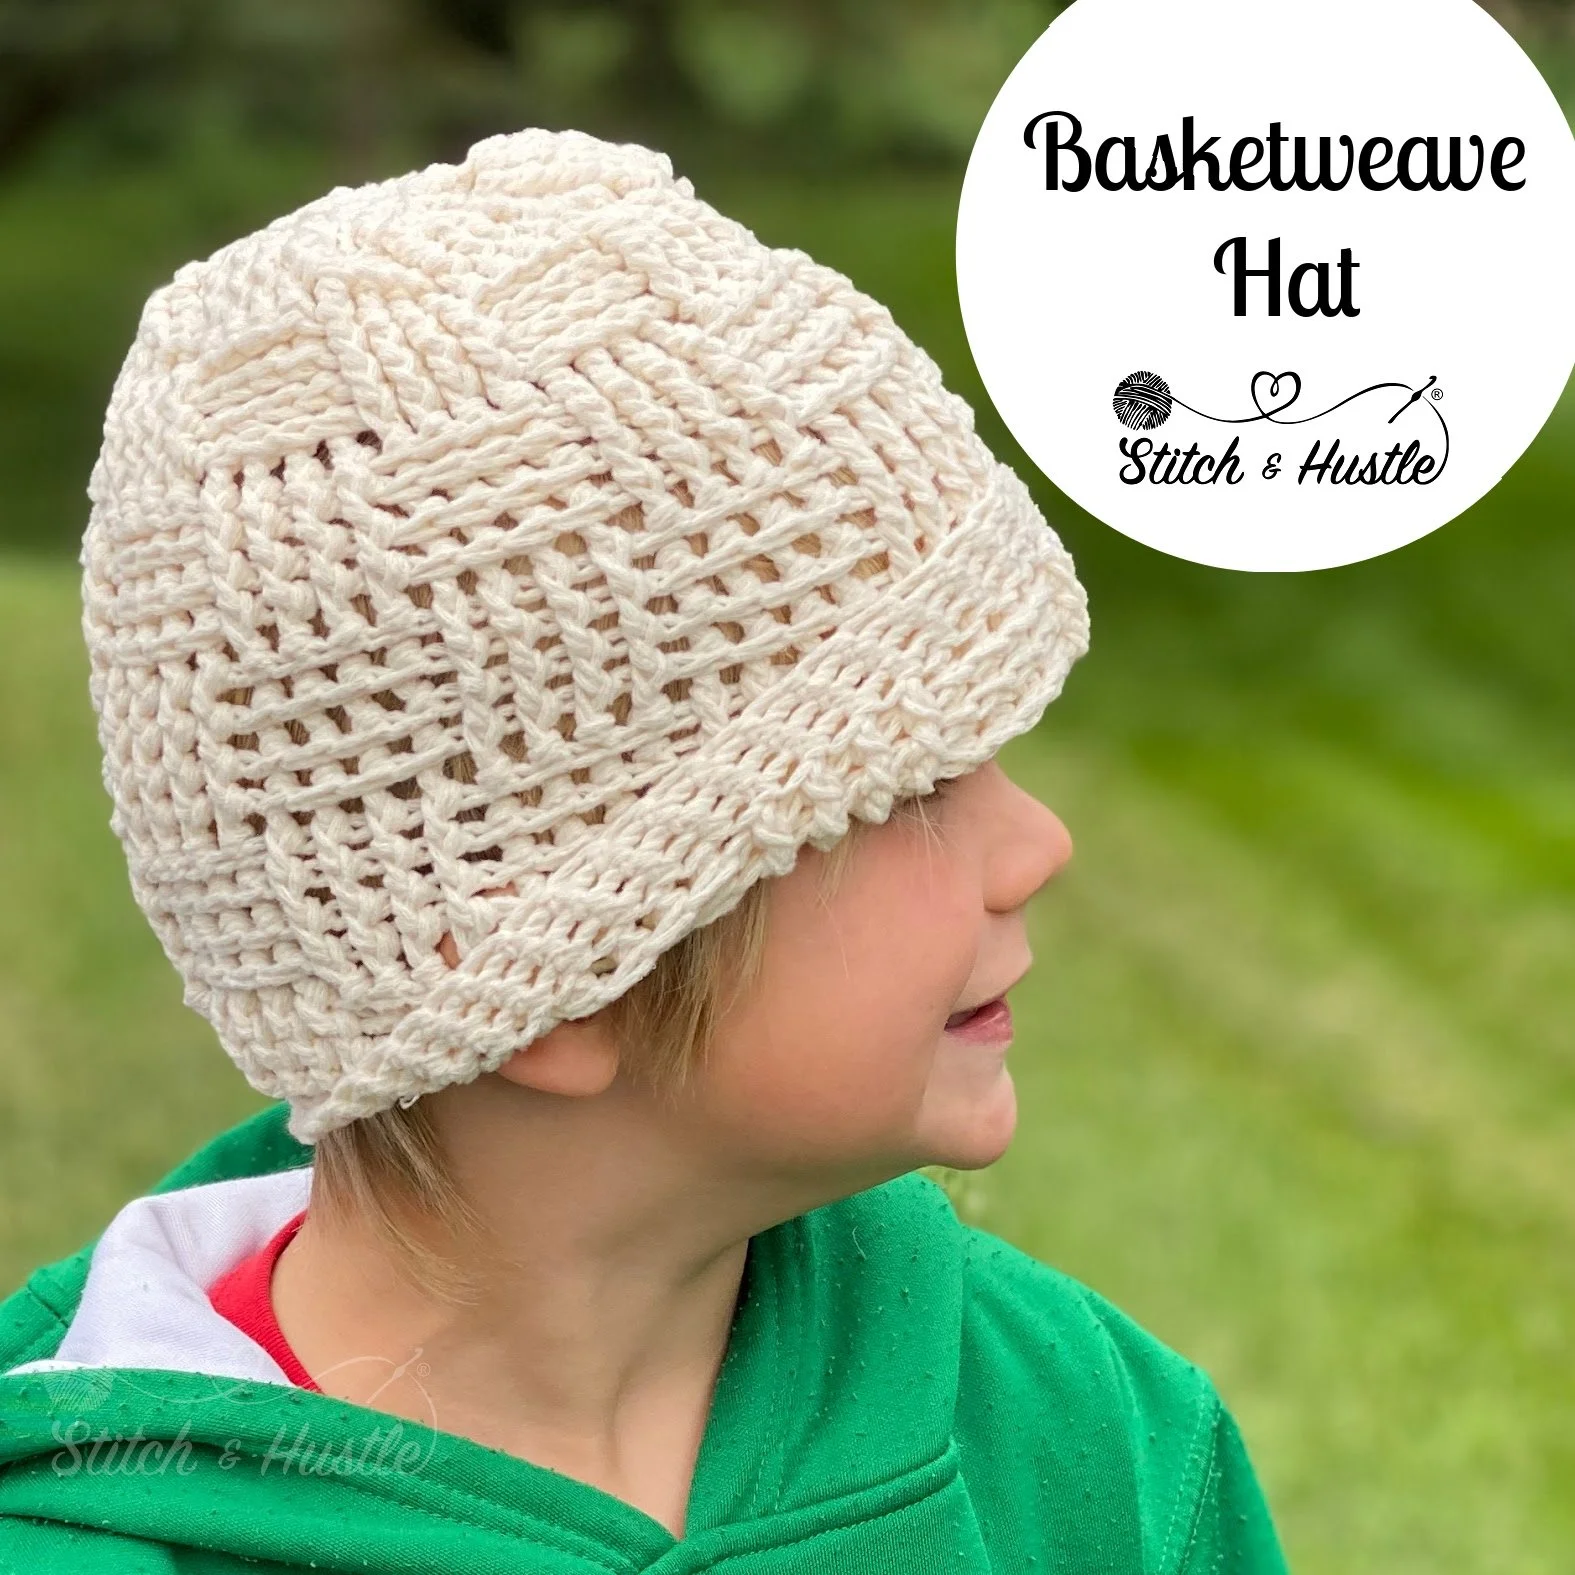
Full of depth and texture, sink your hook into our Basketweave Hat free crochet pattern!
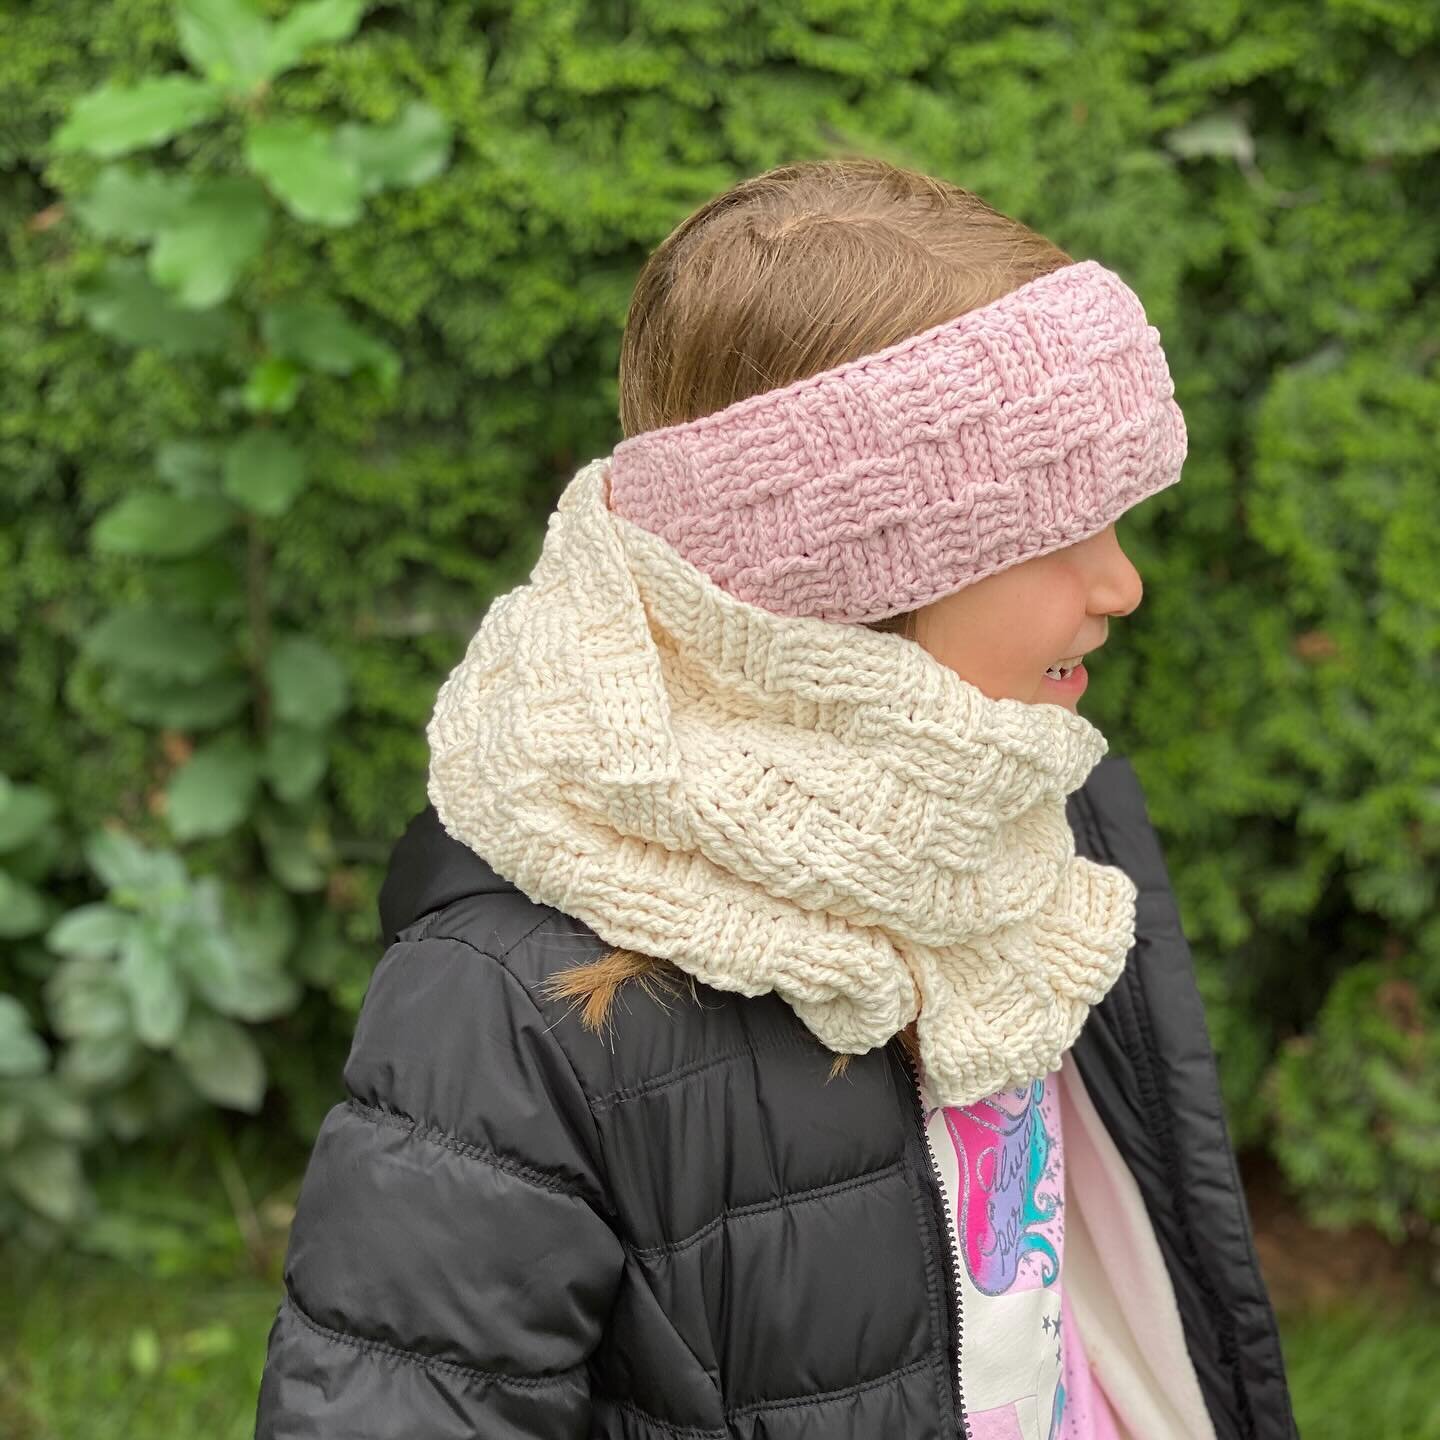
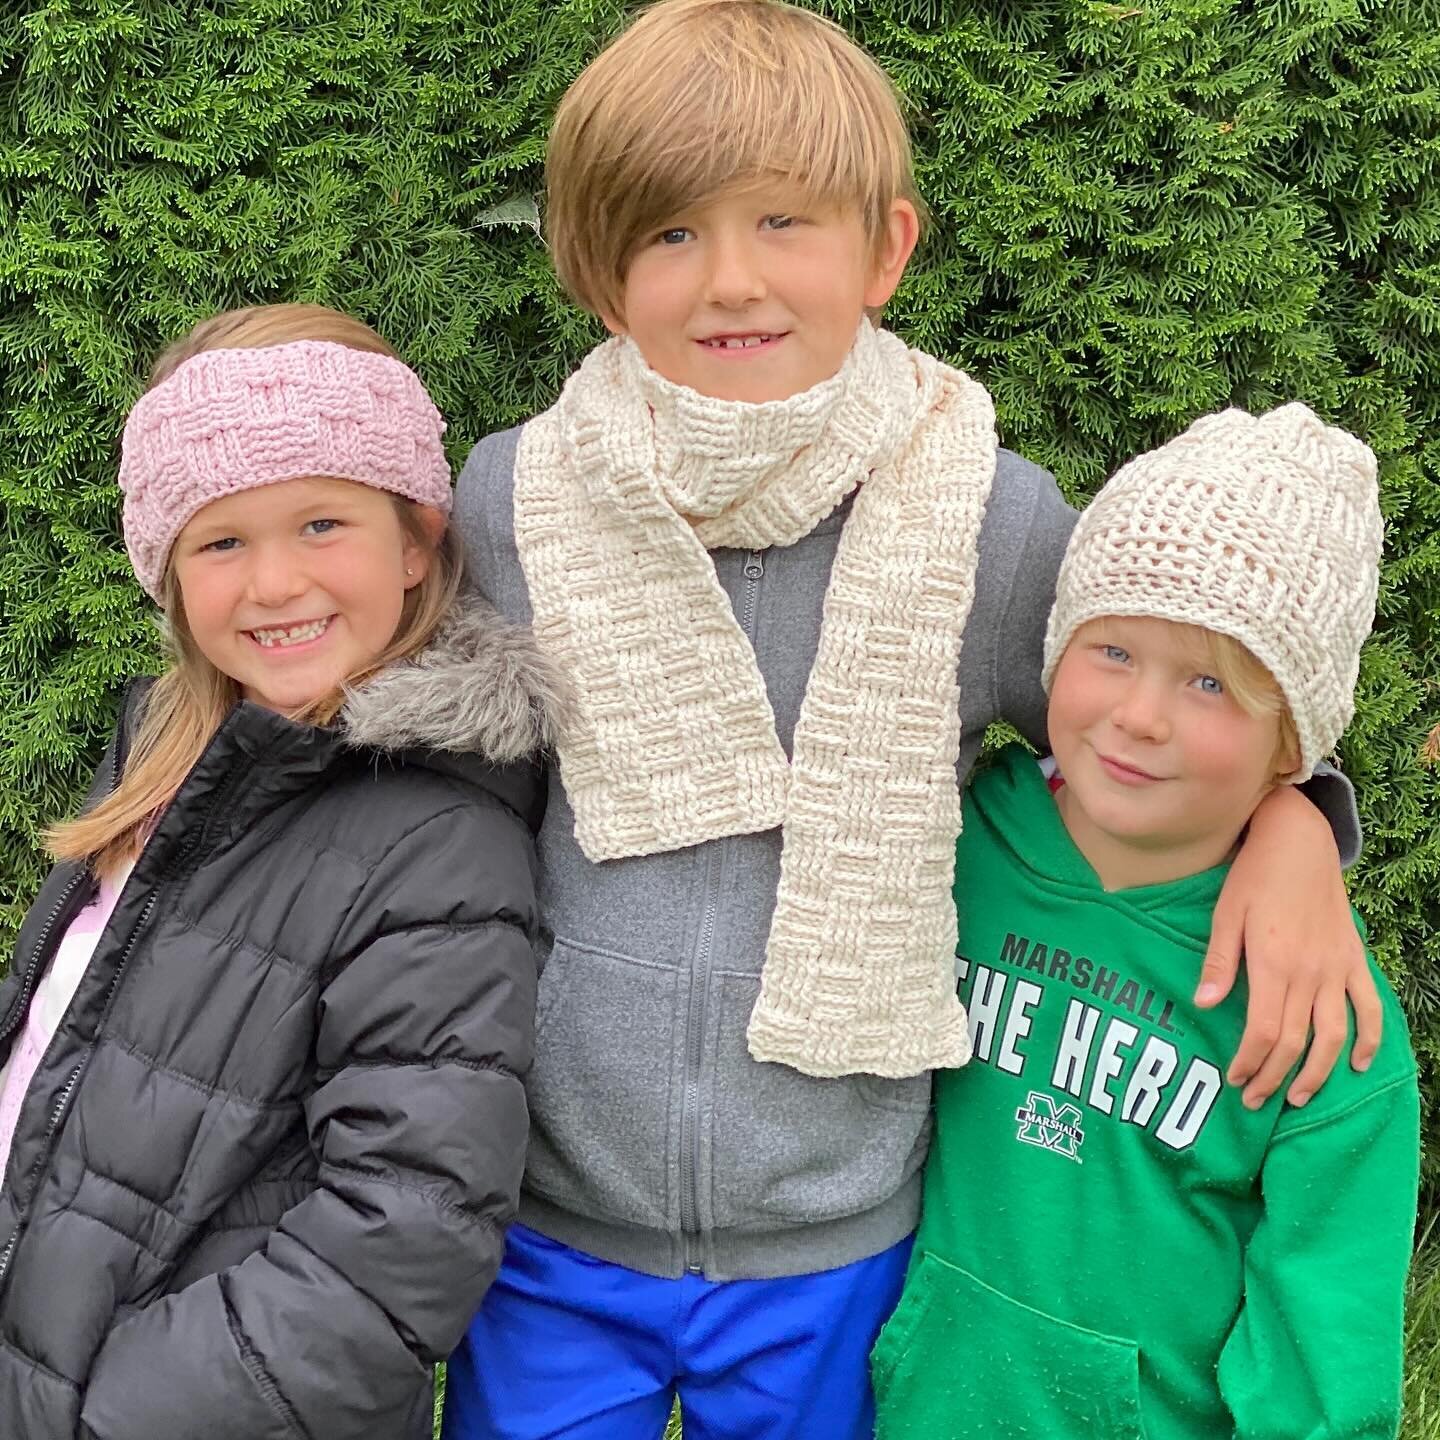
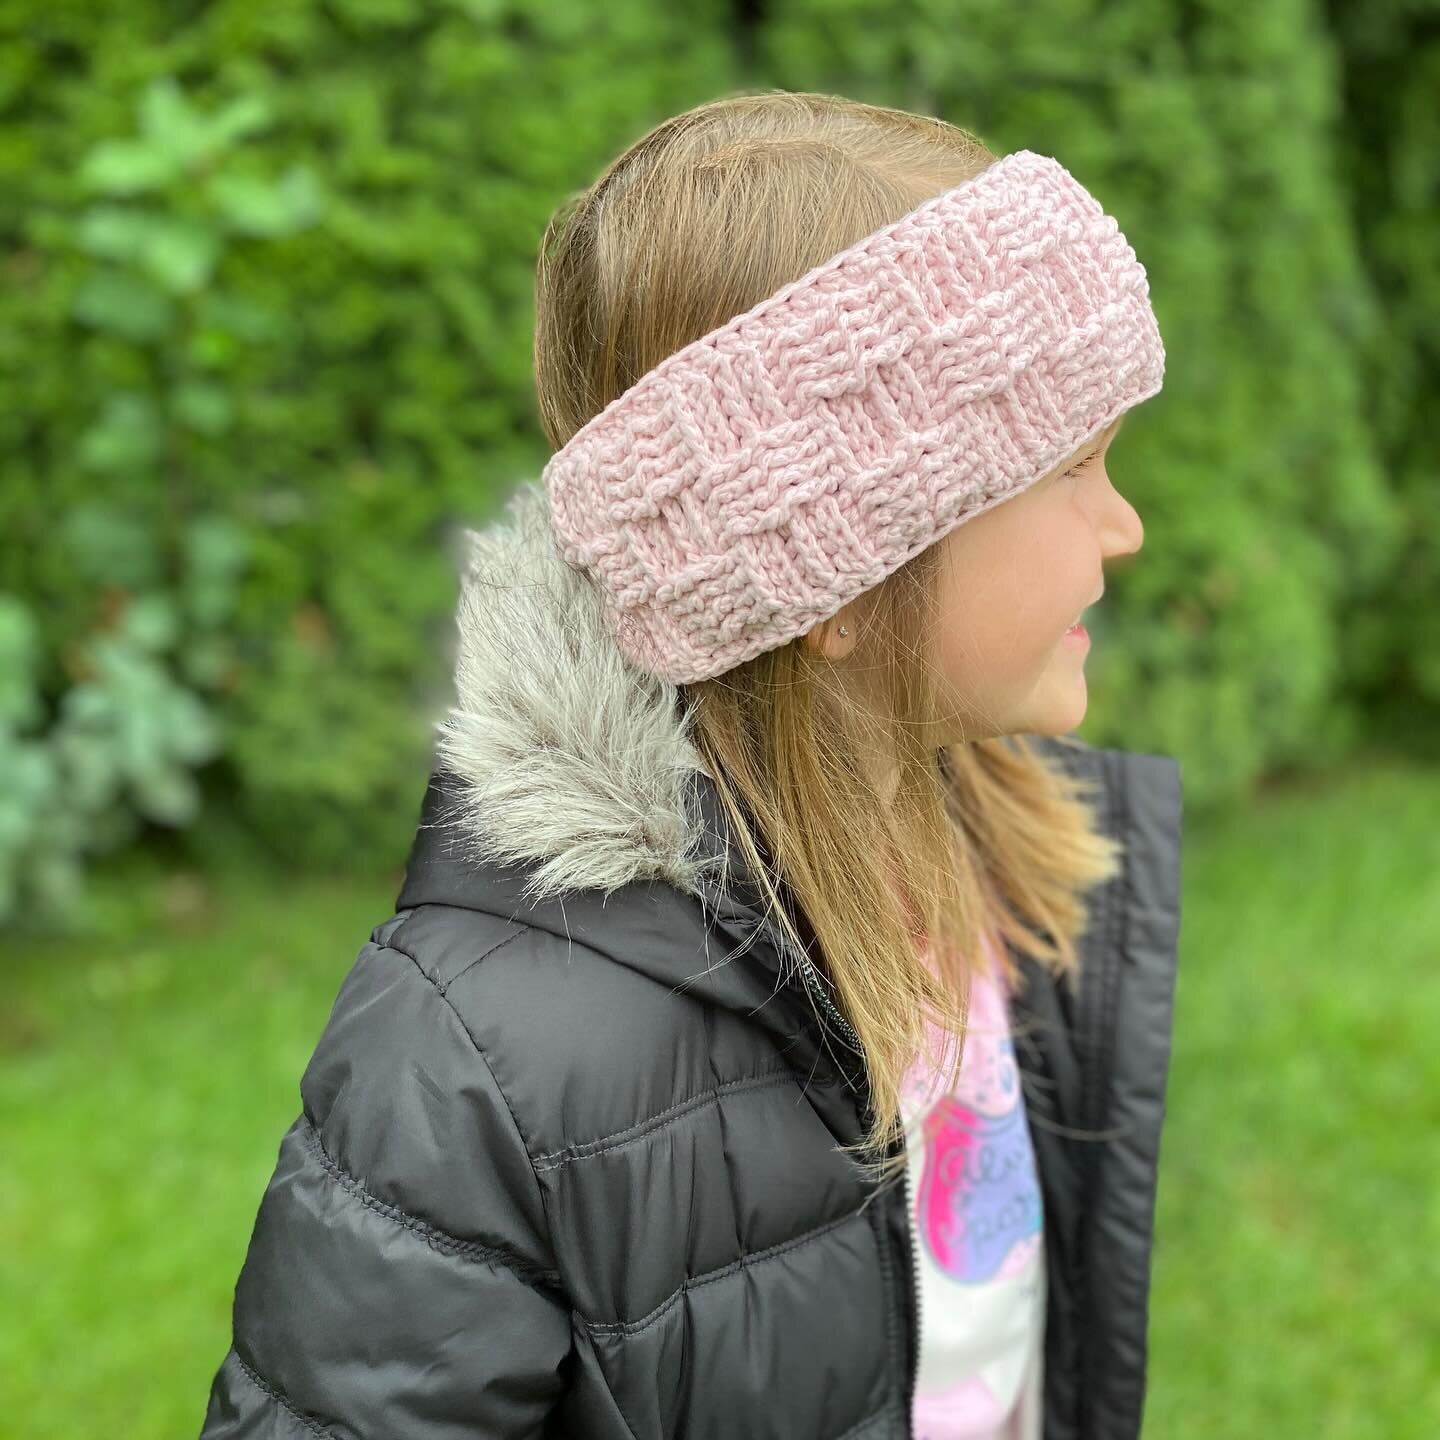
Perfect for those who need a little extra room up top or overheat easily, the Basketweave Headband is our newest free crochet pattern for our crochet community.
This quick, easy project is perfect for showing off some special skeins. Sometimes, the simplest stitches are the right choice for letting special yarn shine.
Read MoreThe Be Cozy In The Alps Scarf free crochet pattern is here to rev up your cold-weather wardrobe. True to name, the snug stitch of this pattern will keep those winds away.
Read MoreAs the colder winds start to blow and the air gets crisper, there’s no better time to cast our newest free pattern. The Mountaineer Cozy will fend off the chilliest breezes in style.
Read MoreIf you’re a new knitter seeking that ideal starter project, we’ve got just the thing for you: our Dueling Diamonds Cowl!
Read MoreIf you’re a new knitter seeking that ideal starter project, we’ve got just the thing for you: our Dueling Diamonds Infinity Scarf!
Read MoreWelcome to our Dueling Diamonds Knit Beanie Free Knitting pattern! A stylish beanie to keep your noggin warm and looking good at the same time!
Read MorePart of our newest crochet pattern set, keep your loved ones cozy with the Basketweave Scarf free crochet pattern!
Read MoreFull of depth and texture, sink your hook into our Basketweave Hat free crochet pattern!
Read MorePerfect for those who need a little extra room up top or overheat easily, the Basketweave Headband is our newest free crochet pattern for our crochet community.
Read MoreOur newest free crochet pattern, the Priscilla Cowl, is ideal for beginners. Create a modern, cozy accessory with bulky yarn, perfect for your first project!
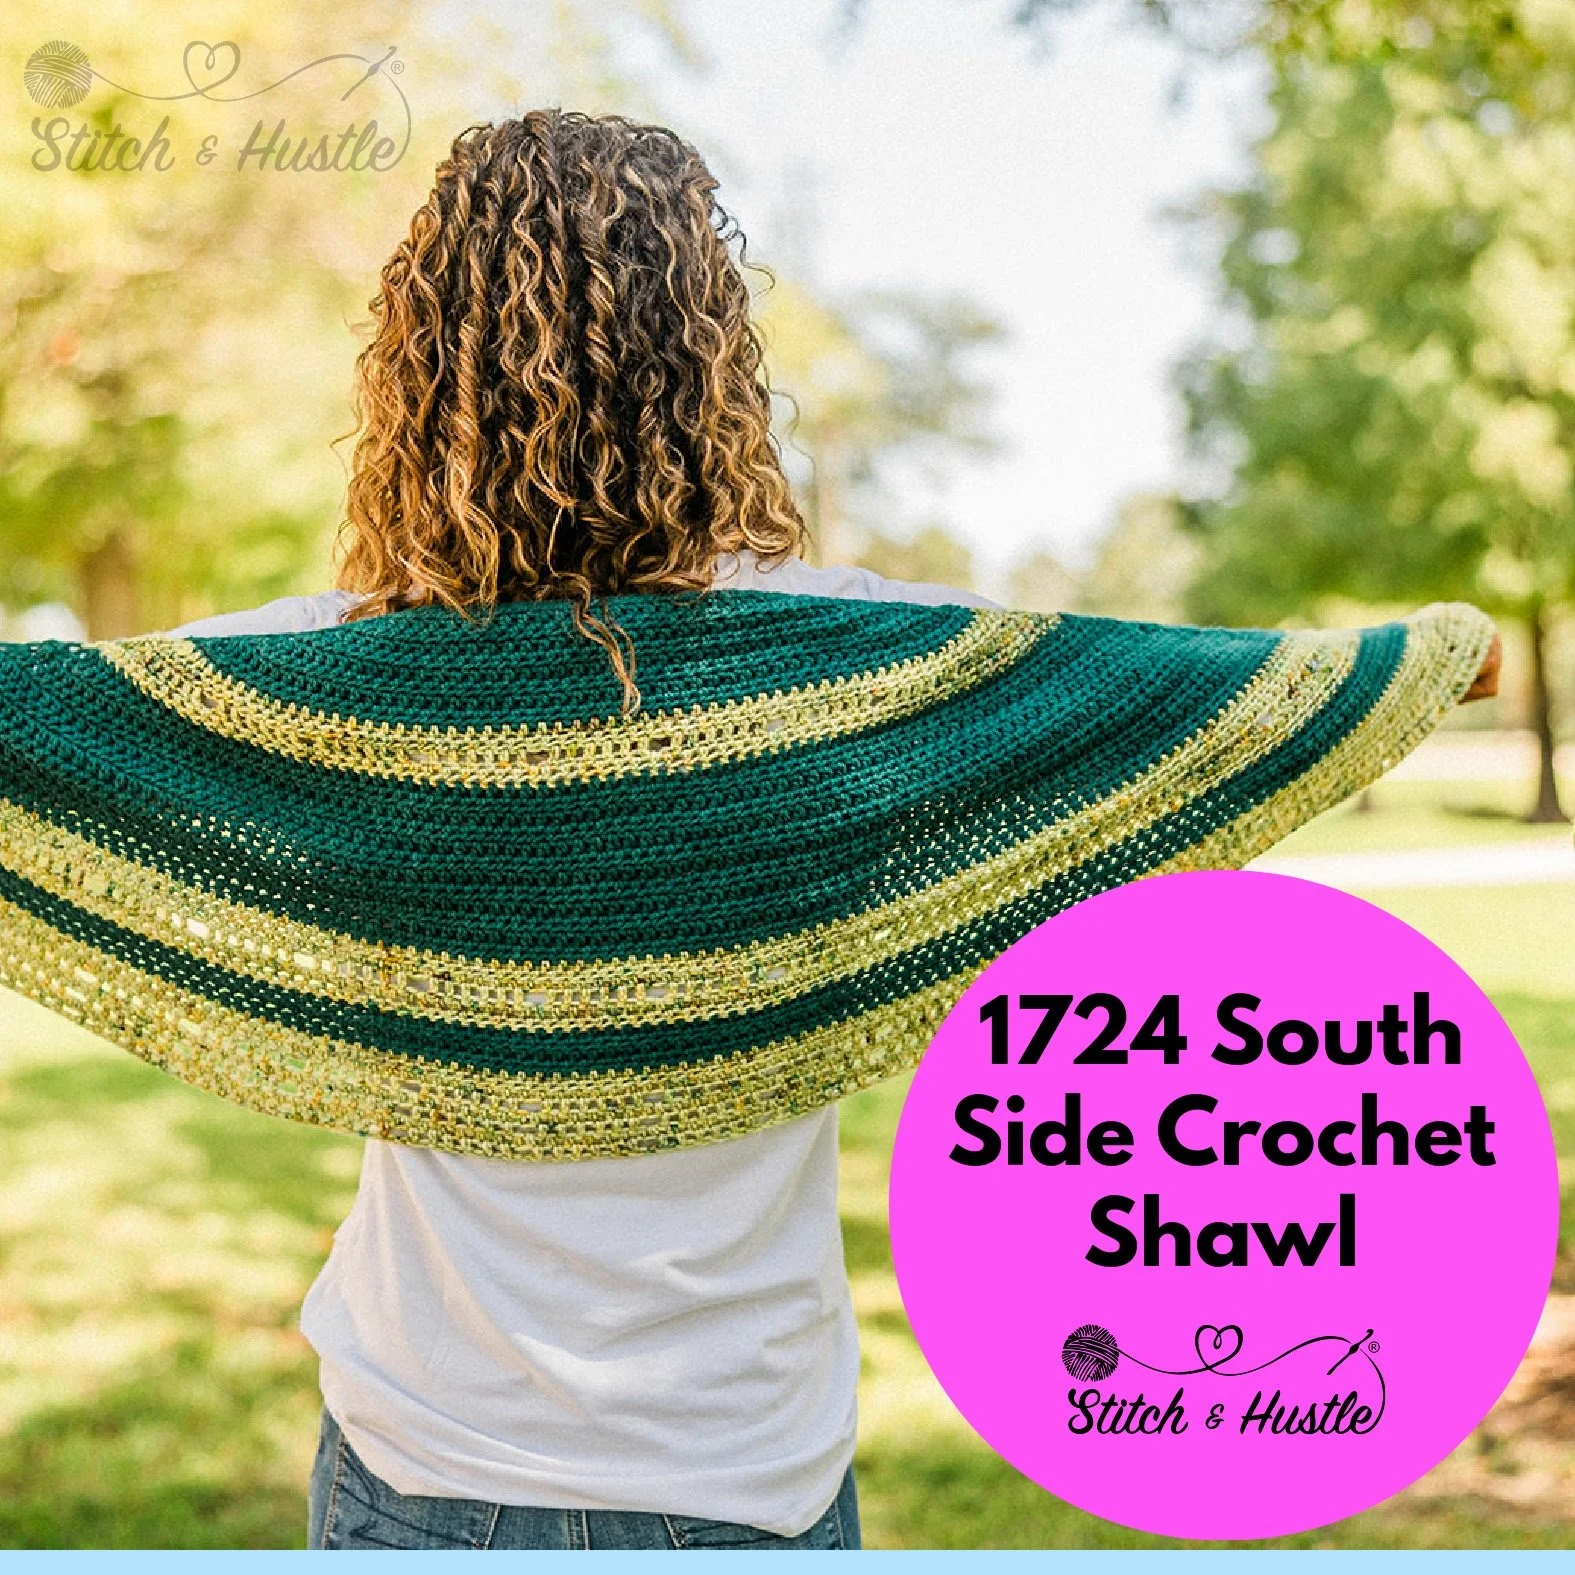
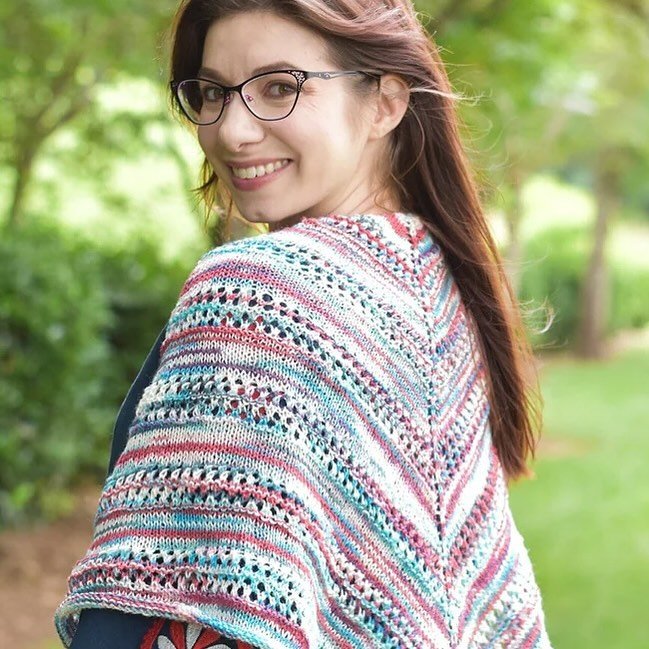
Read MoreWith eyelet detail sprinkled throughout this two color crochet shawl, you will have just enough interest to keep your attention but not too much you can’t relax and enjoy a good sip ‘n stitch with your friends.
Read MoreWith eyelet detail sprinkled throughout this two color shawl, you will have just enough interest to keep your attention but not too much you can’t relax and enjoy a good sip ‘n stitch with your friends.
Read MoreThe Kensington Scarf Free Crochet Pattern featuring Brooklyn Tweed yarn is here to bring the COZY! When the weather cools, it is so great to have accessories that can bring some fun to our outwear rotation.
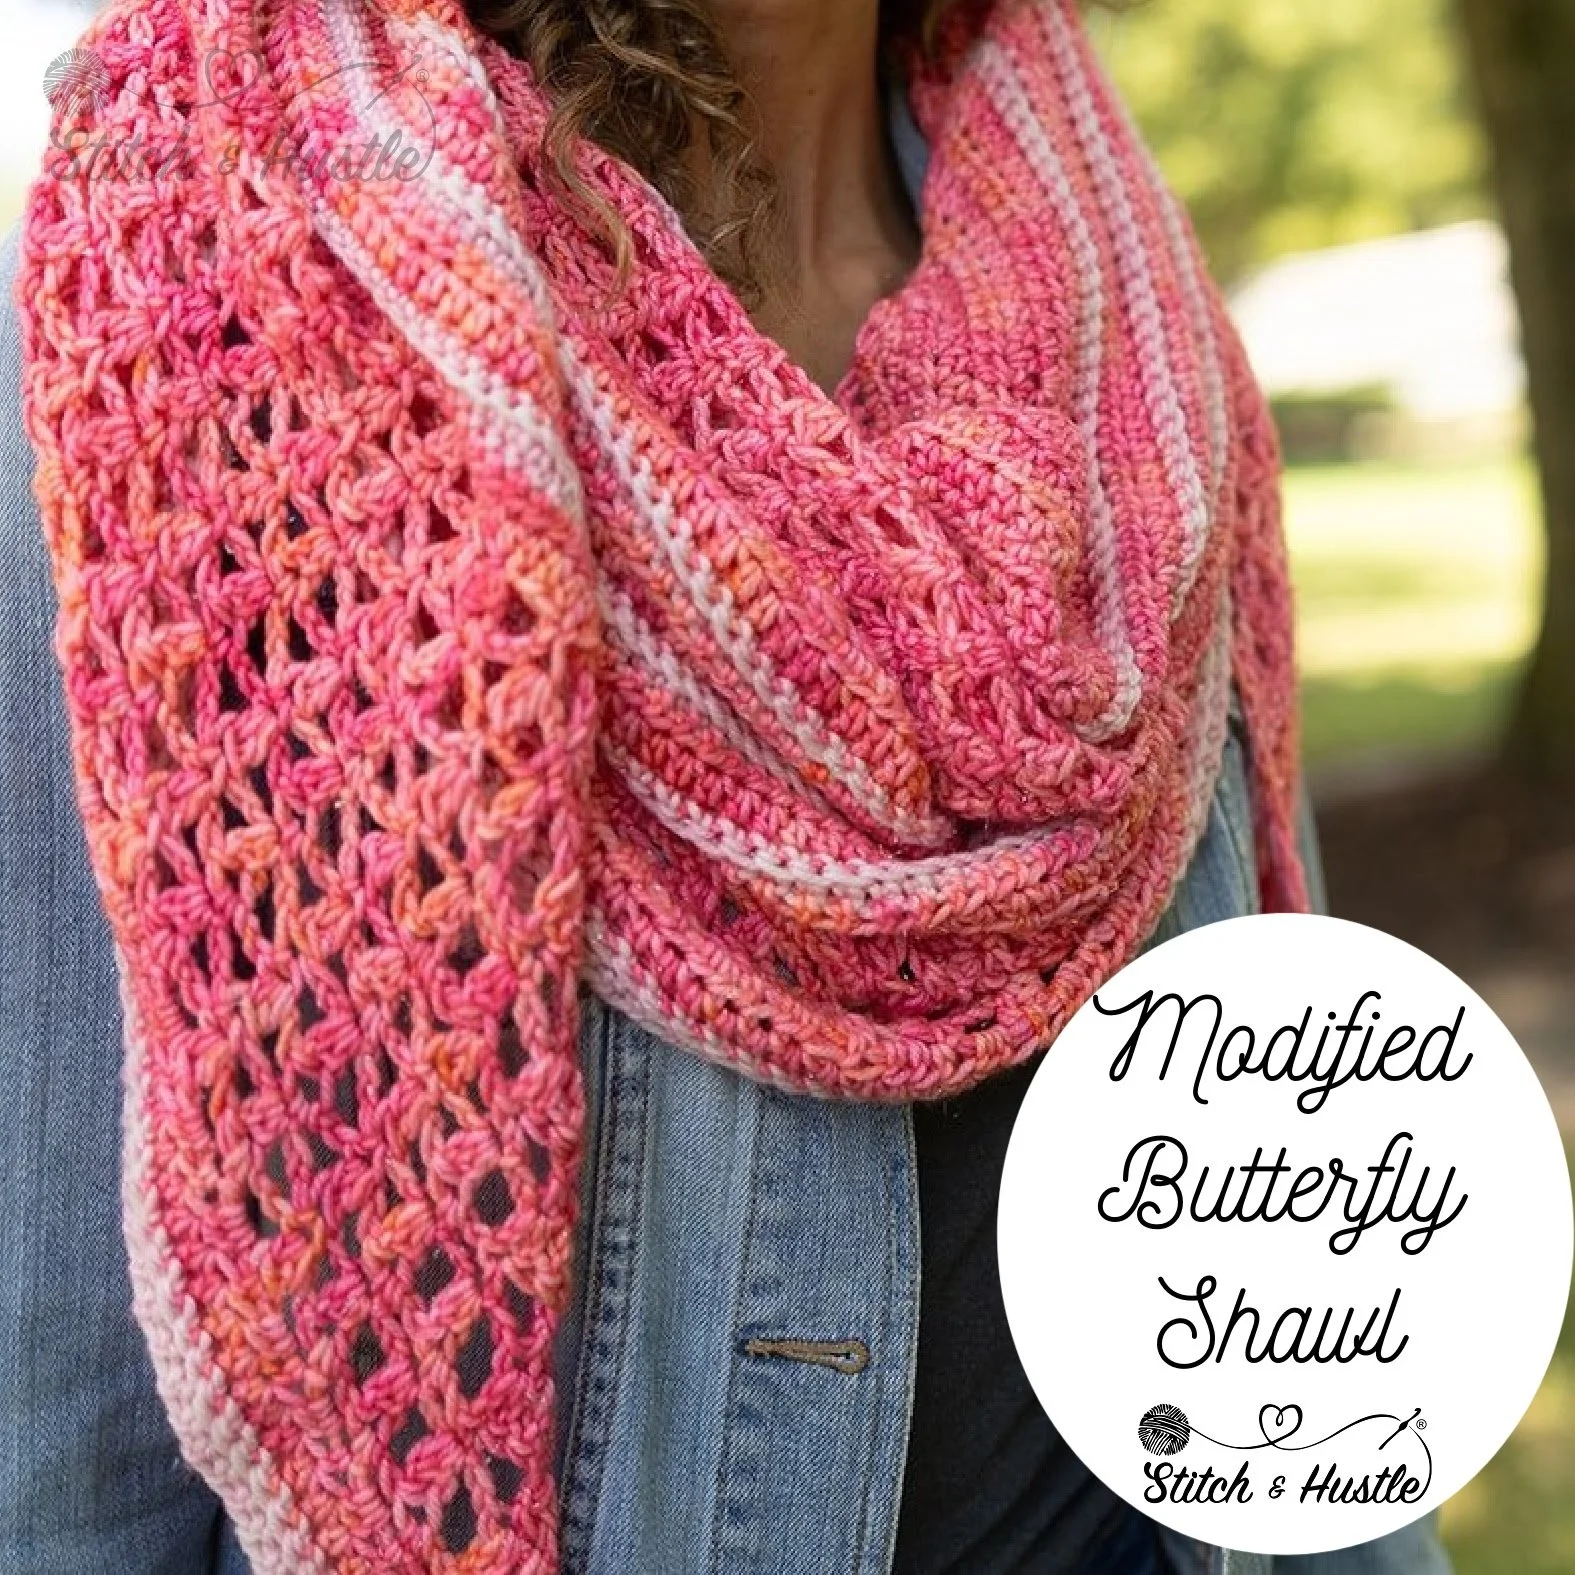
Read MoreIntroducing our newest free crochet pattern, the intricate Modified Butterfly Shawl! You know we LOVE a crescent shawl around here and this beauty is no exception.
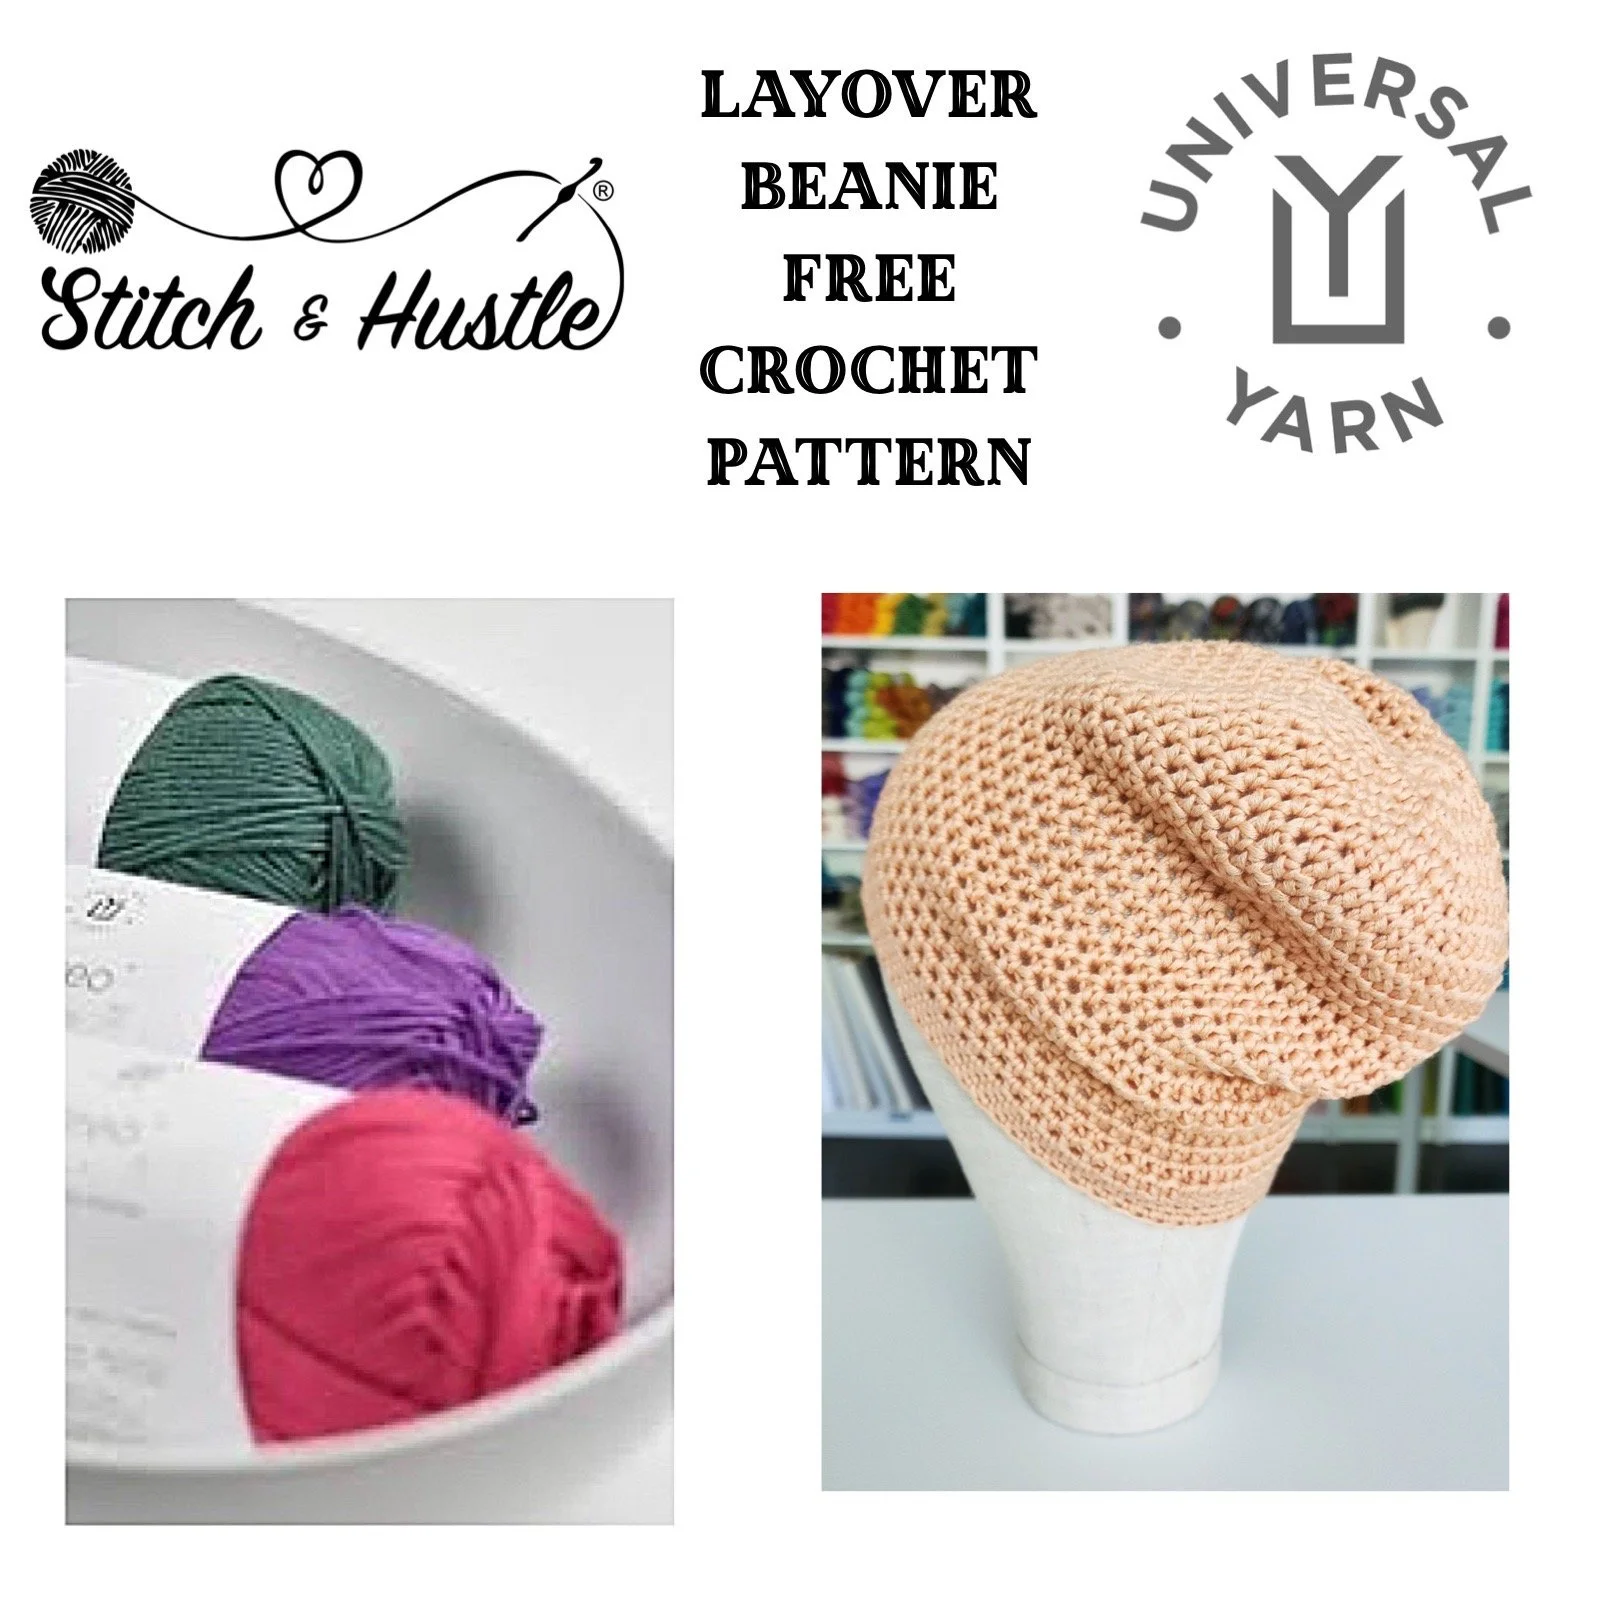
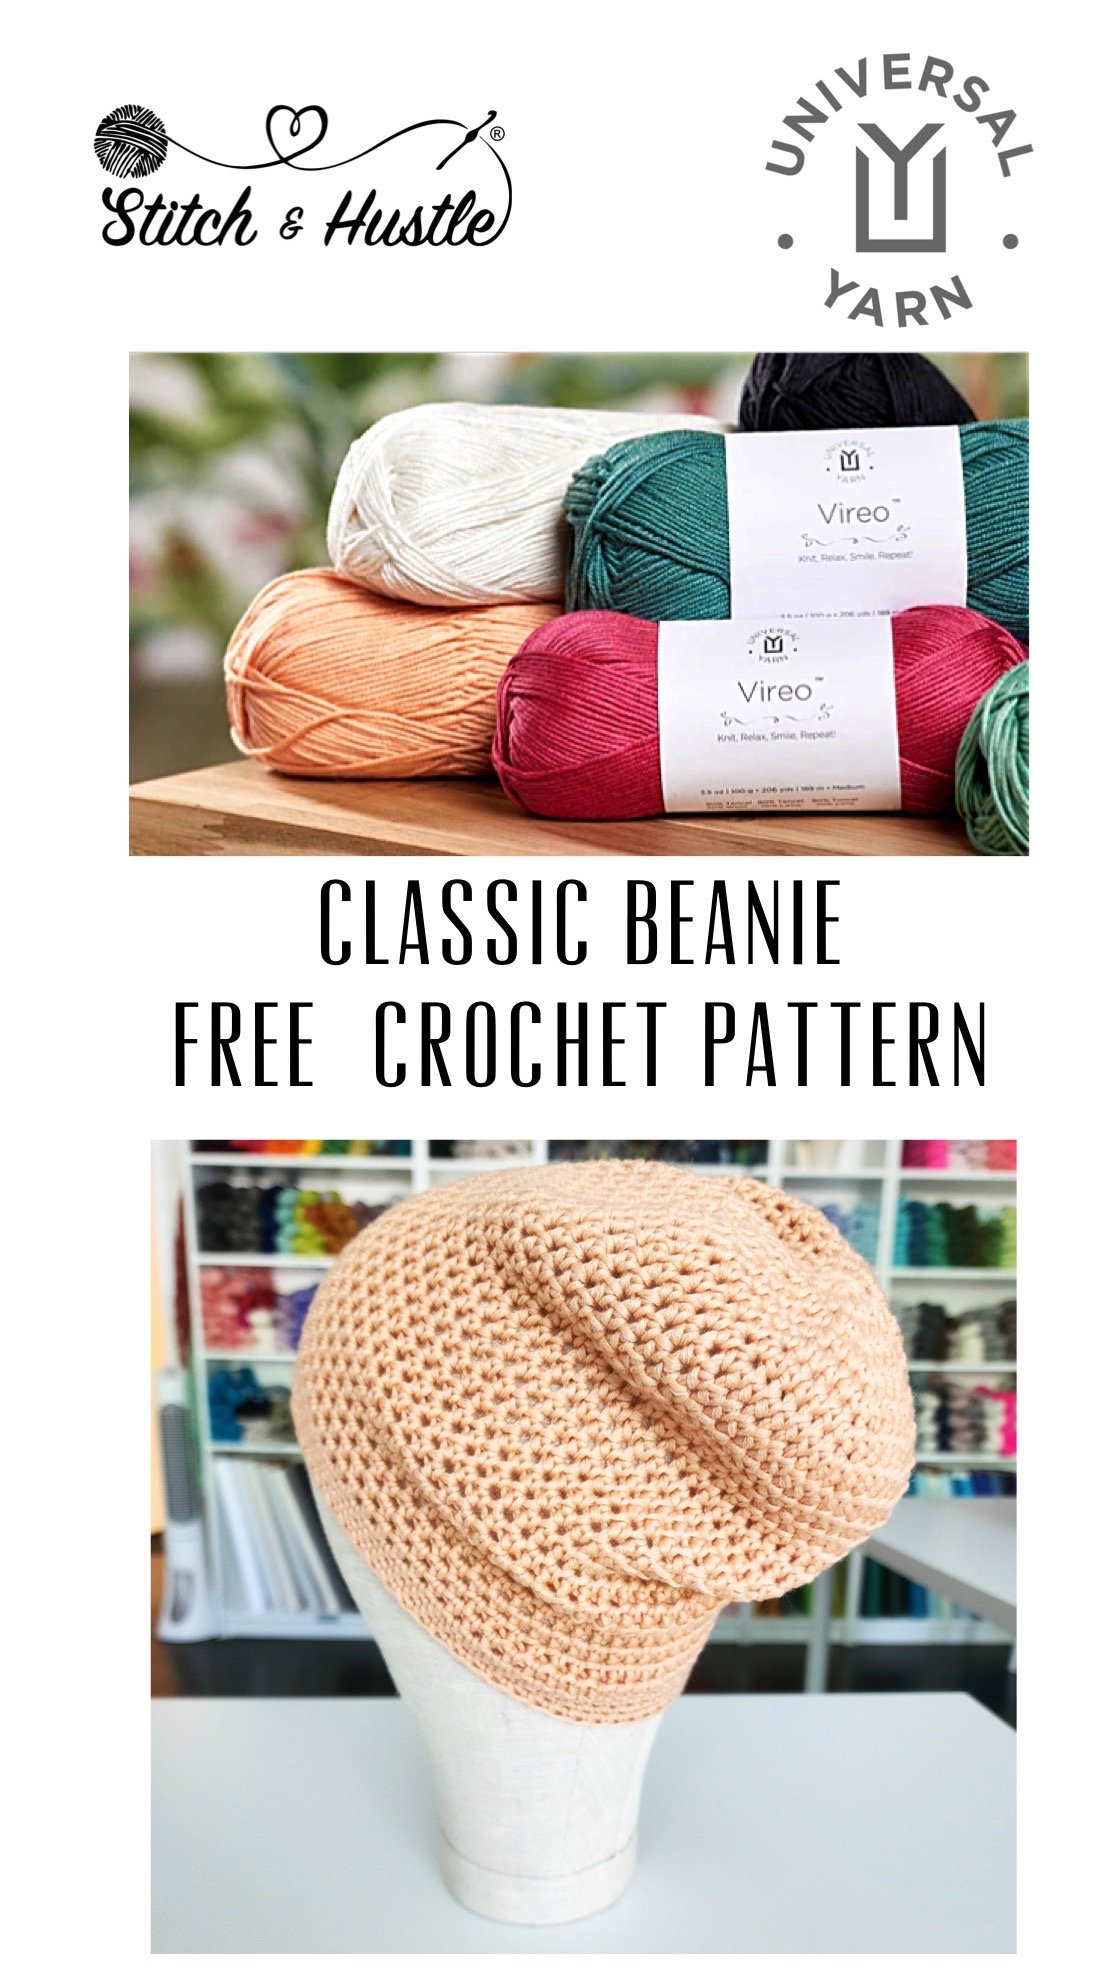
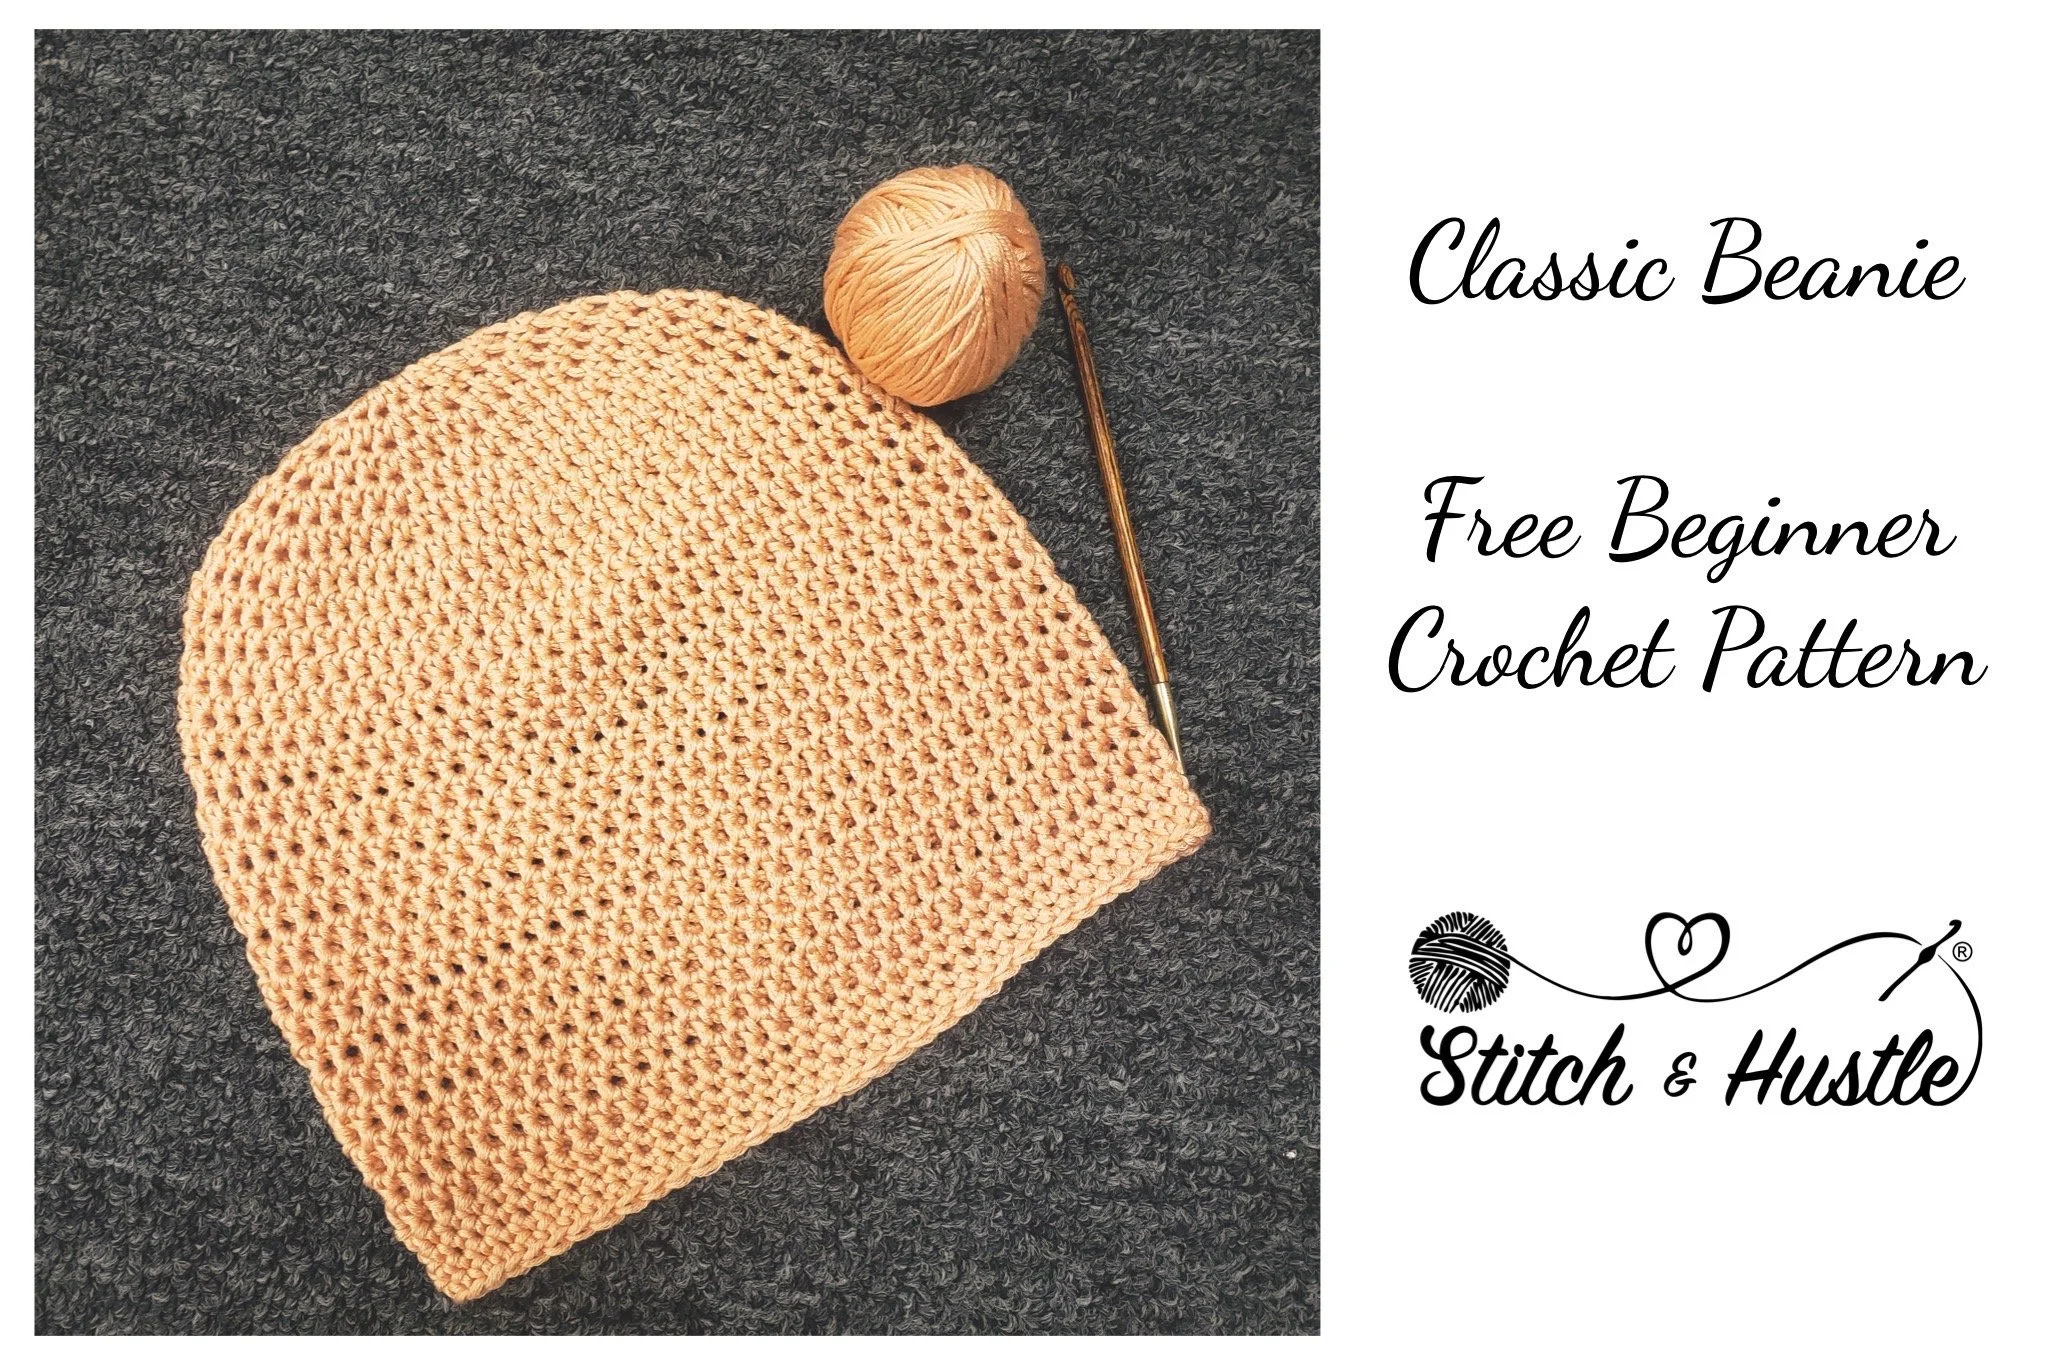
Read MoreMeet the Layover Beanie! This free crochet pattern is perfect for beginners and anyone who is looking for a simple, rhythmic crochet project. Do you see the shine on the ball of yarn in the photo below? That’s the Tencel in the featured yarn, Vireo from Universal Yarn. It brings a subtle sheen to the Layover Beanie and we love it!
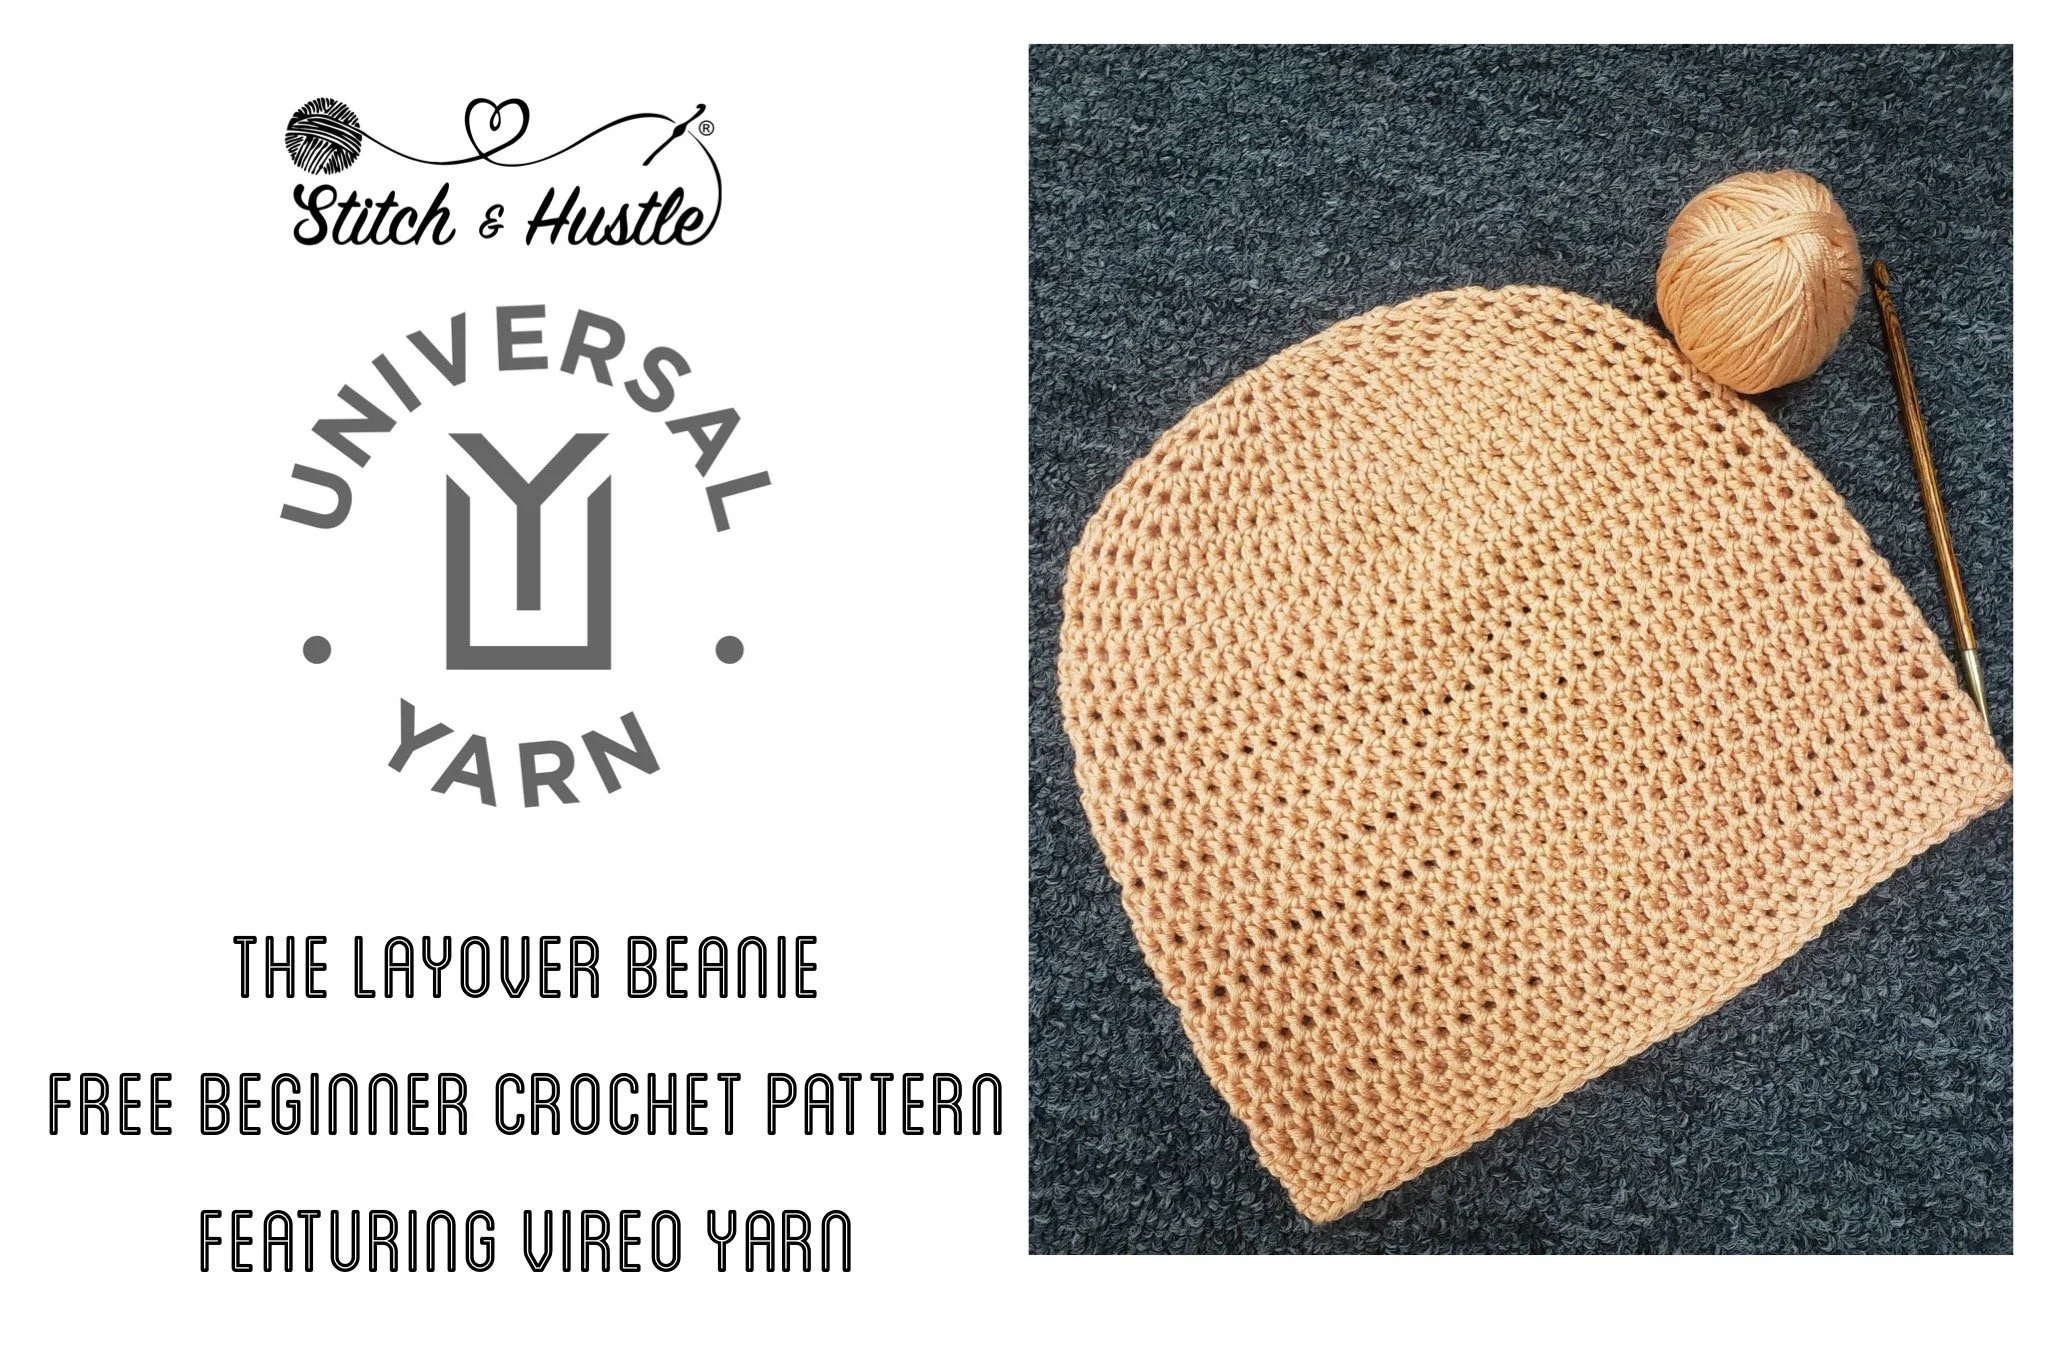
Perfect for in-between seasons like Autumn and Spring, Vireo lends itself to lightweight makes while still bringing the structure with a little wool content. The slouchy shape of the Layover Beanie brings casual style to any outfit. Ready to dive in to your next favorite crochet project?
Supply List:
Universal Yarn Vireo – 1 skein (206 yds)
US 8 / 5 mm crochet hook
Large needle to weave ends
Stitch Marker
Stitches Used / Abbreviations:
ch - Chain
sc - Single Crochet
hdc – Half Double Crochet
dc - Double Crochet
st(s) – stitch(es)
NOTES:
Gauge: 4 inch sq = 18 stitches x 25 rows
You will be working continuous in the round – it is best to use a marker to know your start point
Finished hat:
Brim Circumference 16.5” – stretches to fit 21 – 23” average adult head
Beanie Length 7.5” Approx / Slouchy Length 14” Approx
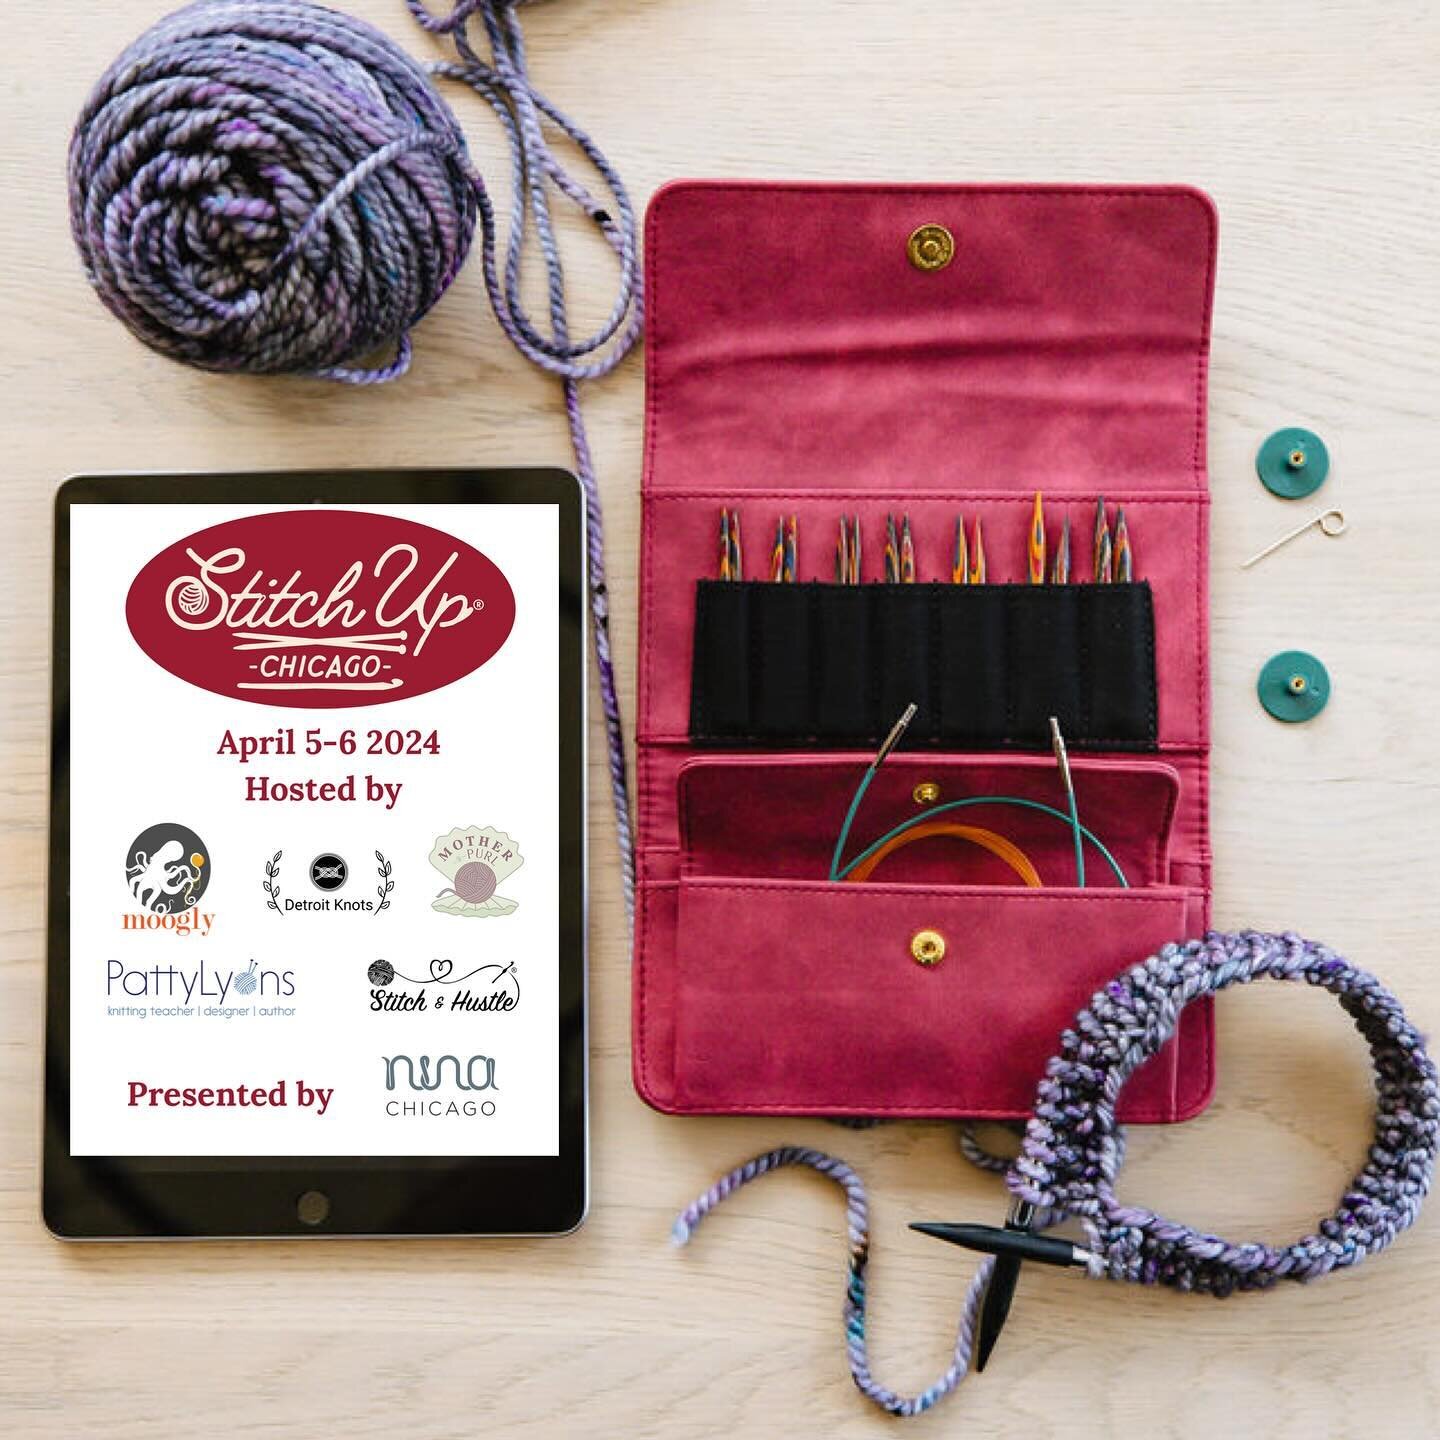
Yarn provided by Universal Yarn / Pattern for Stitch Up Chicago
Magic Loop: Start with a magic loop. If you do not know how to do a magic loop but want to learn, there are some great tutorials on youtube.
***Alternate: If you do not want to use a magic loop you can chain 3 and slip stitch together. Leave your excess yarn hanging as you can still pull tight when the hat is done and then weave in the excess yarn with your needle.
Either in your magic loop or your chain circle:
Round 1: ch 2 (acts as your first hdc), 9 hdc, sl st to top of ch 2, Total for Round 1 is 10 hdc
Round 2: ch 1 (does not act as a st), work [2 hdc] in each st, around sl st to first hdc / 20 sts
Round 3: ch 1 (does not act as a st), *hdc, [2 hdc] in next st* , repeat * to * around, sl st to first hdc / 30 sts
Round 4: ch 1 (does not act as a st), *hdc, hdc, [2 hdc]* , repeat * to * around, sl st to first hdc / 40 sts
Round 5: ch 1 (does not act as a st), *hdc, hdc, hdc, [2 hdc] * , repeat * to * around, sl st to first hdc / 50 sts
Round 6: ch 1 (does not act as a st), *hdc, hdc, hdc, hdc, [2 hdc] * , repeat * to * around, sl st to first hdc / 60 sts
Round 7: : ch 1 (does not act as a st), *hdc, hdc, hdc, hdc, hdc, [2 hdc] * , repeat * to * around / 70 sts
Place marker at last st of Round 7 because you will now be working in the round but need the start point

Rounds 8 – 18: hdc in each st around / 70 sts per round
Move marker to last st of last round.
This is where you can add rounds for more slouch but be mindful of extra yarn
Rounds 19 - 22: ch 1 (does not act as a st), sc all the way around – stitch loosely here – it is the brim, sl st to first sc
Fasten Off
Using needle, weave in ends
DISCLOSURES: As an Amazon Associate I earn from qualifying purchases. Posts may includes affiliate links. Read full blog disclosure here.


BACK TO THE TOP TERMS & PRIVACY ABOUT US MEDIA KIT SUBMISSIONS
All photos, designs, and patterns are copyright of Stitch & Hustle unless otherwise noted. Please do not repost or claim my content as your own. This site displays third party ads and contains affiliate links. Michele of Stitch & Hustle is a participant in the Amazon Services LLC Associates Program, an affiliate advertising program designed to provide a means for sites to earn advertising fees by advertising & linking to amazon.com. Read policies & disclosures here.
Thank you for visiting!
Stitch & Hustle © 2017 - 2023 ALL RIGHTS RESERVED.