Yarn Substitutions - The Struggle Is Real

Yarn Substitutions - The Struggle Is Real

Yarn Subbing is one of the most fun and equally frustrating parts of loving fiber arts and making things. Because not all yarn is available everywhere. It is a terrible reality we must face often. So this guide will hopefully help you always be informed to get the yarn you need to make the pattern you want.

Read More

Knit & Crochet Picot Edge Blocking Tips & Tutorial

Oh the Picot stitch! Truly one of my faves to make and adds the perfect finishing touch to almost every project. But to get the full effect of it, the trick is in how it is blocked, not just stitched! Whether you knit or crochet, this Knit & Crochet Picot Edge Blocking Tips & Tutorial will show you how a few simple and easy steps can get you the look of your dreams with perfectly popping picot edges. This works for any knit or crochet picot edge!

Read More

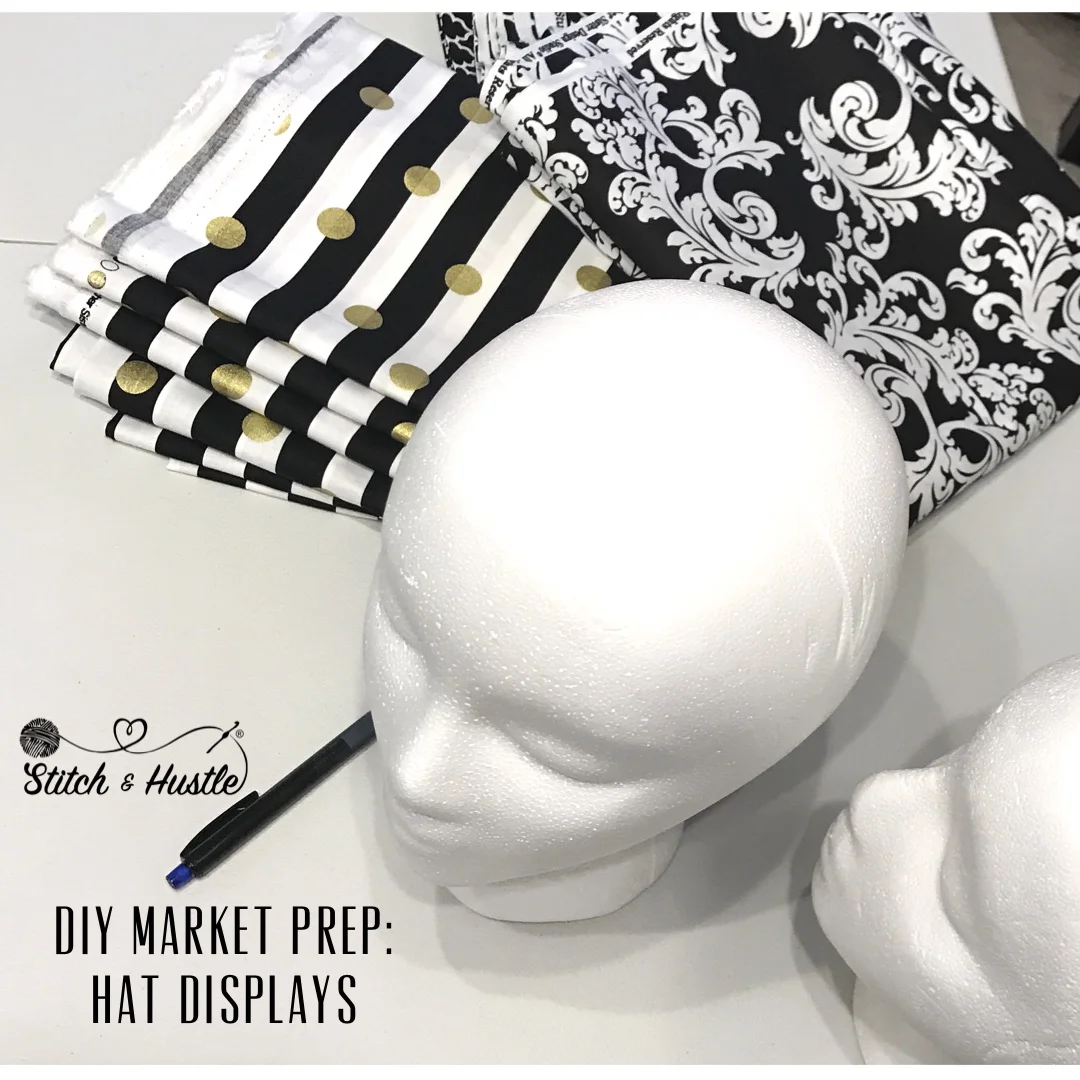
Budget Friendly DIY Hat Displays

Budget Friendly DIY Hat Displays

Market season may be different this year but prep is still essential! Get yourself ready for Market Season and Market Prep In Style With These DIY Hat Displays. Stay on brand and create a stylish display for under $10!

Read More

Crochet Shawl Blocking Tips & Tutorial

Crochet Shawl Blocking Tips & Tutorial

Crochet Shawls are fun to create and I love watching them take shape and grow with every stitch. These Crochet Shawl blocking tips will show you how a few simple and easy steps can get you the shawl of your dreams with perfectly straight edges.

Read More

How To Knit Picot Bind Off And Make Your Inspiration Wharf Shawl Your Own

How To Knit Picot Bind Off And Make Your Inspiration Wharf Shawl Your Own

When I was designing the Inspiration Wharf Shawls I knew I wanted to add picot edging to finish the project. It is truly one of my favorite ways to create that finishing touch to shawls and other creations. Just like in crochet picot edges, in knit there are ways to really make the shawl your own by using these tips on How To Knit Picot Bind Off And Make Your Inspiration Wharf Shawl Your Own. You will be able to make your shawl shine with finishing that suits your personal style. You can use these methods on any shawl you like to make them your own.

Read More

How To Create Custom Crochet Picot Edges For Your Crochet Shawl

How To Create Custom Crochet Picot Edges For Your Crochet Shawl

One of my favorite things about picot edges is that it can truly add that special finishing touch to any project. Using these tips on How To Create Custom Crochet Picot Edges For Your Crochet Shawl you will be able to make your shawl projects shine with custom finishing.

Read More

Let's Make A Flower Crown Headband

Let's Make A Flower Crown Headband

The perfect accessory to show of your fun and whimsical side. Great for parties and gifts too. Iโ€™ve teamed up with Kristy Glass and Nancy Ricci to bring you these amazing free, fun and easy flower crown patterns for both Knit AND crochet!

Read More

Tutorial: How To Close Brim Up Crochet Beanies

Tutorial: How To Close Brim Up Crochet Beanies

There are lots of ways to close up beanies. I like this star method because it creates a beautiful shape at the hat peak and is super fast so I donโ€™t even need many decreasing rounds! This will quickly become your favorite quick closure for your brim up beanies!

Read More

Travel Season Is Upon Us... Grab Your Fiber & Let's Go!

Travel Season Is Upon Us... Grab Your Fiber & Let's Go!

Summer travel season is almost here. Road trips. Plane trips. Hiking and biking and all the good stuff. It is no secret that I bring my yarn EVERYWHERE. Seeing me at the airport with yarn in hand is a shock to no-one! Here are some fiber friendly travel tips. Never leave your yarn at home.

Read More

Cotton! Get Your Cotton ON!

Cotton! Get Your Cotton ON!

I love that cotton has such a rich history as a fiber and that there are almost endless options to what can be done with it. For me, it is about finding the right cotton for the piece I am designing and making. Here are some of my favorite cotton fibers and why I love them so much.

Read More

Crochet Pattern Writing Part 2: But Wait There's More

I have gotten so many messages and notes since the first How To Write A Crochet Pattern post  (hey - thanks for taking the time to read my blog post and write me) that it seemed fairly clear that a part deux would be in order to give you more details to have success writing your own crochet patterns.

One thing that keeps coming up is this: Did I make it seem to easy?

Sure, probably ... but that's because it really is. To me at least. And I think that's because designing is a passion for me. It is like food. The more I do then the more it nourishes and feeds me and the more I grow. As a designer there is no end to that growth, while as a human I could probably cut back on the carbs. My point is that like anything in life you love to do and want to do well, then it will take some work. But the work pays off and it feeds the cycle. It's a good thing!

I strongly suggest you read the first post here and I am going to dive into a few of the most common / frequent questions I have received as a follow up:

First up: Sizing

how-to-write-a-knitting-or-crochet-pattern-garments.PNG

No, I do not make up my own sizing. But man that would save me so much time if I could do that lol. I follow the industry standard and in truth, most designers should be doing that so that you know your customers can rely on sizing information that is consistent. You can find the guidelines here from the Craft Yarn Council. And yet another reason to love the folks at CYC, you can print or download that information here and always have it handy!

Now, what size do you make?
Well, you can make whatever size you want. Typically I make things for myself so I design and make them for my size. But then I create the pattern for all sizes. This is where math and grading and the real not fun part of pattern writing comes in. It's math. It's work. But it is just part of the process.

Most of my garment patterns are sized for standard XS to 4x. That's because women come in all shapes and sizes and I have no idea what size my potential customer is. Someone once told me, "oh but that won't look good in your size" when I was a bigger gal. (I recently lost over 50 lbs). That made me so mad I wanted to scream. How DARE someone else decide what will or will not look good on me based on a number. With that experience in mind, and remembering I was also once a size 2 miss skinny mini me who liked a baggy look, I decided to make my patterns available in a range of sizes that are most common.

This is also why gauge and pattern notes are SO IMPORTANT! (READ THIS FOR MORE)
Let customers know if there is positive or negative ease. Let them know what size is in the "sample shown". Knitters and crocheters can tweak to their size with the right detail. So when you are writing your pattern give your customers ALL THE DETAILS they need to achieve your look and go for it - give them all the sizes. It's only a few extra minutes of math once you are in the thick of it.

Next up: Testing vs. Tech Editing

Personally - I do both. I have a tech editor and a pool of reliable testers. They do different things. My tech editor is checking my math, checking my notes and the actual pattern for best practices and that it meets industry standards. Sometimes when I am on a super tight deadline, my tech editor skips ahead and grades the sizing for me. (OK I may take advantage of this more than I like to admit but hey, I got my design mojo going). 

I have to say I have grown a very reliable and amazing group of testers that I am grateful for in so many ways. OK, mushy part aside, testing is really important. Testers are actually TESTING the pattern. They will find errors (if there are any) while working up the patterns that may get missed in the mechanics of writing and grading. There may be something in the assembly that wont get caught on paper until it is worked up. testing is really not to be skipped. It is always best to have testers for each size if possible.

writing-a-knit-or-crochet-pattern-basics.PNG

Next up: Copy Me Copy You Copy That.

OK that was me having a little bit of fun with wordplay. (anyone who knows I used to work in television production and knows what "copy that" means is probably giggling a little right now). Look, copying happens. I don't know why. I don't understand it. I also cannot worry about it. I was once not only copied, but the person SAID SO in her blog post. Yes, I kept a screen shot because I mean I could not believe my eyes lol. But here is the thing: if you are going to worry about copying then you are not focus on creating. I do not stress about being copied. It takes too much energy and there is nothing I can do about it. Just focus on creating and finding YOUR voice.

Designing is my passion so for me it is deep joy. Working up new stitches, new shapes, new combinations in my own point of views is not something someone else can do. So I keep focus on my designs and find it a much happier thing to focus on!

And Next Up: Policies

Policies is derived from "policing" someone told me. I am not here to police the interwebs or what other people do. Having said that, I have seen some cut-throat people do some cray cray stuff over this. Here is what I say: First of all: Ask a lawyer. No really, read this. Ask A Lawyer. (Thank you Vogue Knitting).

Personally, I have something on my patterns asserting what is my right and enforceable along with  my request that they credit me for the design if someone sells something they make from it. But guys - that's all I can do: REQUEST. Keep that in mind. This falls under the "pick your battles" in life column and my energy is not best spent chasing down something I cannot enforce in a court.

Last But Not Least: Photos & Charts

My patterns are quite detailed and include charts and photos. I take a lot of time (and pride) to include these along with the standard written pattern. Some have more detailed photo illustrations (which ARE covered by copyright by the way) and some have less. It really depends on the design. But the bottom line is consistency. I want my customers to know when they buy my patterns they are getting the full package. The full work went into making them a design and instructions they can follow. Sometimes I do freehand. Sometimes I use illustrator. Sometimes I use Crochet Charts. It all depends on the design. I know that is a bit of a dodgy answer but this question comes over to me a lot and it is really too complex to simply answer. Each design is different.

For real, Last but not least: Pricing & Paid vs. Free

What do you charge? Do you put it up free? Oh this is a tough one. I can only tell you how I decide and you have to make your own choice for what works for you. I put free patterns up on the blog often because why not or maybe as part of collaborations or for examples of my work or if I have something great and easy for a beginner who wants to start or for many other reasons. I like to put up freebies. But it is also how I pay the rent. It is my livelihood. So I don't put them all up free and a lot of work goes into each design.

I base my pricing on the degree of difficulty. Not just in the finished piece but also in the process to create the pattern. I also offer multiple pattern purchase discounts and do a lot of bundles of things that work well together. Pricing is personal. Never let anyone tell you what you "should" charge. But also know your worth. So set a price that YOU feel you are comfortable with, represents the quality of your design and that a customer will pay.

In summary, pattern writing and designing is not easy or fly by night and I do apologize if my first post gave that impression. Like I said - for me it is my passion and comes natural and I do not mind the work because I just love it. Designing is MY JAM! So I want to encourage you but know it takes work. If you have a vision and an idea for a design then YOU SHOULD GO FOR IT!  I will tell you that when I do not hear from a customer until the project is complete I am happy. I know I have provided them a clear road map to create something. I know that all that work was worth it and my design is out there living and being created. THAT IS SO COOL.
how_to_write_a_crochet_pattern.jpeg

Mama Knows Redux: Tips & Tricks Working With Big Stitch Merino

Since sharing my first project with Mama Knows Luxury, I have been asked about how the fiber works up. I am no expert on Merino Top (the official name for Big Stitch Merino) but have been working with this stuff for weeks now so can only speak from that experience. And my experience has been AWESOMESAUCE. I mean I have beat the heck out of it. I knit it. I crochet it. I frog it. I do it again. I have no complaints.

I am finishing a hat design, did a scarf and just published a free basket pattern after doing the barstool/placemats ... oh and I am kicking around a blanket idea. For real you guys. I JUST LOVE IT and am having so much FUN. You know I will always give you the straight talk about fibers. This is fab! It is big chunky merino and I was having a blast and it is super fun and holds up so far.

Sarah has a blog post that she wrote that dispels and explains many of the myths about working with Big Stitch Merino. And as I continued with exploring and playing with my Mama Knows Luxury stash, I also found a few tricks of my own. And now I will share those tricks with you :-)

Trick one: Do NOT pull it. No yanking, no tugging and certainly NO PULLING. When I frog the wool, I just do it a little gently. Then it stays pretty in tact with no fraying or separating. Also - when I frog it, it is better to leave it laying out yarn ramen style instead of making it back into a ball. This just keeps the fiber from one extra set of tugging.

ย 

some rare occasional extra fluff

some rare occasional extra fluff


Trick two: Do not pull at it (in case you missed it the firs time). Yes, there is some shedding and I had two snag issues while working up the fiber. To me that is minor and nothing to fret about. Certainly not as many as you might expect based on the nature of the fiber. You may see a little morsel shed off here and there or even a little chunk of the fiber as you work up. LEAVE IT ALONE. Do not pull at it or pick it. Because then it will fray and cause deterioration of the fiber. What I did was just tuck it in. Easy peasy.

Trick three: Get the Felt Kit from Mama Knows. For real. This will be your new best friend. And, to be honest, I use it for my bulky merino too such as scarves and sweaters. I use this kit not just when it comes to the ends, but if a little tiny bit starts to fray off (which only happened once to me) then i just felted it back into place. Boom! GET THIS KIT.

Trick four: This is the mack daddy of all my tips. You ready? Hand felt the merino as you work it up. WHAT? That sounds so tedious and hard! Michele you must be crazy. Did you just say that? HA! It is so easy. Watch this little video and you will see it is so easy and so helpful. It secures the fibers. It toughens it up. It makes it your friend. It is a few extra minutes of work that will make your project come together with so much ease it is worth it.

Well, now that we've got a handle on how to handle this yummy Big Stitch Merino... how about another project? Sticking with my "More Than Just Big Blankets" theme, I came up with another fun home decor item. Super easy to make and great if you want to get your feet wet with Merino Top wool. I bring you: The basket. Again, I opted for hand crochet but you can certainly use the Big Stitch Hook. Get the free pattern here and get the fiber from Mama Knows Luxury.

So go get some big chunky fiber and explore... don't worry about those myths. Have some big ol' big merino fun!

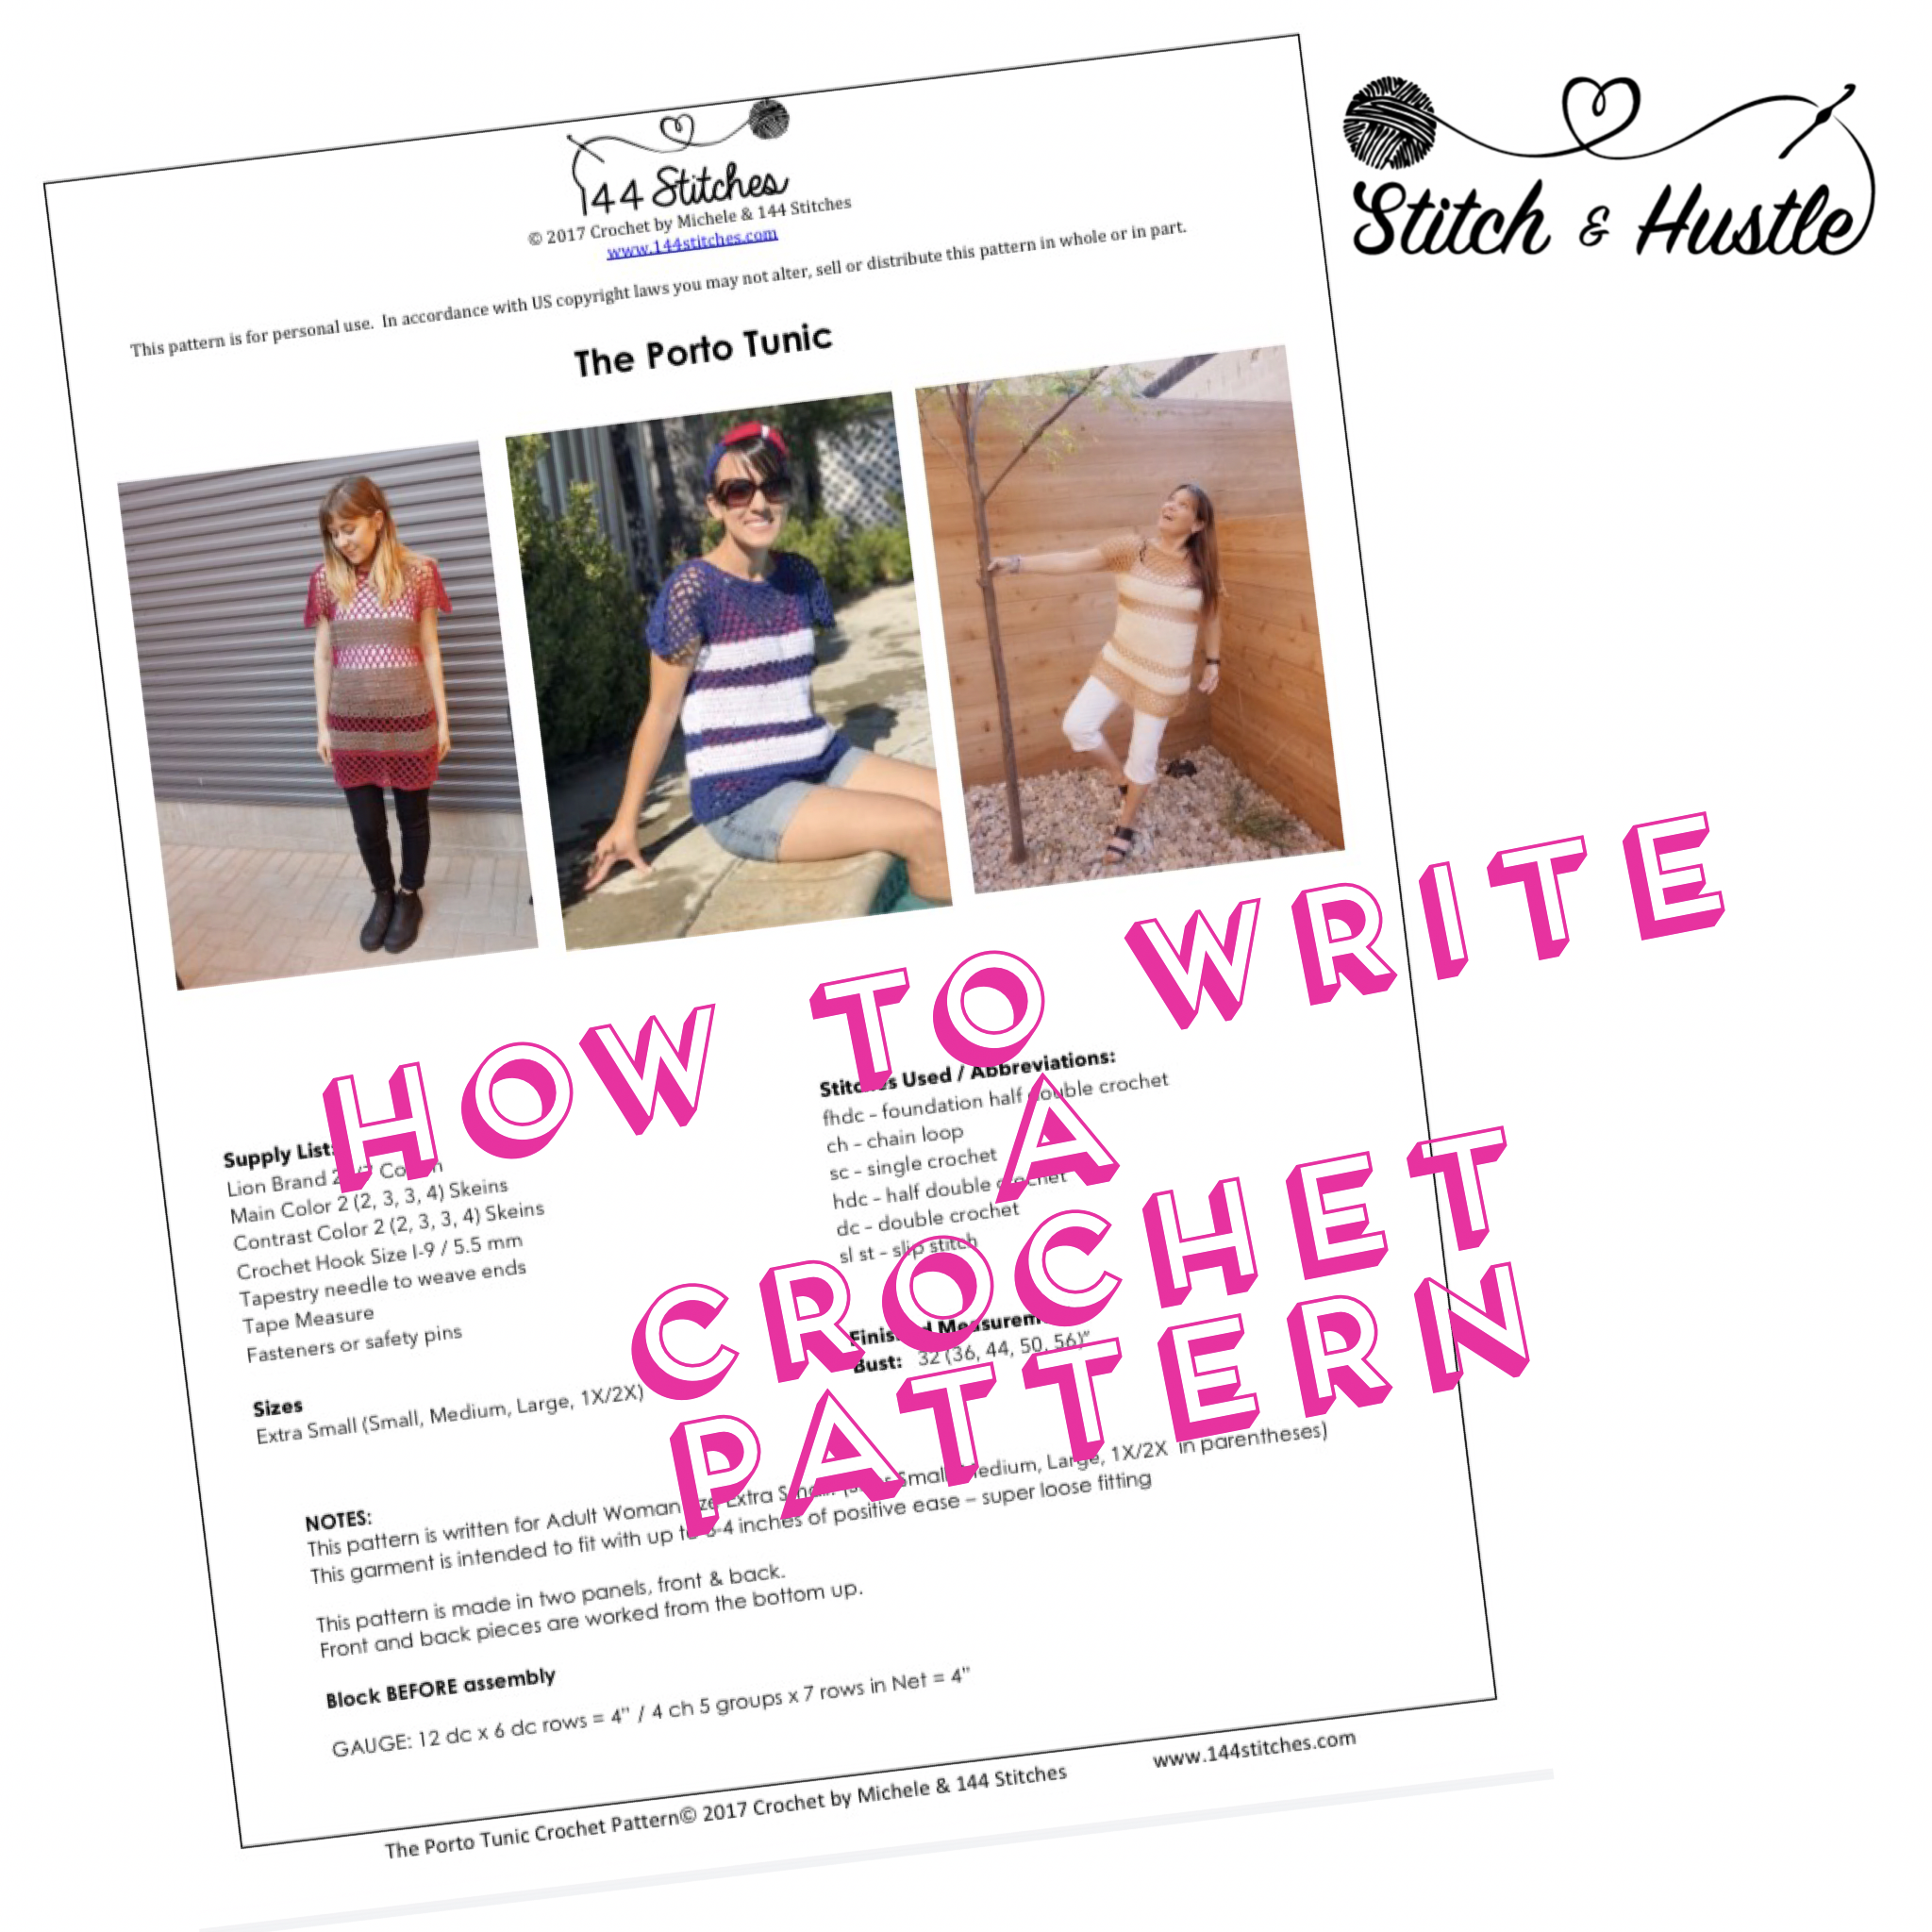
Write That Pattern! How To Write A Crochet Pattern

I was recently asked by Vincent of Knot Bad to help him learn to write patterns for his wearable items. That request for help was followed by a long series of texts over the next several days with lessons covering everything from how to determine gauge and yarn requirements to general verbiage and then... like magic he published his first wearable pattern. YAY! Success!

I was also helping two other friends begin writing patterns this week and since I know so many ask about writing patterns and bringing ideas to life, I thought why not share my process with everyone and make it a blog post. Now I am sitting here typing and thinking, I wish I had saved my texts with Vincent so I could paste them here for ease. LOL. No worries... we can dive in. Let me start by saying: YOU CAN DO THIS.

To begin, I always go back to something Drew Emborsky (AKA The Crochet Dude) told me when I was first starting to write my own patterns and overwhelmed and clueless: Start simple. Make it a tutorial and just tell people what to do. It is so simple it is almost mind blowing. Write down what you do. Revolutionary right? But that's all a pattern really is: instructions to tell someone else how to achieve the same result you did. A roadmap.

My first patterns were more like tutorials and not at all technical. But they got the job done: to tell people how to make what I made. As my designs grew in difficulty, my pattern writing skills were becoming more developed as well. So while tutorials saying do this, then do this are great and can often do the trick, for garments with sizing and items with design variations I would need to go beyond that with solid pattern writing.

It all starts with an idea and some yarn...

For me, my process always starts with an idea. I have in my mind a look to achieve. As I work to achieve that look I take detailed notes. I have learned over the years that I should use pencil. There is a lot of erasing in my process. I also have a single design book that is in my studio but also carry mini design books in my bag for ideas that hit on the go. I prefer the grid pages of Doane Paper for my travel books and have a journal notebook for my main designs.

My note process is twofold: I write down what I do in words, but I also draw the stitchwork. This is known as Charting. I know it is intimidating to many, but the truth is that charting is a HUGE time saver. I can literally see the chart in my mind when I imagine what I want to create. I can visualize the stitches and it helps me create the exact look I am going for. It is also great for when I am in the groove and don't want to write all the words. I can just chart and come back later to fill in the complete steps.

Once I have got my notes and finished garment it is time to write up that pattern. Woo Hoo! Now starts the real work and is much less fun. Though, I have to admit... I kind of like this part too. As you sit down to turn your notes into your pattern, don't feel like things are "known" or make assumptions. The thing about writing a pattern is information: you want to give as much detail as you can to the person making it. Success is when I never hear from a customer except to show me what they have made. That means I have communicated clearly and they are able to create the item.

I have written enough patterns where now, I have a template that works for me and is set up to always give me prompts to add information. It is super helpful so I don't leave things out. Information your pattern should have at the start:

WHAT IS IT: What are people making? Who designed it? My cover page always has my logo, website, copyright detail, pattern name and photos right off the top. Boom!

WHAT DO YOU NEED: Remember, you are giving someone all the information to make your design. I always list supplies and stitches off the top. For stitches: I give the abbreviation and the stitch name. People crochet & knit all over the world so be clear. I refer to the Craft Yarn Council for best practices on abbreviations.

WHAT ELSE DO YOU NEED TO KNOW: Again, the most important thing is to communicate as much information as possible for the user to get the result they want. On my sizes I use standard sizing but also give information on specific areas (bust or waist, etc) as well as any information on how the garment fit is designed. Sizing details will vary based on what the pattern is for. Again, I refer to Craft Yarn Council standards for best practices on sizing

GAUGE: OK... I could (and will) do a whole blog post on gauge. Gauge is my nemesis but it is essential. Gauge is the way to success, especially if you are using multiple stitches. In this case you need to communicate to the user how to achieve gauge and what stitch is used. No one has the exact same tension so in order to achieve the look, the user will need to know gauge.

Phew.... still with me? Now we get into the actual pattern... the meat and potatoes. YUM!

Design / Pattern Writing Essentials: Yarn, Coffee, Notebook, Markers, Tape Measure, Notions.

Take a look at some of the Free Patterns on this blog to get a feel for this part of the process. This is where you actually tell the people what steps to take so they can create the masterpiece you designed.  But this is not the time to feature all of your creative writing skills. Less is more here. No fluff. Just clear and precise directions.

And anyone who has purchased my patterns knows that I try to lay out the steps concisely and clearly as well as include charts and schematics. It is ok if you do not know how to do charts or schematics. You can also include photos if that best illustrates what needs to be done. As long as you are clearly laying that road map out then you are all good.

OK. So you've got your item made, notes transcribed into steps to follow and you've added photos or charts as needed. GO YOU!!!! You have nearly got yourself a pattern. Have a sip of coffee and get ready for the home stretch.

Give the pattern a once over, then a twice over, and maybe even a third look to scan for mistakes & make sure you got all of your notes from your notebook on there. This is the point where I would send my pattern off for technical editing. This is basically the process where the pattern is checked by a pro. The math is checked. The schematics are added (if they haven't been already) or checked. The pattern is checked to follow best practices and standards set by the Craft Yarn Council and such. This is a step I know many do not take because it costs money. For me, as a professional pattern writer it is essential.

So now here you are: You have written, checked and re-checked your pattern. You have had the math checked and tech edited the language. You are almost ready to hit that publish button.

But first -  you need to take it out for a spin. Grab some of your fiber friends and see if anyone is available to test your pattern out. Often times I miss things. It happens. In June I published 24 patterns that month. I would be lying if I said they were all perfect out of the gate!

Having fiber friends test your pattern is an invaluable opportunity for feedback from everything to gauge to fit to stitch counts to grammar to you name it. I am fortunate to have a great pool of testers and would not get my patterns out there without them.

Now you've had an idea, you've brought it to life and created a way for OTHERS TO CREATE. Woo Hoo! Publish your pattern and do a little dance.

Can't wait to see all of your design ideas coming to life. Happy designing.
And see part 2 of this post here

Stop. Block. And Roll. Tips for Blocking Your Knits

Stop. Block. And Roll. Tips for Blocking Your Knits

There is no hard and fast rule on blocking other than this one: You MUST block your knits (and crochet). These tips will help you do it with ease. Disclaimer: This post includes affiliate links. Read full blog disclosure here. Some materials for this post provided by Eucalan & Knitters Pride.

Read More