Photo Hacks Too: Lighting & Instagram Live
/I have gotten a lot of messages since my knit date with my gal Megan from Peppermint Pine shop about the table top tripod set in my crochet bag that we used for her Instagram Live video. So I thought this would be a great time do an update on my Photo Hacks post. Yup this post has affiliate links. I get credit if you buy these items. Let's dive in!
Checking the light meter setting up for pics
First let's talk lighting. Natural light is your friend. It is correct, easy to edit and gives you accurate coloring. Oh.. and it is FREE! But let's be honest, it is not always available. For me, I have one perfect area in my house that has amazing light. But for only 2 hours a day. When the sun shifts or if there is cloud cover then my photo plans are tanked. And while you can do a lot in post with apps and edit, it is extremely helpful to have some options.
I have an advantage having been a Production Manager & concert lighting technician and my husband still working in the field. So I get some cool toys I admit. But still, you don't need insider trading for badass lighting hacks. Here are a few I am fond of and use myself. Just remember this one thing: simulating natural light is not actual natural light. When you can, use natural light. Always. ALWAYS.
I bought this light kit on amazon because it has a great storage case and lots of options. There are LOTS of light kits so buy what is best for you but one thing is that no matter what light kit you get... BUY NATURAL BULBS.
The next thing is a bounce card. This will help you get more length of time out of that perfectly lit area of your home or studio. Basically, a bounce card is going to reflect light into a shadowy area. You don't need to be a photography pro to use one and in fact, this will illuminate your products in ways beyond imagination.
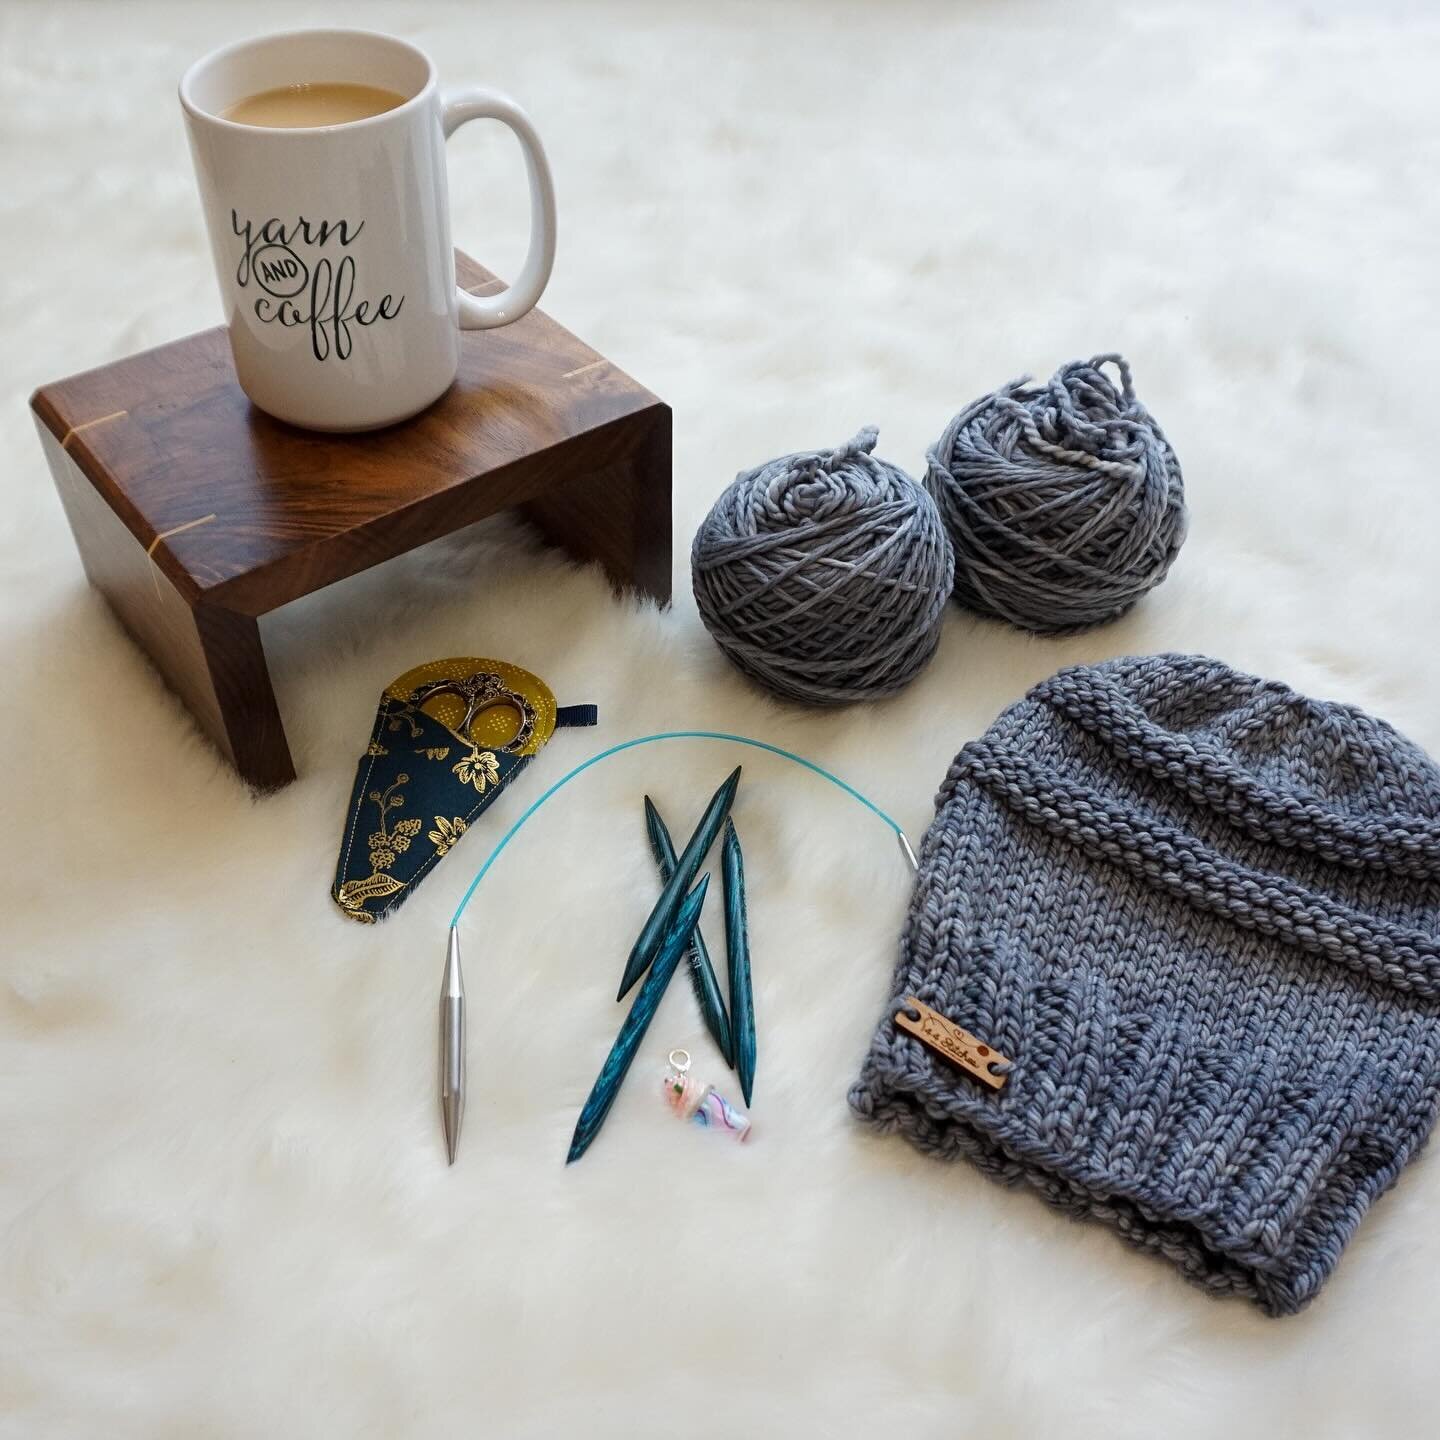
Next up: that table top kit from my knit date. It is what I call my secret weapon because no matter where I am I can always get the right angle. The right perspective and even the right distance. These will be your secret weapon too.

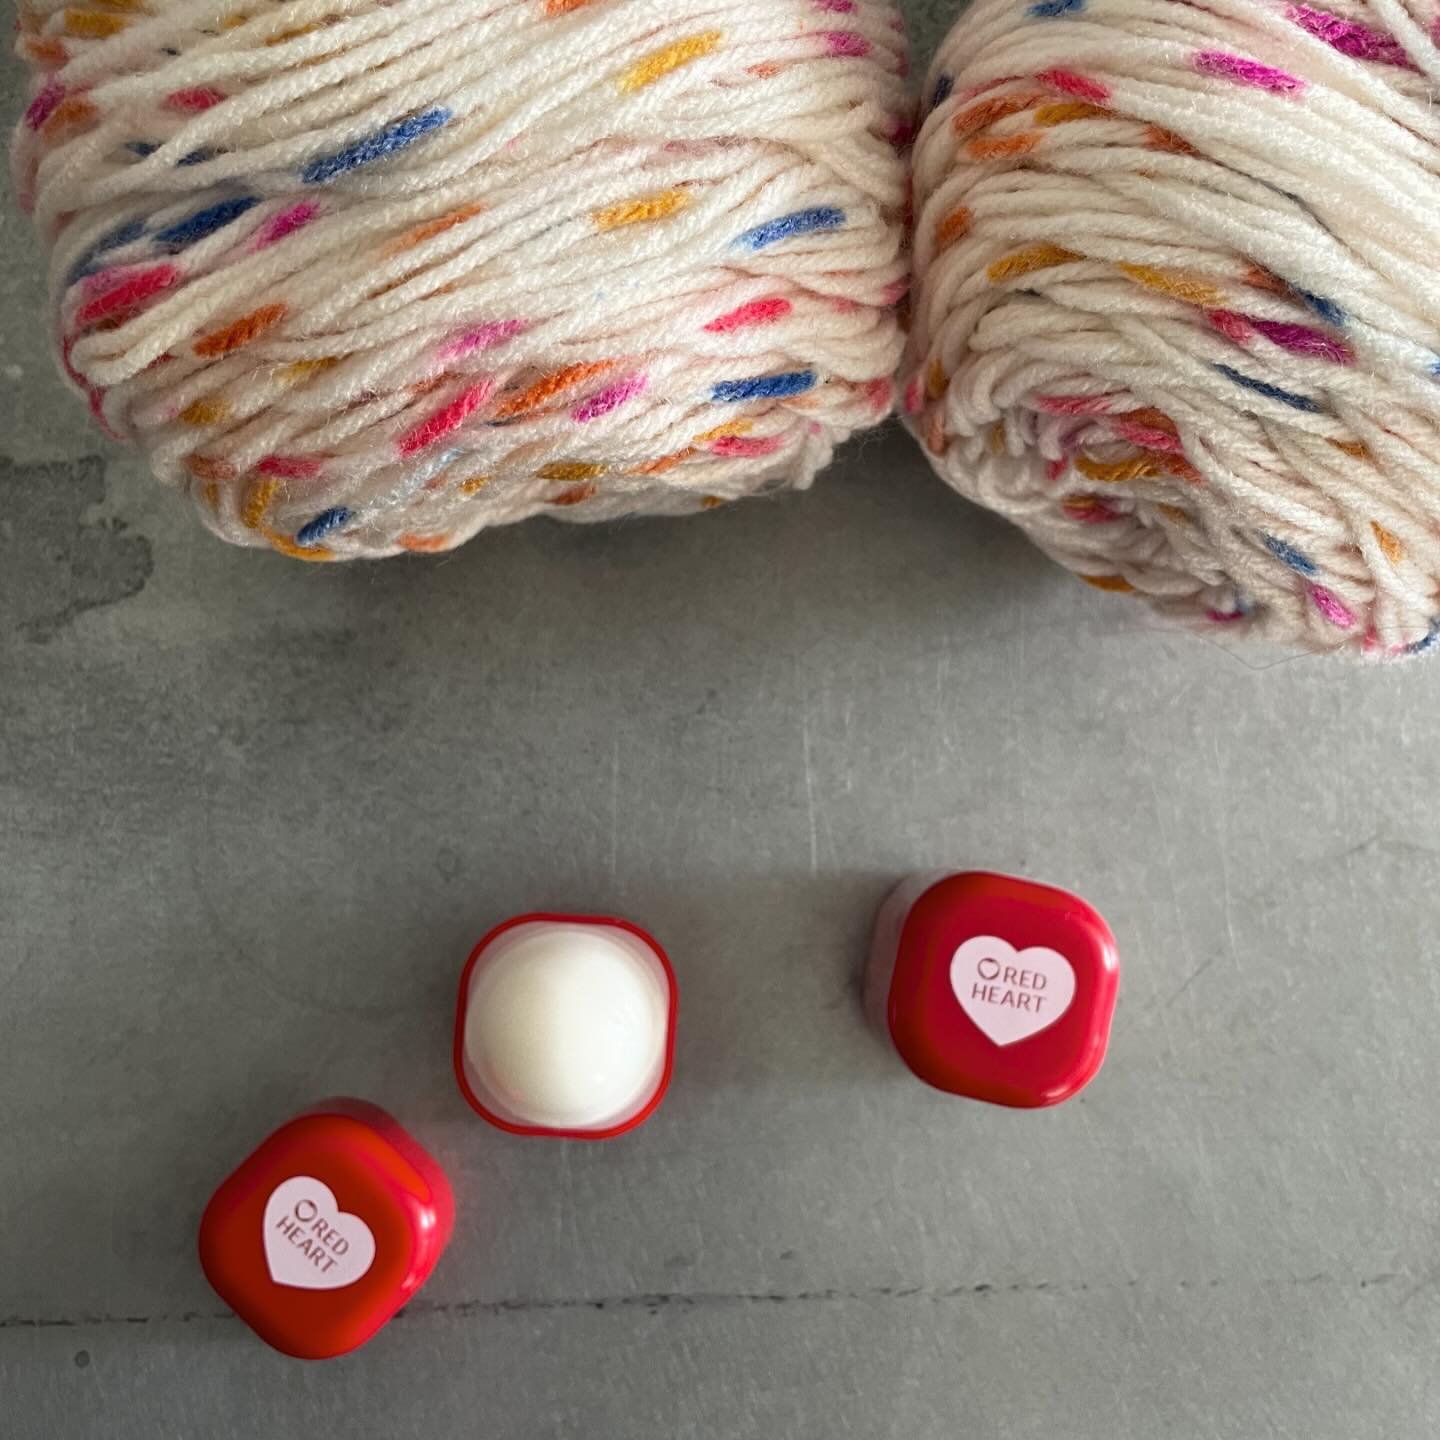
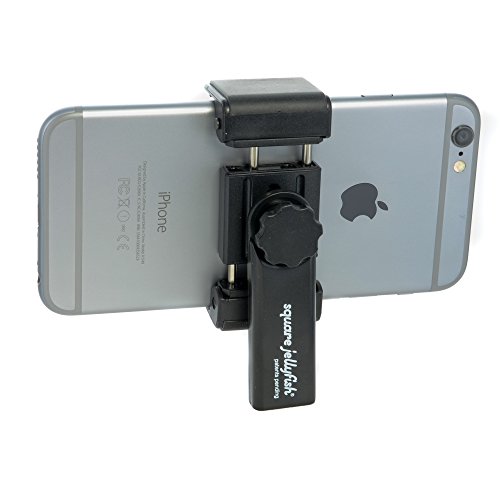
And for the products themselves, these are my MUST HAVES that live in my little crochet on the go kit and I use them for almost anything. Just not website product shots lol. Perfect for on the floor when I need that right angle. On the table. For Facetime so I can knit and converse at once. Yup... these are the ones you saw in the IG Stories with Megan and for less than $20 I got all I needed.
First up is my Jellyfish Mount. I love this thing. It holds my phone, my husband's phone (he has an iPhone +) and is so versatile and small and portable.
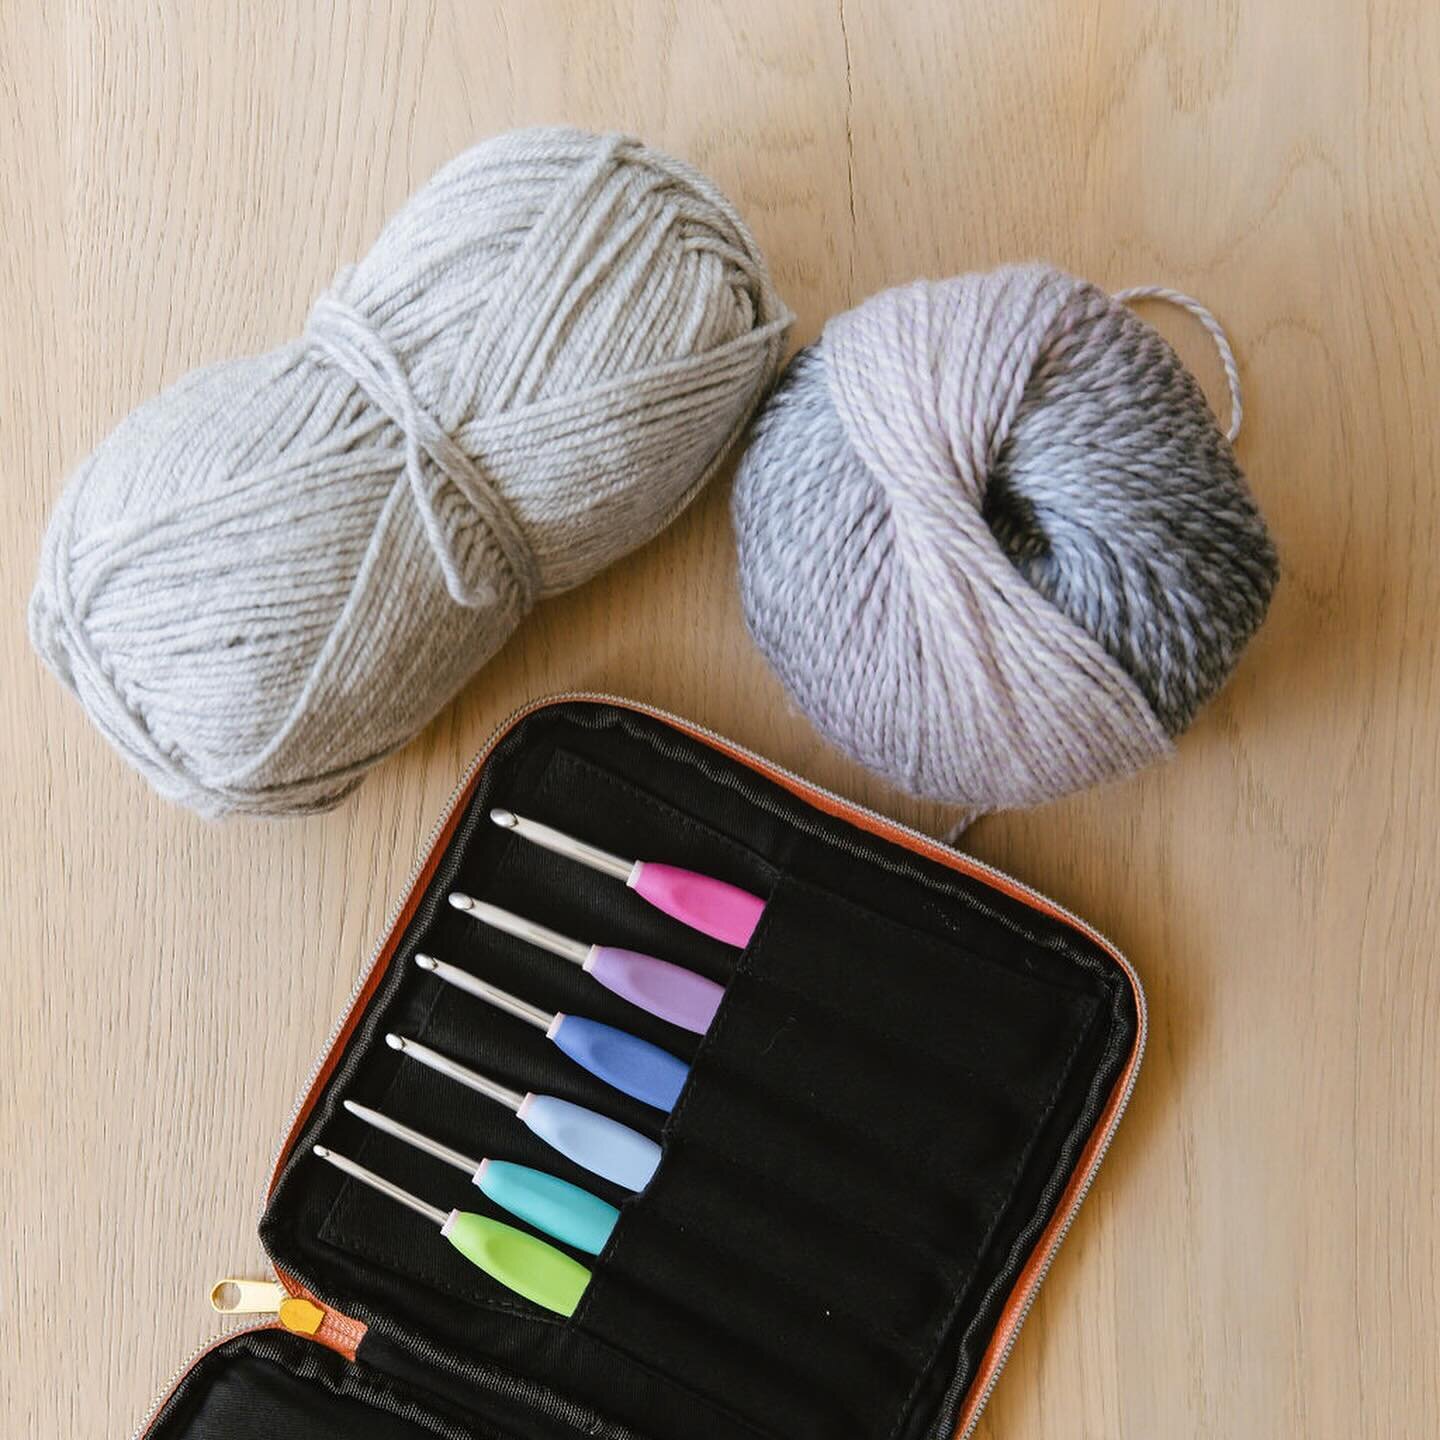
Now for my table top tripod. There are tons on the market. But let's be honest - this has a specific function. It is not for primary product shoots. I want something that is portable, lightweight and frankly can fit in my needle and hook case to go where I go. I also don't want to break the bank. I also didn't want something so flimsy that I would spend even more money replacing it. I did some solid research and this was where I landed and I love it!

There are lots of products on the market and everyone will always have their preferences. I can only tell you that I have in fact spent some money and time and found these to be the best, and for less than $20 it is worth a shot!
So get out there, get in the light and get your pics.